A Digital Fabrication Cookbook for Journalists
If this is your first visit, you can read our manifesto and a quick guide on digital fabrication.
The cookbook is a tool to promote the knowledge of digital fabrication skills among newsroom professionals. While it is targeted at tech-savvy users, it doesn’t require any prior knowledge of digital fabrication. Its main goal is both to educate about basic open source tools and techniques, and to promote a creative approach to crafting physical data driven installations. For this latter reason, we chose the format of a cookbook: just like cooking recipes, also the digital fabrication recipes published are open to customizations and variations. In fact, each recipe is presented alongside with suggestions on different outputs that can be obtained by modifying the provided recipe. Follow one recipe from start-to-finish and you will have produced a physical data-driven installation.
Each recipe contains videos, text explanations, images, screenshots, diagrams, and renders to help visualize suggestions. All our designs and tutorial are made using exclusively on open source software: FreeCAD, Blender, Slic3r, ArduinoIDE, Inkscape.
Each of the proposed data installations has been designed so that it responds to three main criteria:
- Journalistic relevance: we opted for designs that are suited to portray the data and types of patterns journalists work with most, after having categorized and studied the data journalism projects awarded at the DJA and Malofiej awards. All the designs also include space for text, legends and annotations, as, unlike artistic data sculptures, this is a must for journalistic data viz.
- Learning opportunity: each of the three designs illustrates specific building blocks of digital fabrication, be it a technology or technique. This way, following through each recipe is also a way to gradually master the basics and move onto designing your own journalistic data installations.
- Advantages of physicality: the news installations are designed so that they are not merely a 3D reproduction of a 2D chart. We strove for each design to take full advantage of its being a physical object. For example, by being experienced through multiple sense, or by fostering real-world interaction or collaboration between participants, etc.
To make it easier to understand the general workflow involved in designing and fabricating objects with digital fabrication techniques, all the recipes are organized in the same sections, each section referring to specific step of the workflow.

CONTENT OF SECTIONS

1. Overview
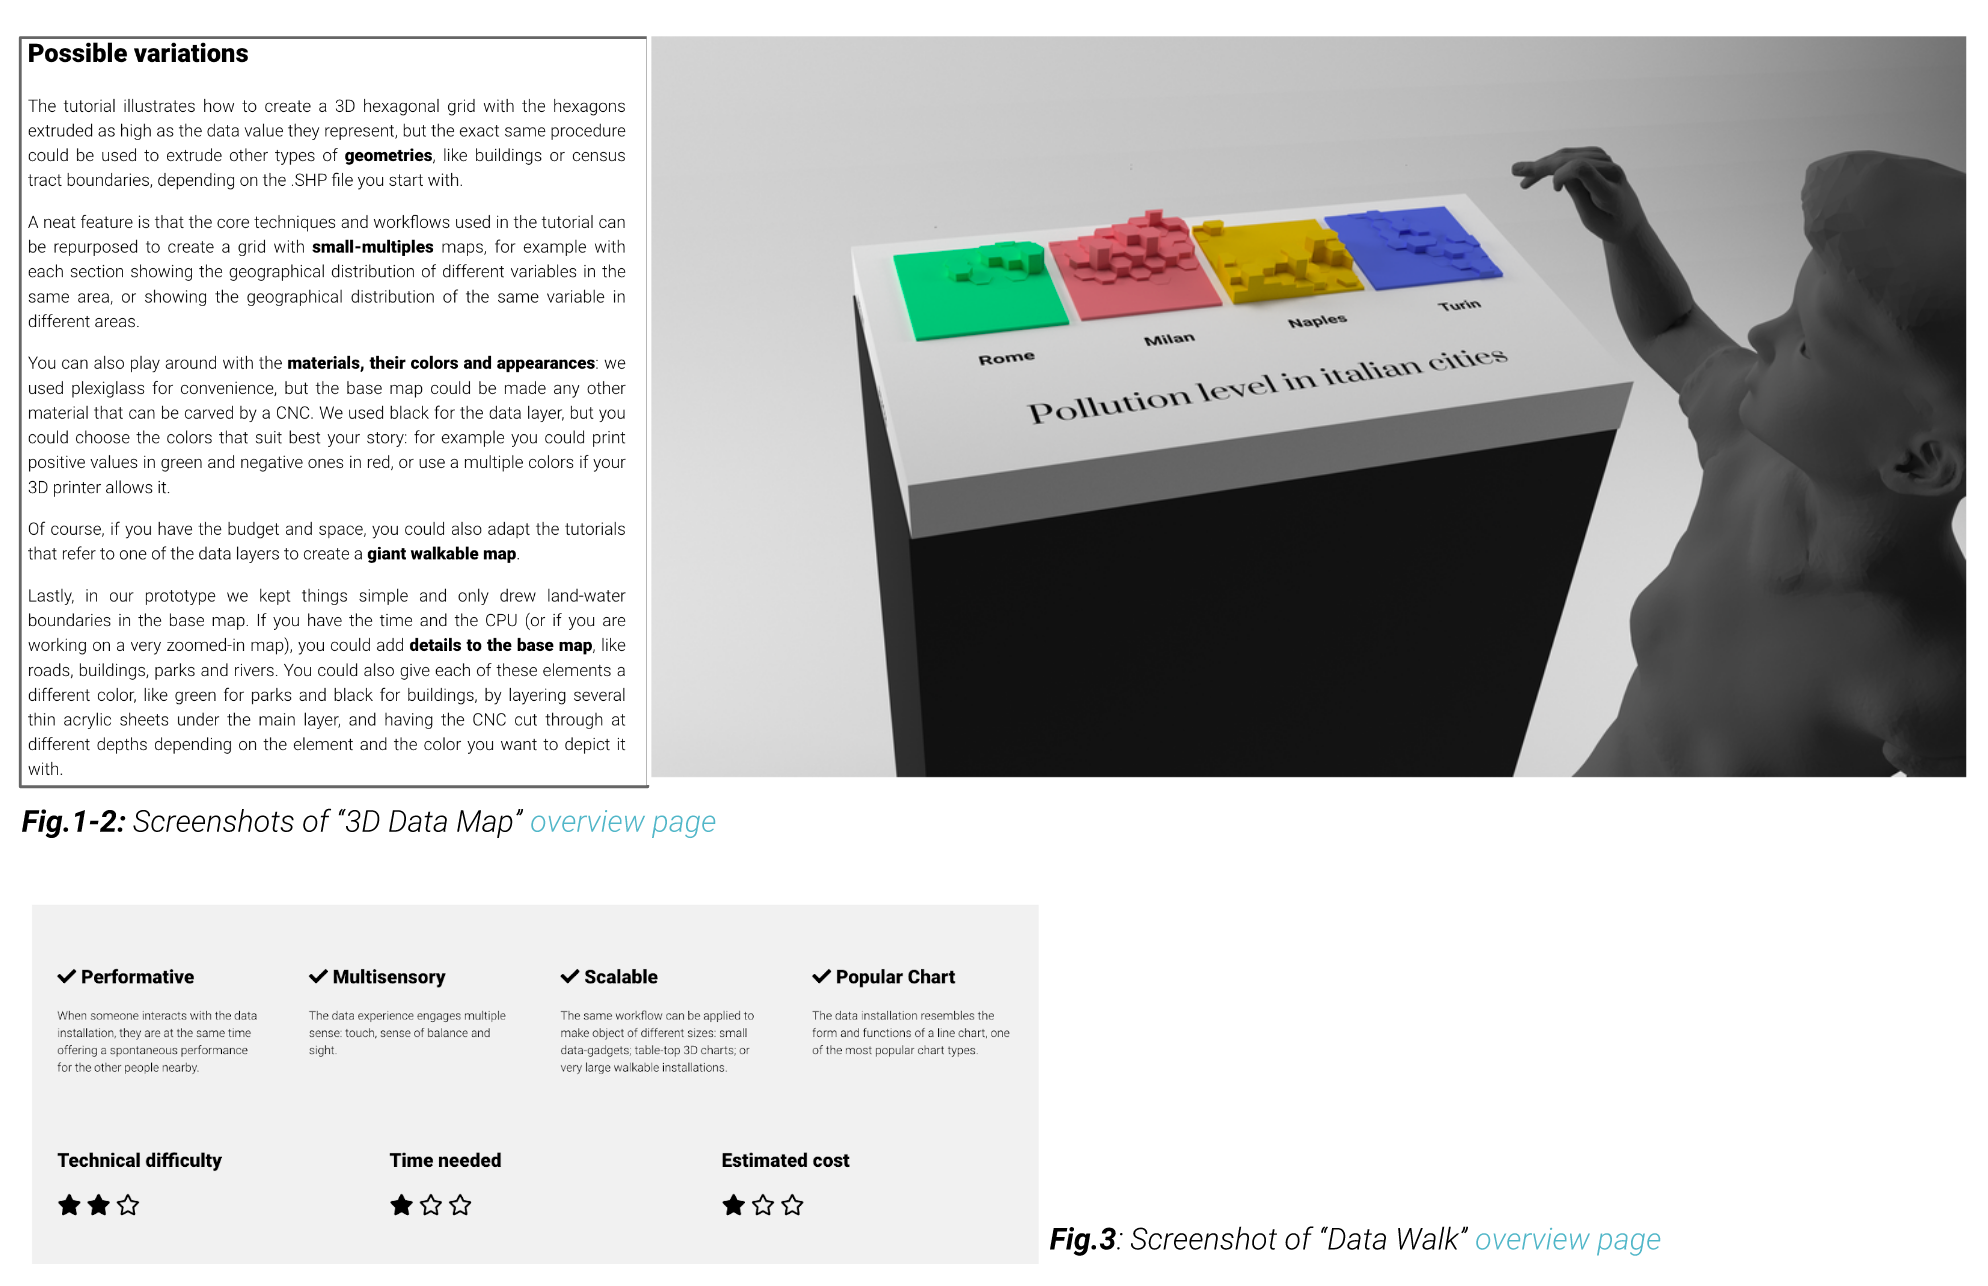
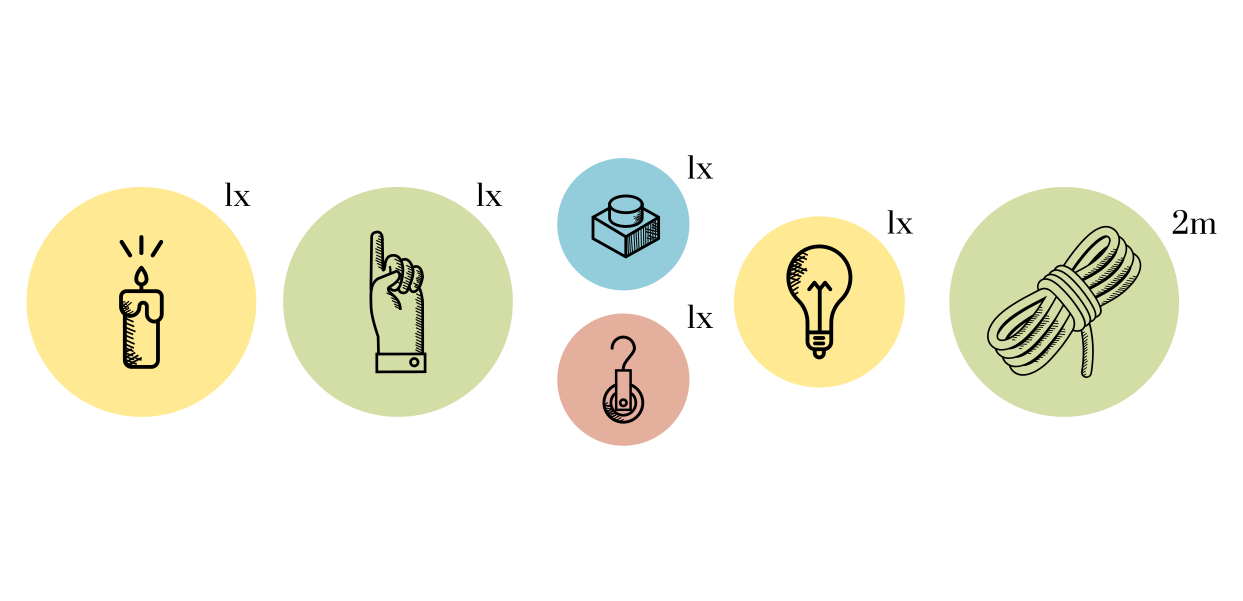
In depth overview of the project so that you can assess whether it is right for your case. Details on what type of data patterns and stories the installation is useful for. Design strengths of the project, including things like whether the installation is reusable, modular, scalable, etc. Fruition strengths of the project, for example whether it engages multiple sense, fosters collaboration and participatory interaction, etc. Suggestions for possible customization options in terms of size, appearance and materials. Indication of the level of effort required to reproduce it, in terms of time, costs and technical difficulty. Ideas on what types of customization options you could implement.
2. What you need
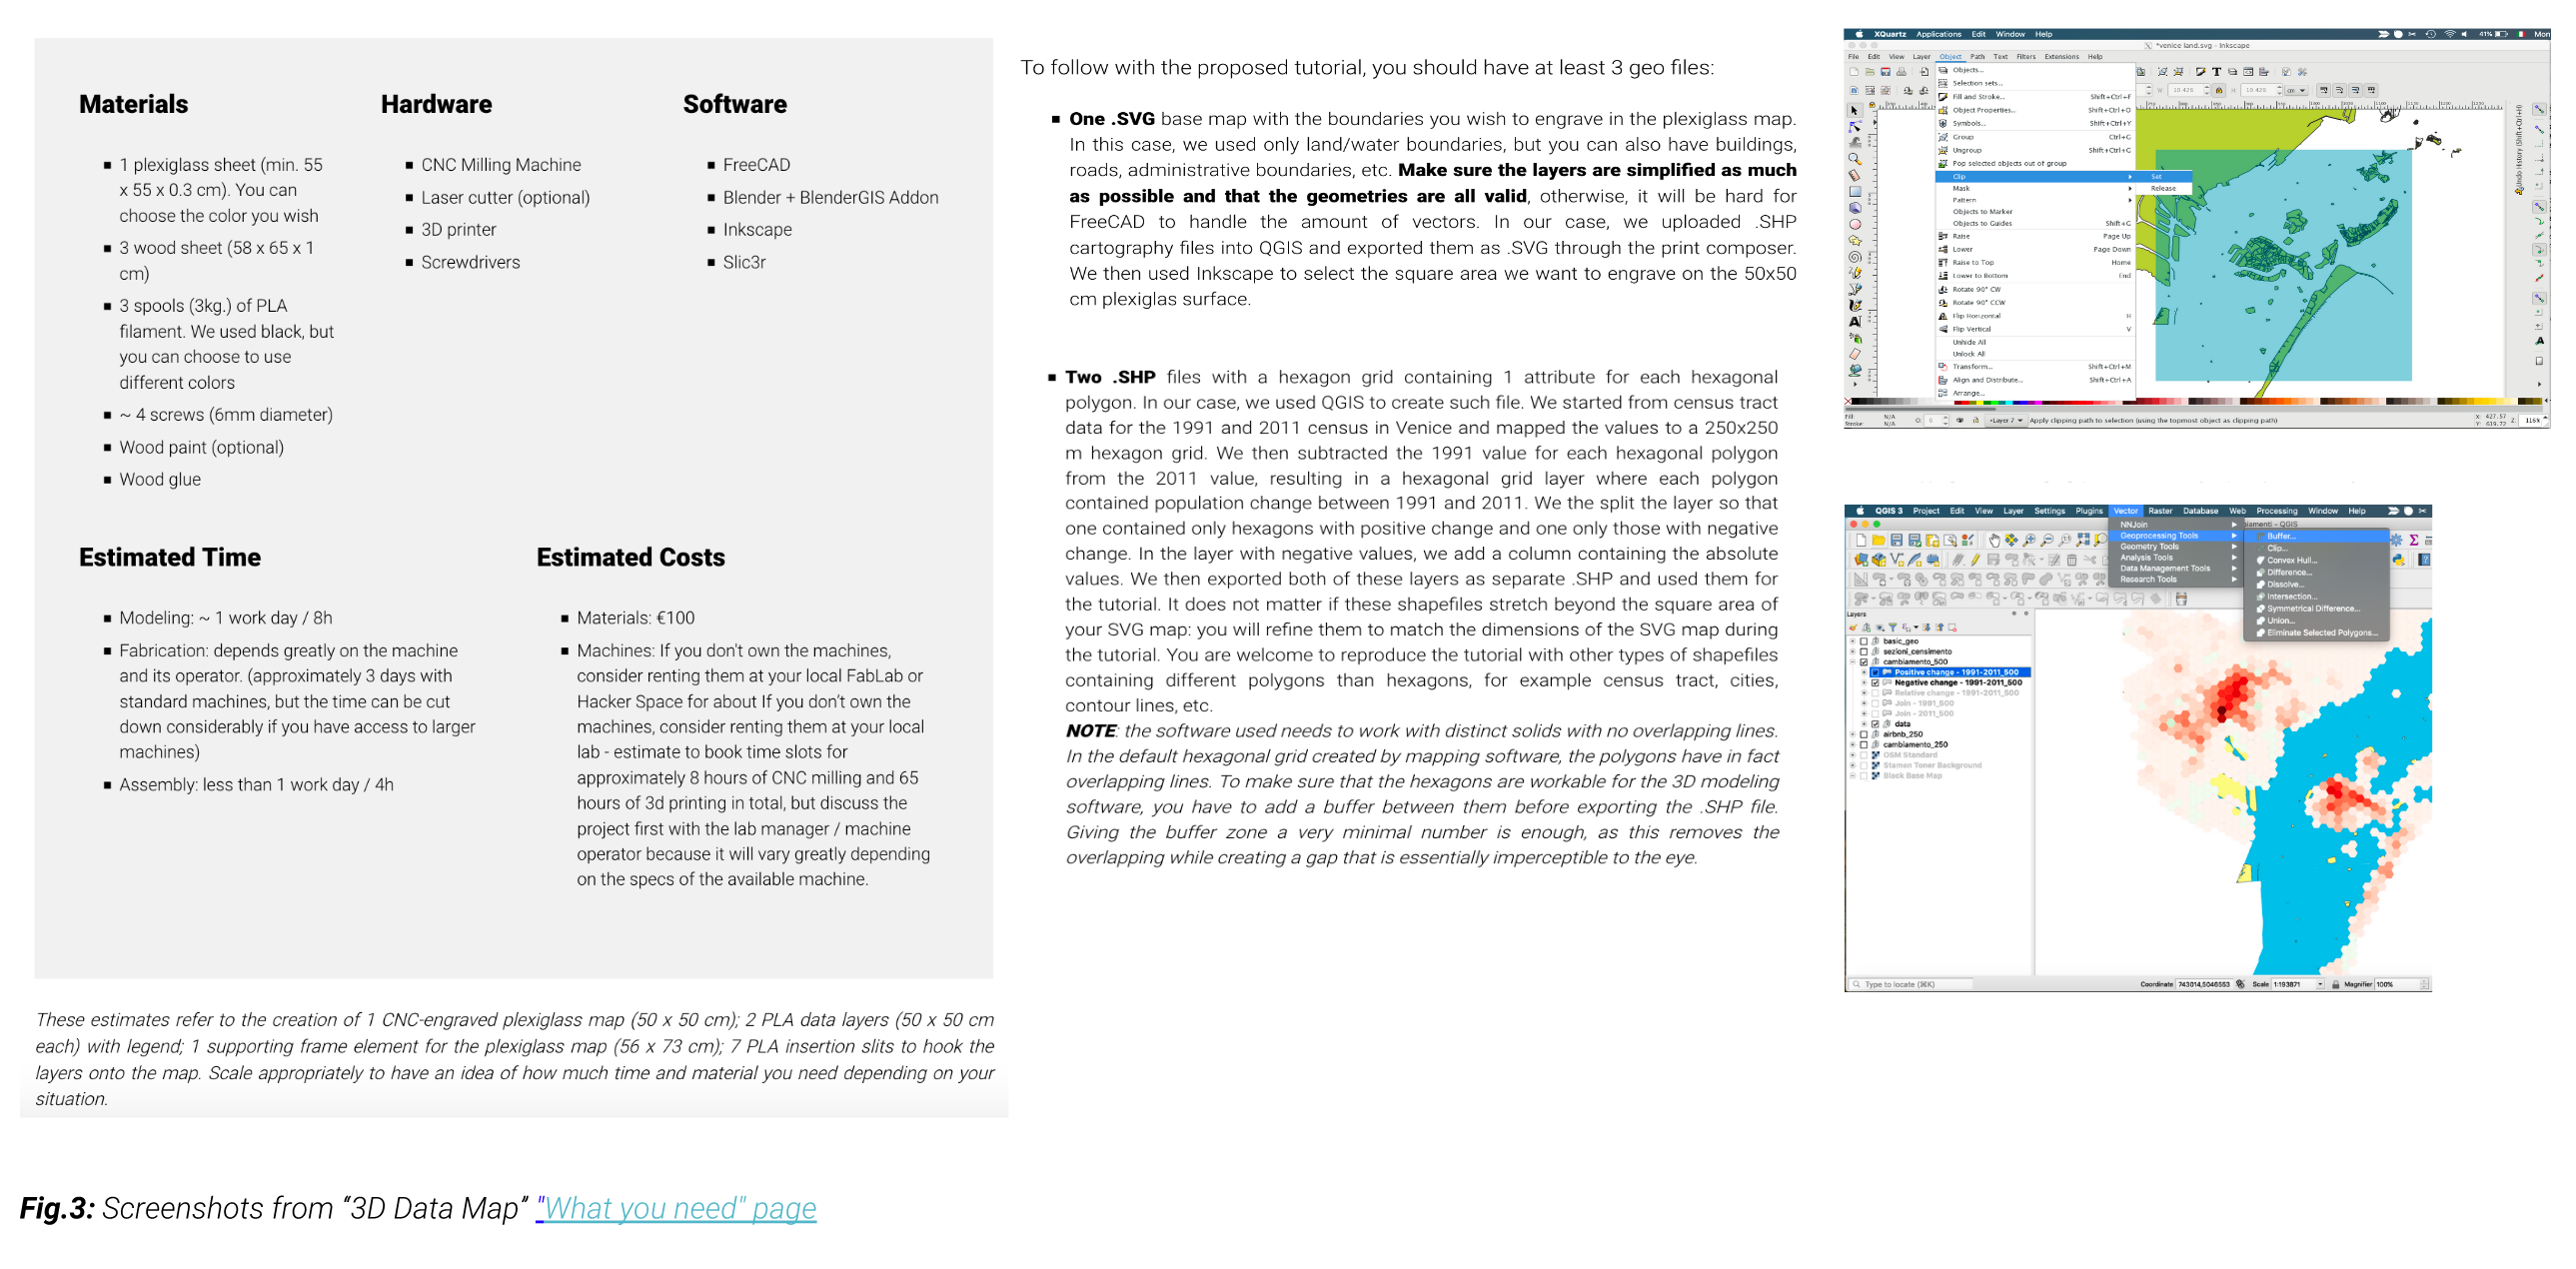
Section includes information on the material, hardware and software needed, as well as an estimate of time and costs you should expect to allot. The chapter also explains precisely what is the expected format/structure of the dataset(s) you should use to follow through the steps seamlessly if you are replicating the project your own data.

3. 3D Modeling and Programming
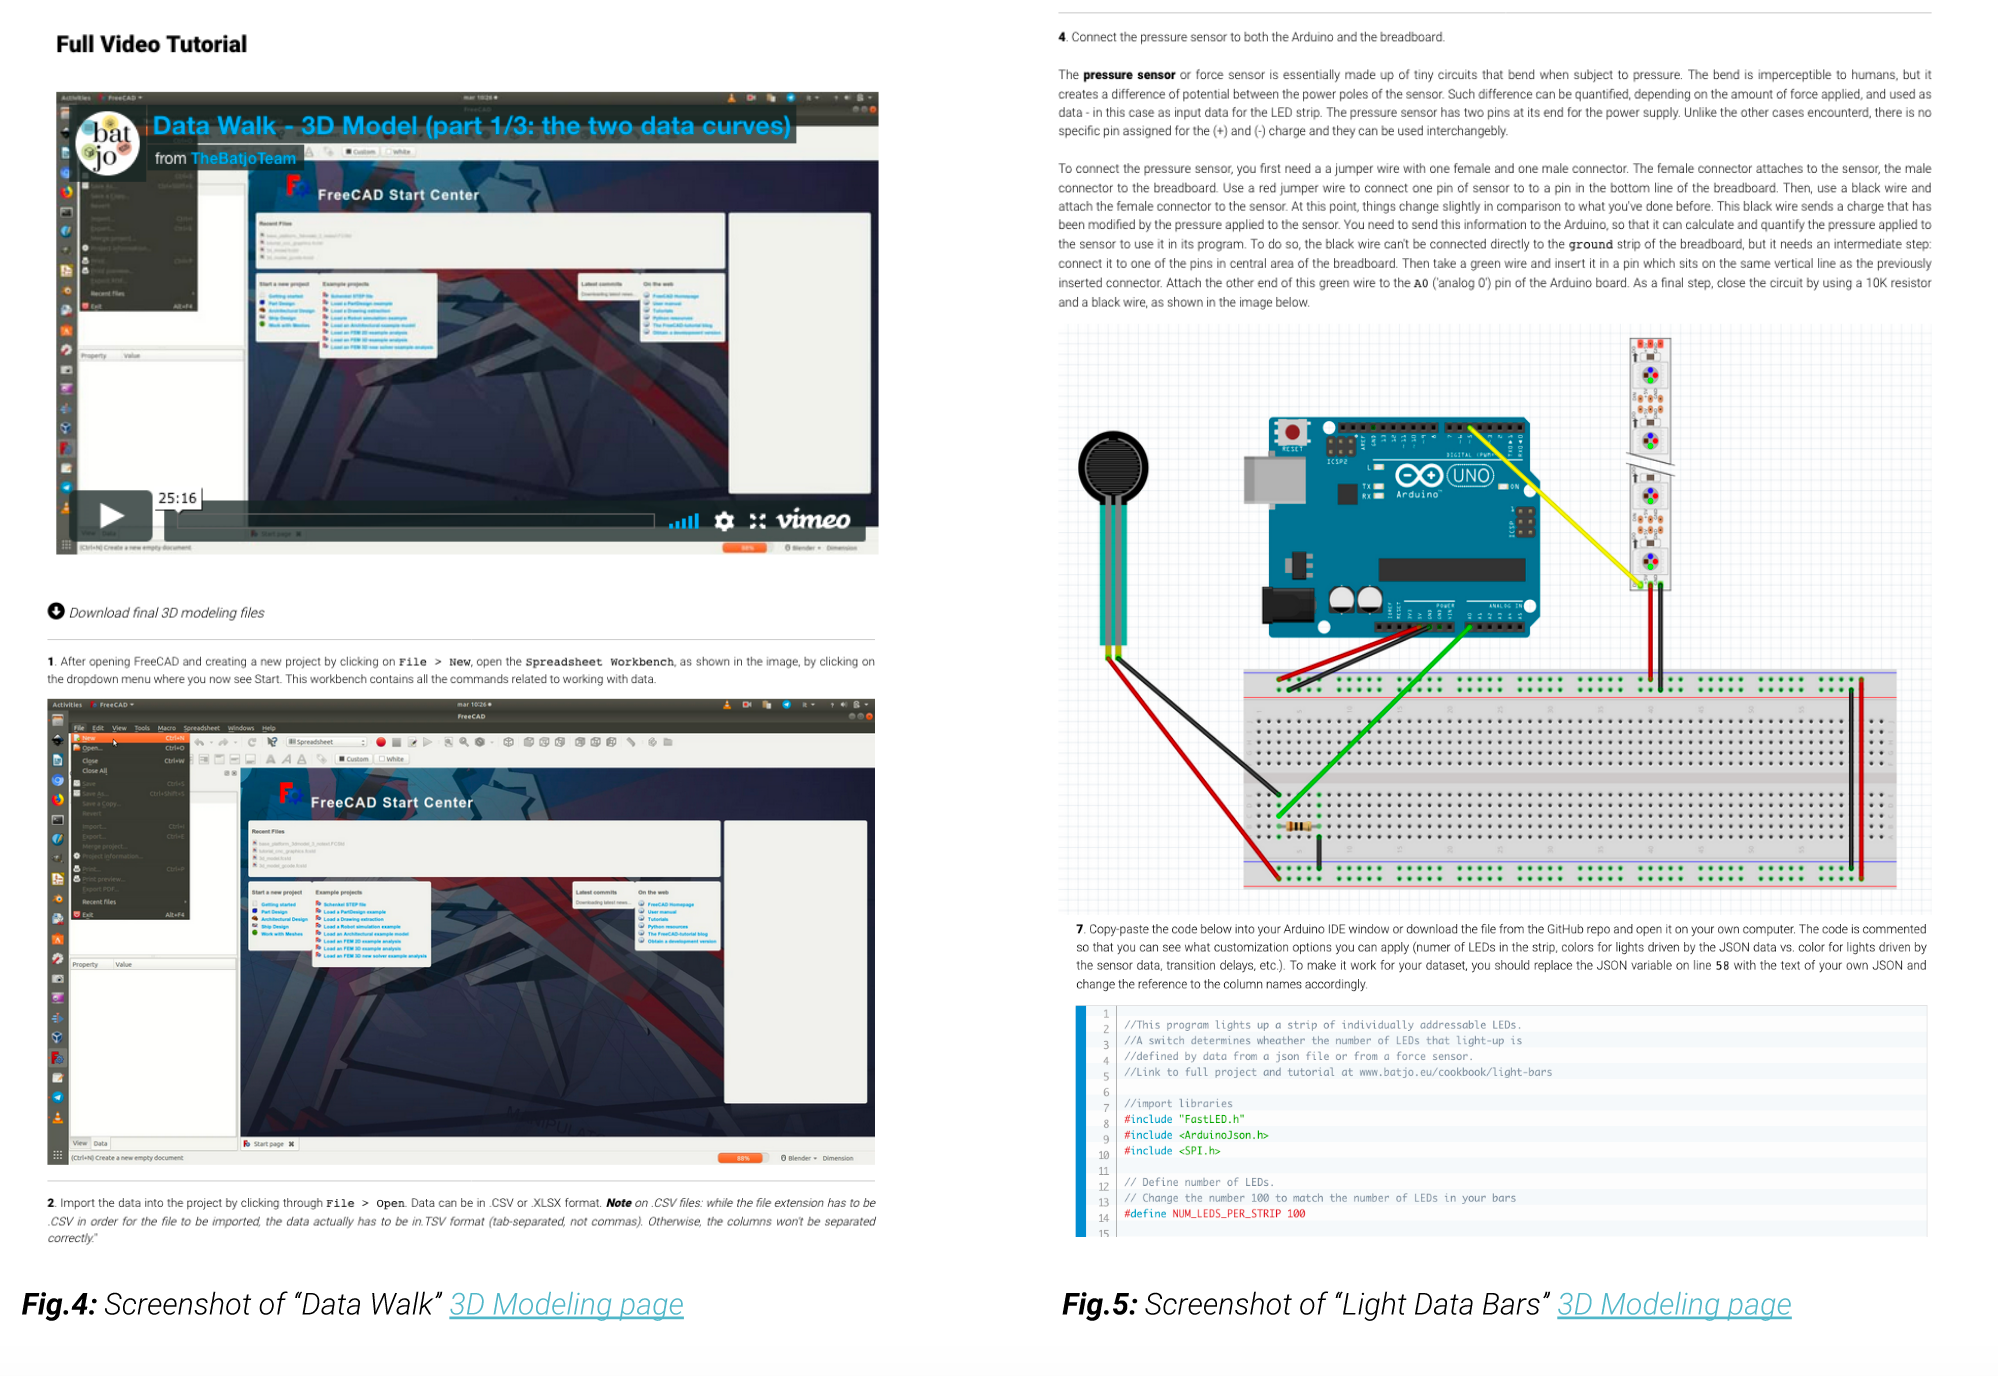
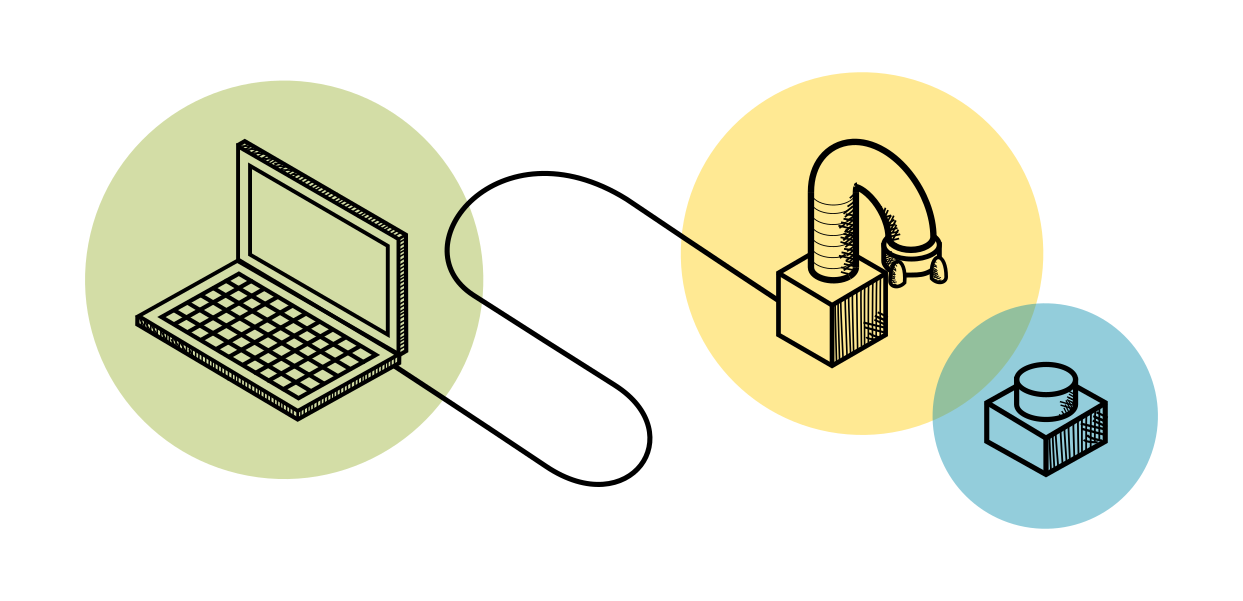
Tutorial on how to produce the digital 3D model of the installation components and on how to setup microcontrollers. The tutorial is structured with different levels of accessibility, so that you can both watch the video of the process and/or follow-up by reading the detailed explanation about what is going on in each step. You can also directly download the files with the final results if you get stuck or wish to apply quick customizations without repeating the whole workflow. Depending on the project, some things you will do in this phase are:
- Binding the datapoints and spreadsheet to visual elements such lines, curves, lengths and width
- Building the physical components of the installation that you will use to host sensors and motors to record and animate the data
- Building physical boards with engraved information about the data, axis ticks, labels and annotations, titles, and so on.
- Create circuits connecting electronics components
- Program (Arduino) microcontrollers to read data from sensors and control interactions and appearance
4. Fabrication
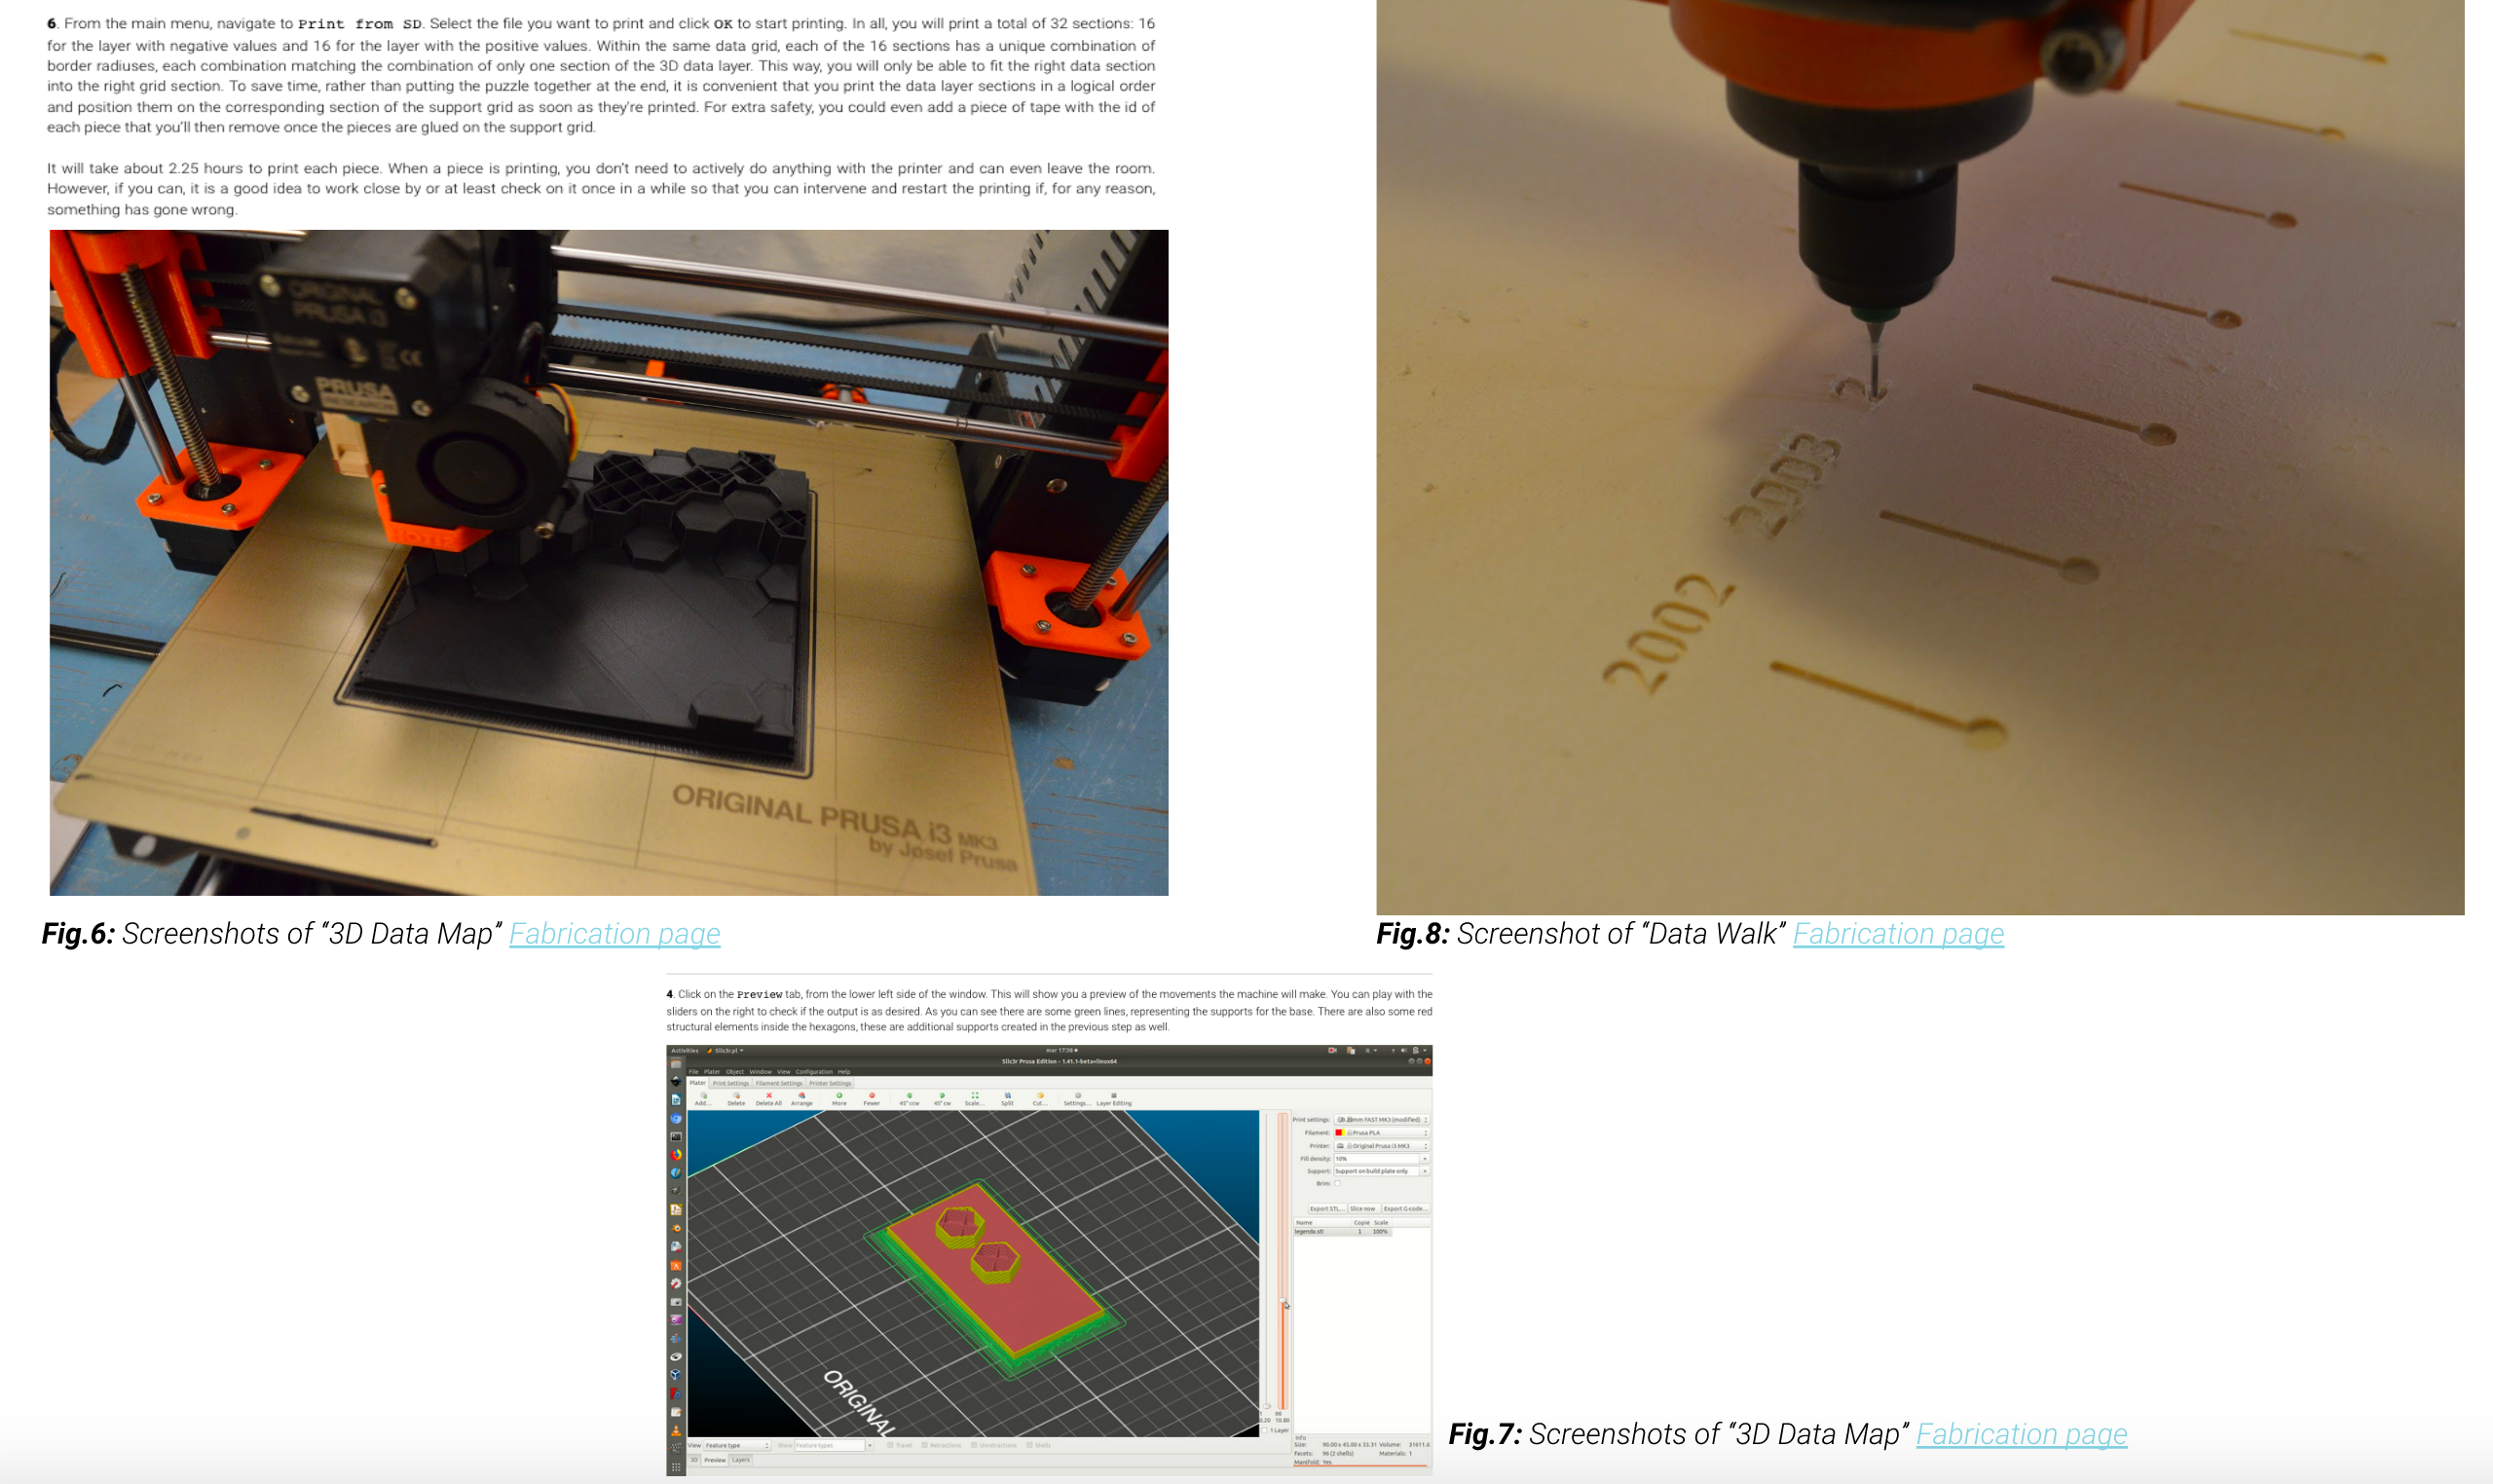
Step-by-step guide with video, text and photos on how to transform your digital 3D model file into a physical object through digital fabrication machines. This section covers the transformation of your 3d digital model into a physical object. Generally speaking, this process consists of two main steps:
- First, you generate a G-Code file. Such file is essentially a conversion of the digital model into a series of instructions that the machine can understand and follow to convert the digital model into its physical counterpart. The G-Code commands included in the file instruct the machine on things like how to move, which coordinates to follow in tracing paths, how deep to cut (if using a CNC milling machine), what measurement unit to follow, and so on. If you are using a 3D printer, you will also need to figure out whether the project needs supports (for example when printing bridges, overhangs and suspended structures).
- Secondly, you set up the basic parameters on the machine and upload the G-Code file, so that the printing or milling can begin. In this phase, you won’t have to actively do anything, although it is recommended that someone stays close to the machines so that, if something goes wrong, you can stop the process in time before wasting material or causing damage.
5. Assembly
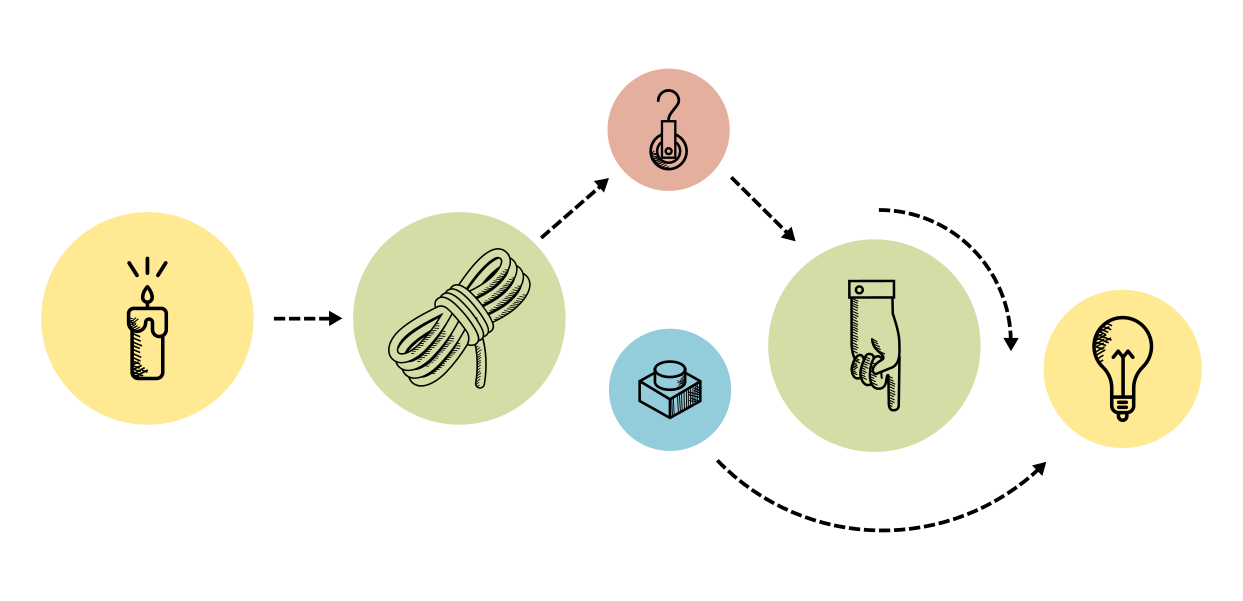
In most cases, once your digital designed has materialized as a physical object, you will still need to apply the final touches manually. What you do in this phase will greatly depend on your project. For example, you might need to:
- Screw, glue, and/or join different pieces together
- Fit sensors and/or electronics components in their casing
- Color, paint and/or gloss arts of the object
- Sand and smoothen wooden parts and edges
- Connect wires
This section contains infographic instructions on how to assemble your physical data installation in a few steps.

6. Presentation
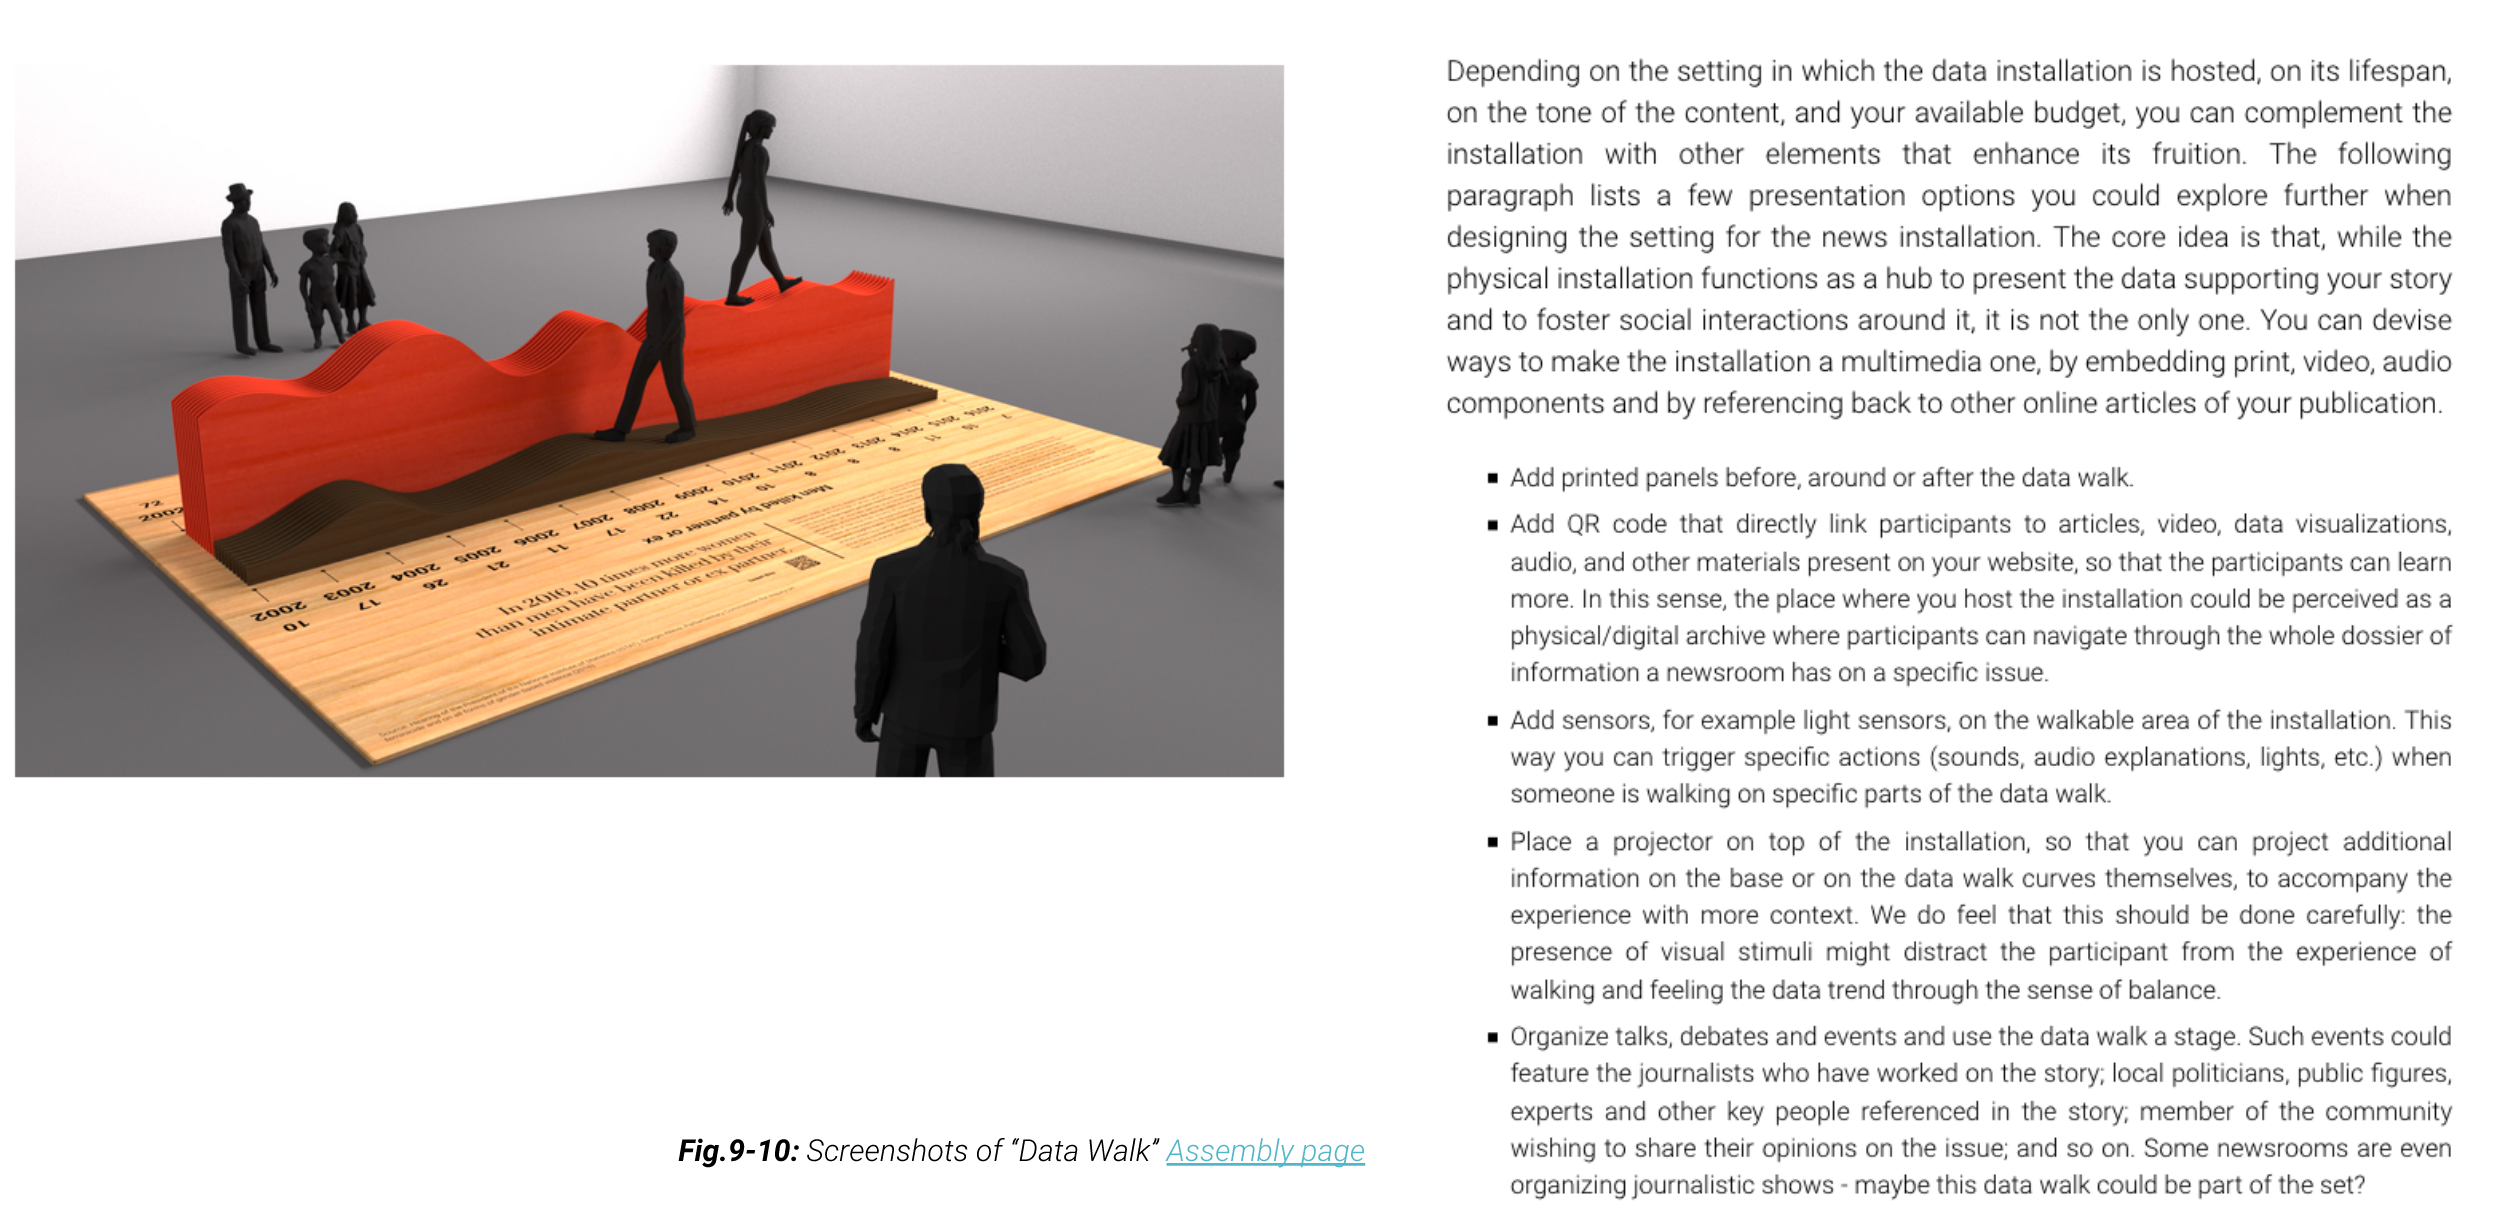
Suggestions on how to present the physical news installation.

7. Resources
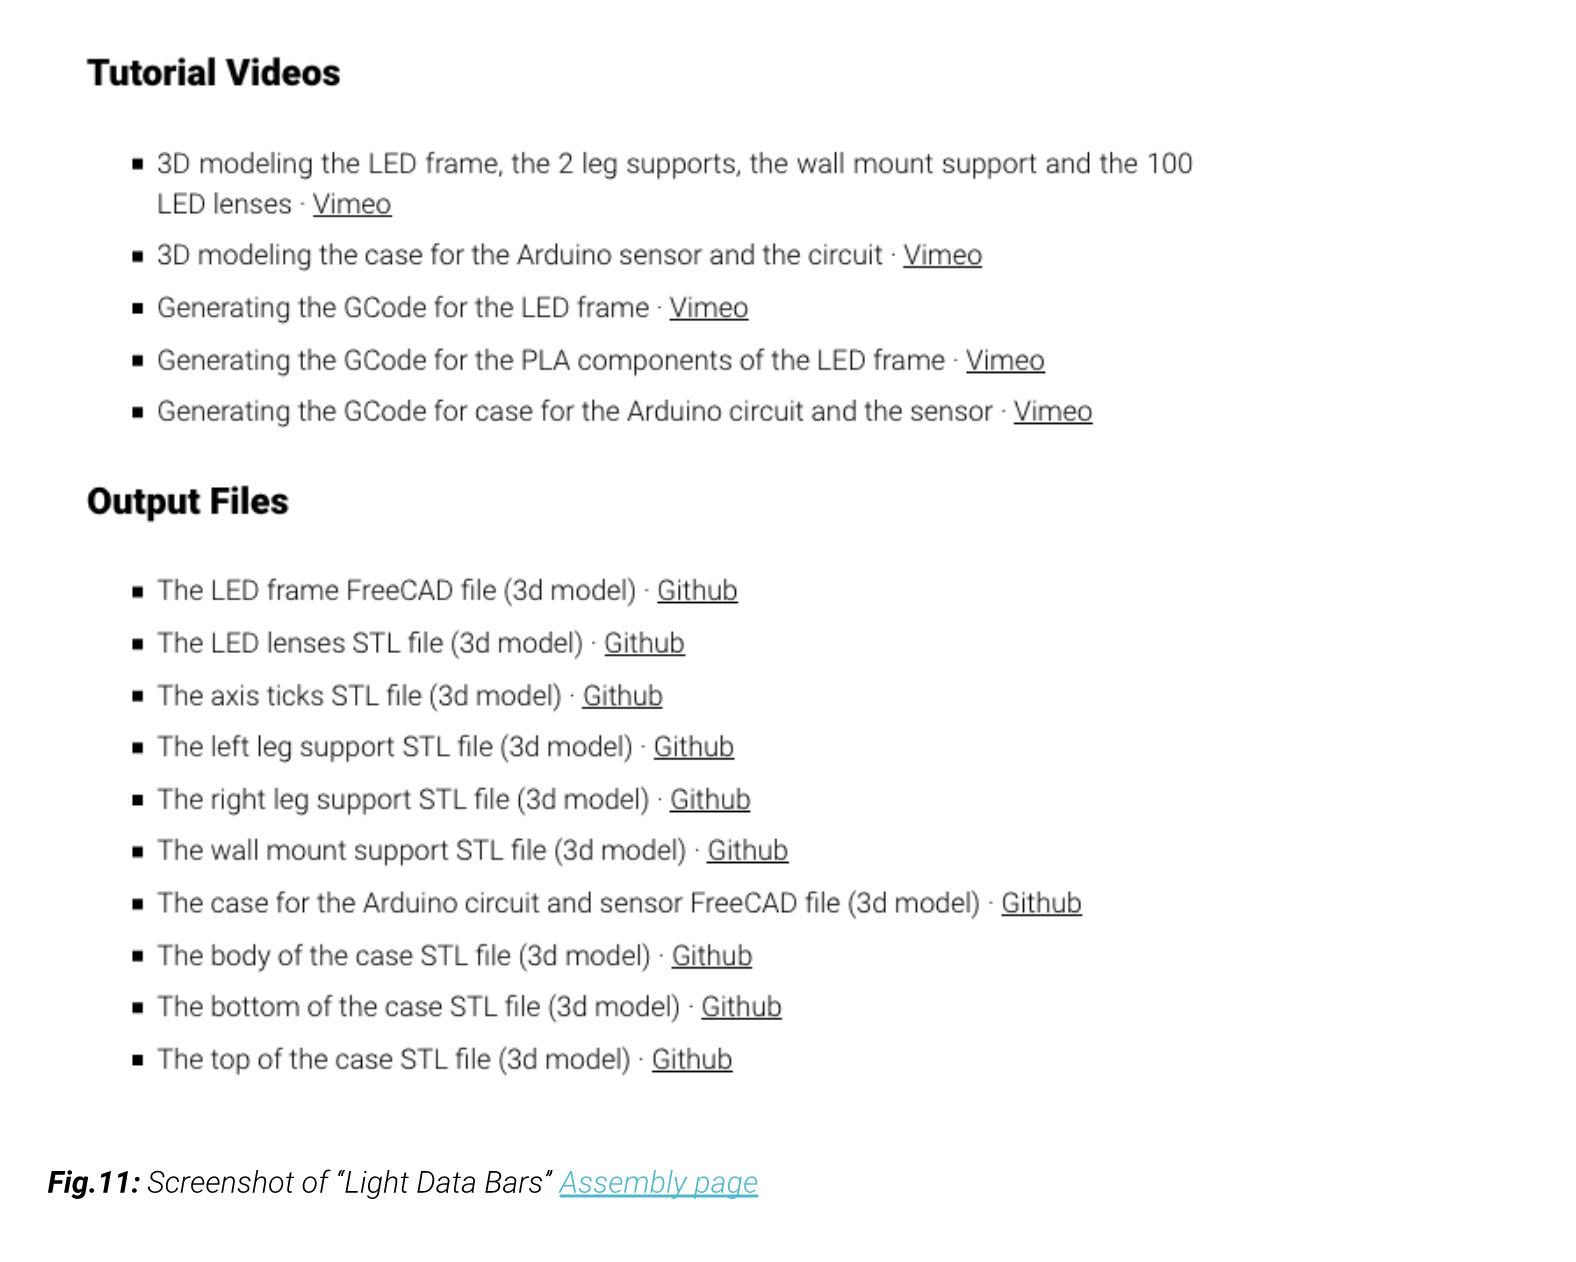
Links to useful resources to help you in your project.
