Assembly · Data Walk

In this phase of your project you will assemble the single milled components together to form the final data installation. The actual steps might vary slightly depending on the specs project. For example, because of the specs of the machines you used, you might have to pre-assemble pieces together first. Or you might want to apply paint and colors to your components before proceeding with the assembly. Keep in mind the main safety rules and procedures of manual work: wear gloves and sturdy shoes, keep feet and fingers away pinches and crushes, never lift heavy objects alone, etc.

- Paint each piece according to the desired appearance (color) and environmental needs (like waterproof paint for outdoor installations). Make sure the paint has dried up completely before moving on to the following steps.
- Fix the base on a stable flat surface and make sure there is enough walkable area around it so that it can be viewed and accessed from all sides.
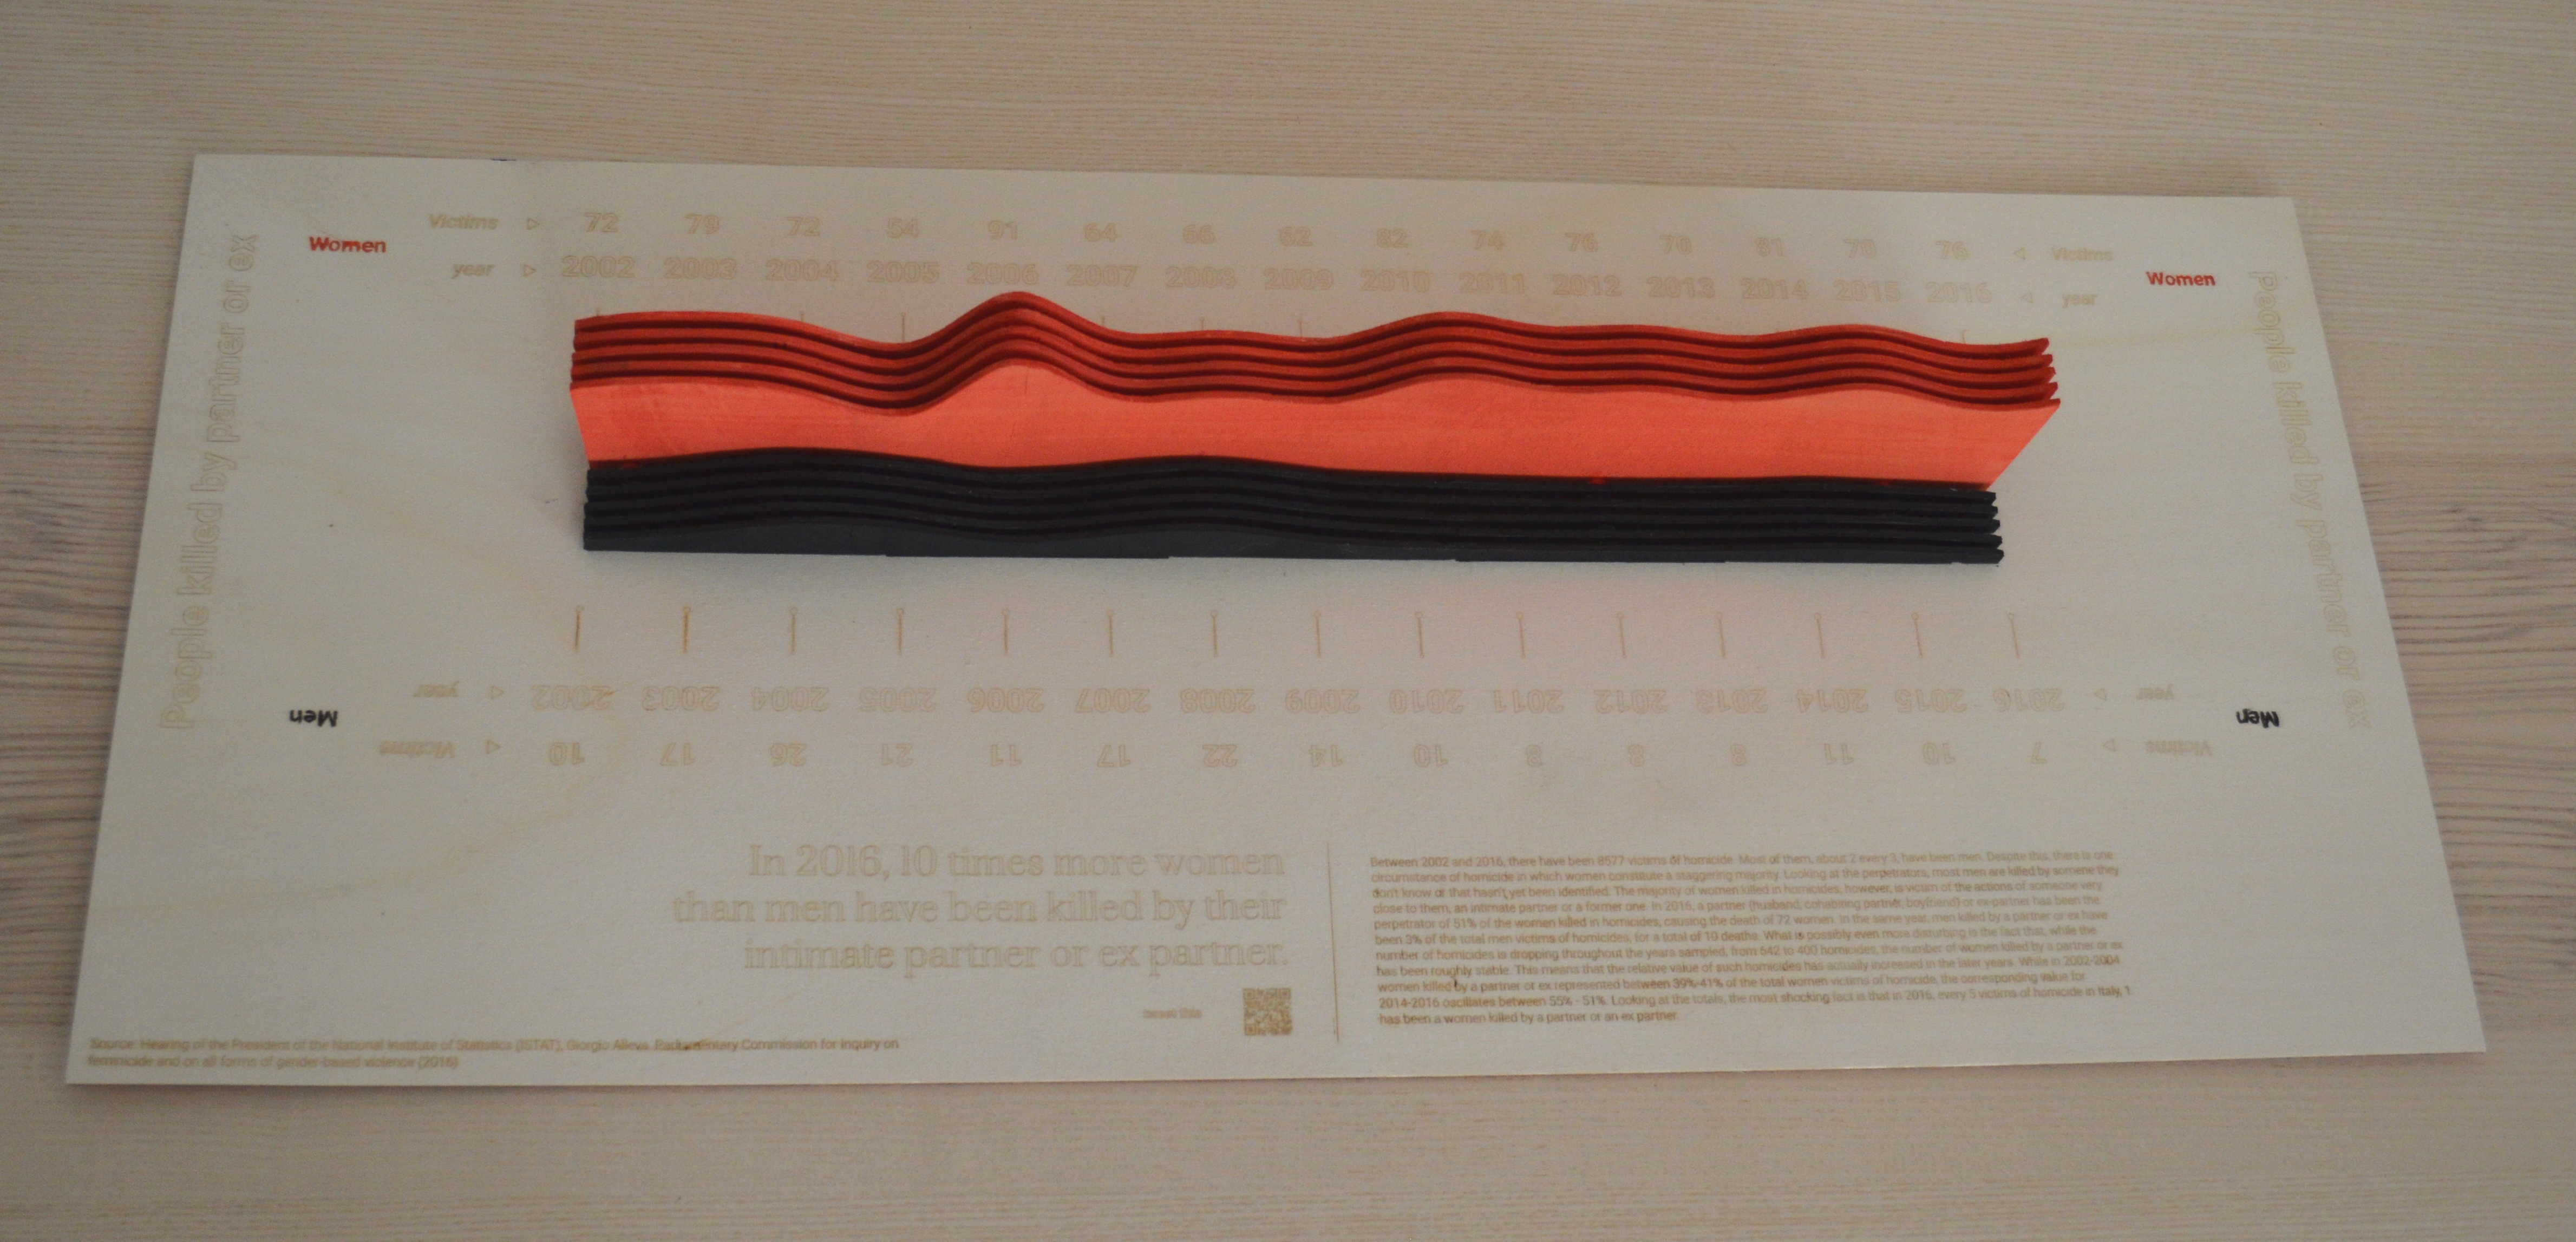
- Use the troughs on the base as guides to insert the crests of the first data series. For the big walkable installation, you will need help of more people, depending on the size of the pieces. Make sure you are placing the curves in the right direction, and refer to the 3D model for guidance.
- Use the troughs on the base as guides to insert the crests of the second data series. For the big walkable installation, you will need help of more people, depending on the size of the pieces. Make sure you are placing the curves in the right direction, and refer to the 3D model for guidance.
- For increased stability, fix the peaks of each data series with nuts and bolts (10mm diameter), adding 20mm washers in between the layers. Depending on what the actual curve looks like, you might need to fix more or fewer points. Unless you can consult a safety expert, it is better to exceed in precaution and fix all the crests and troughs of the two series of curves. Even if you are assembling a small-scale version of this installation, we recommend you place a few washers in between the 10 curves, to make sure they all sit at an equal distance. In this case, you don't need to screw them in, but glue will be enough.

