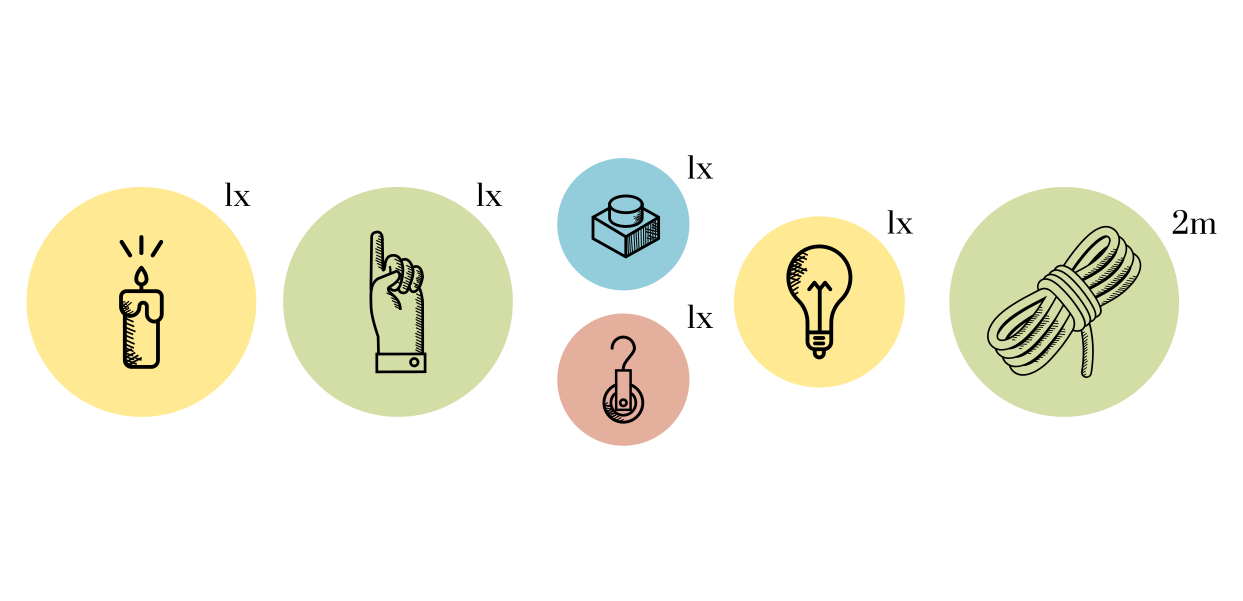
What You Need · Light Data Bars
Materials
- 1 Microcontroller Arduino Uno (one microcontroller will work for up to 8 light bars).
- 1 Strip of 100 individually Addressable LEDs for each bar (model: WS2812B or similar). The quantity will depend on how many bars you want to create and how tall you want each bar to be. We used 100 LEDs per bar, to make it intuitive to visualize percentages. Buy the LEDS already in a strip that you can cut the desired length, so that you won't need to solder each LED individually. The strip you but might contain more LEDs than you need, but it can be easily cut into the desired length. For example, we bought a 200 LED strip, which we then cut into two.
- 1 Pressure sensor for each bar (model: FSR 402)
- 1 electronic switch for each bar
- 1 Breadboard
- A pack of Jumper wires
- 2 Resistors (resistance: 10K Ω)
- 1 kg of transparent PLA filament for each bar
- 1 kg of colored PLA filament for each bar
- 2 (ply)wood sheets of 50 x 70 x 0.3 cm
- 1 (ply)wood sheet of 50 x 70 x 15 cm
- ~ 8 screws (3mm diameter, 10mm length)
Hardware
- CNC Milling Machine
- 3D printer
- Hot-glue gun
- Screwdriver
Software
- FreeCAD
- Arduino IDE
- Slic3r
Estimated Time
- Modeling: ~ 1 work day (8h) for 3D modeling; ~ 1 work day (8h) for electronics and Arduino setup
- Fabrication: depends greatly on the machine and its operators, estimate about 4h of CNC milling and 9h of 3D printing.
- Assembly: ~ 1 work day / 8h
Estimated Costs
- Materials: ~ €140 per bar
- Machines: If you don't own the machines, consider renting them at your local FabLab or Hacker Space for about If you don’t own the machines, consider renting them at your local lab - estimate to book time slots for approximately 4h of CNC and 9h of 3D printing in total, but discuss the project first with the lab manager / machine operator because it will vary greatly depending on the specs of the available machine.
These estimates refer to the creation of 1 wooden bar with 100 LEDs, 1 case element for the Arduino, 1 pressure sensor support case. Scale appropriately to have an idea of how much time and material you need depending on your situation.
What data to start with
The code we provide in this tutorial works for a JSON dataset containing one key-value pair for each bar you want to visualize. You could also work with other data formats, if you are familiar with the Arduino programming language and can edit the provided code.

