What You Need · 3D Data Map
Materials
- 1 plexiglas sheet (min. 55 x 55 x 0.3 cm). You can choose the color you wish
- 3 wood sheet (58 x 65 x 1 cm)
- 3 spools (3kg.) of PLA filament. We used black, but you can choose to use different colors
- ~ 4 screws (6mm diameter)
- Wood paint (optional)
- Wood glue
Hardware
- CNC Milling Machine
- Laser cutter (optional)
- 3D printer
- Screwdrivers
Software
- FreeCAD
- Blender + BlenderGIS Addon
- Inkscape
- Slic3r
Estimated Time
- Modeling: ~ 1 work day / 8h
- Fabrication: depends greatly on the machine and its operator. (approximately 3 days with standard machines, but the time can be cut down considerably if you have access to larger machines)
- Assembly: less than 1 work day / 4h
Estimated Costs
- Materials: €100
- Machines: If you don't own the machines, consider renting them at your local FabLab or Hacker Space for about If you don’t own the machines, consider renting them at your local lab - estimate to book time slots for approximately 8 hours of CNC milling and 65 hours of 3d printing in total, but discuss the project first with the lab manager / machine operator because it will vary greatly depending on the specs of the available machine.
These estimates refer to the creation of 1 CNC-engraved plexiglas map (50 x 50 cm); 2 PLA data layers (50 x 50 cm each) with legend; 1 supporting frame element for the plexiglas map (56 x 73 cm); 7 PLA insertion slits to hook the layers onto the map. Scale appropriately to have an idea of how much time and material you need depending on your situation.
What data to start with
To follow with the proposed tutorial, you should have at least 3 geo files:
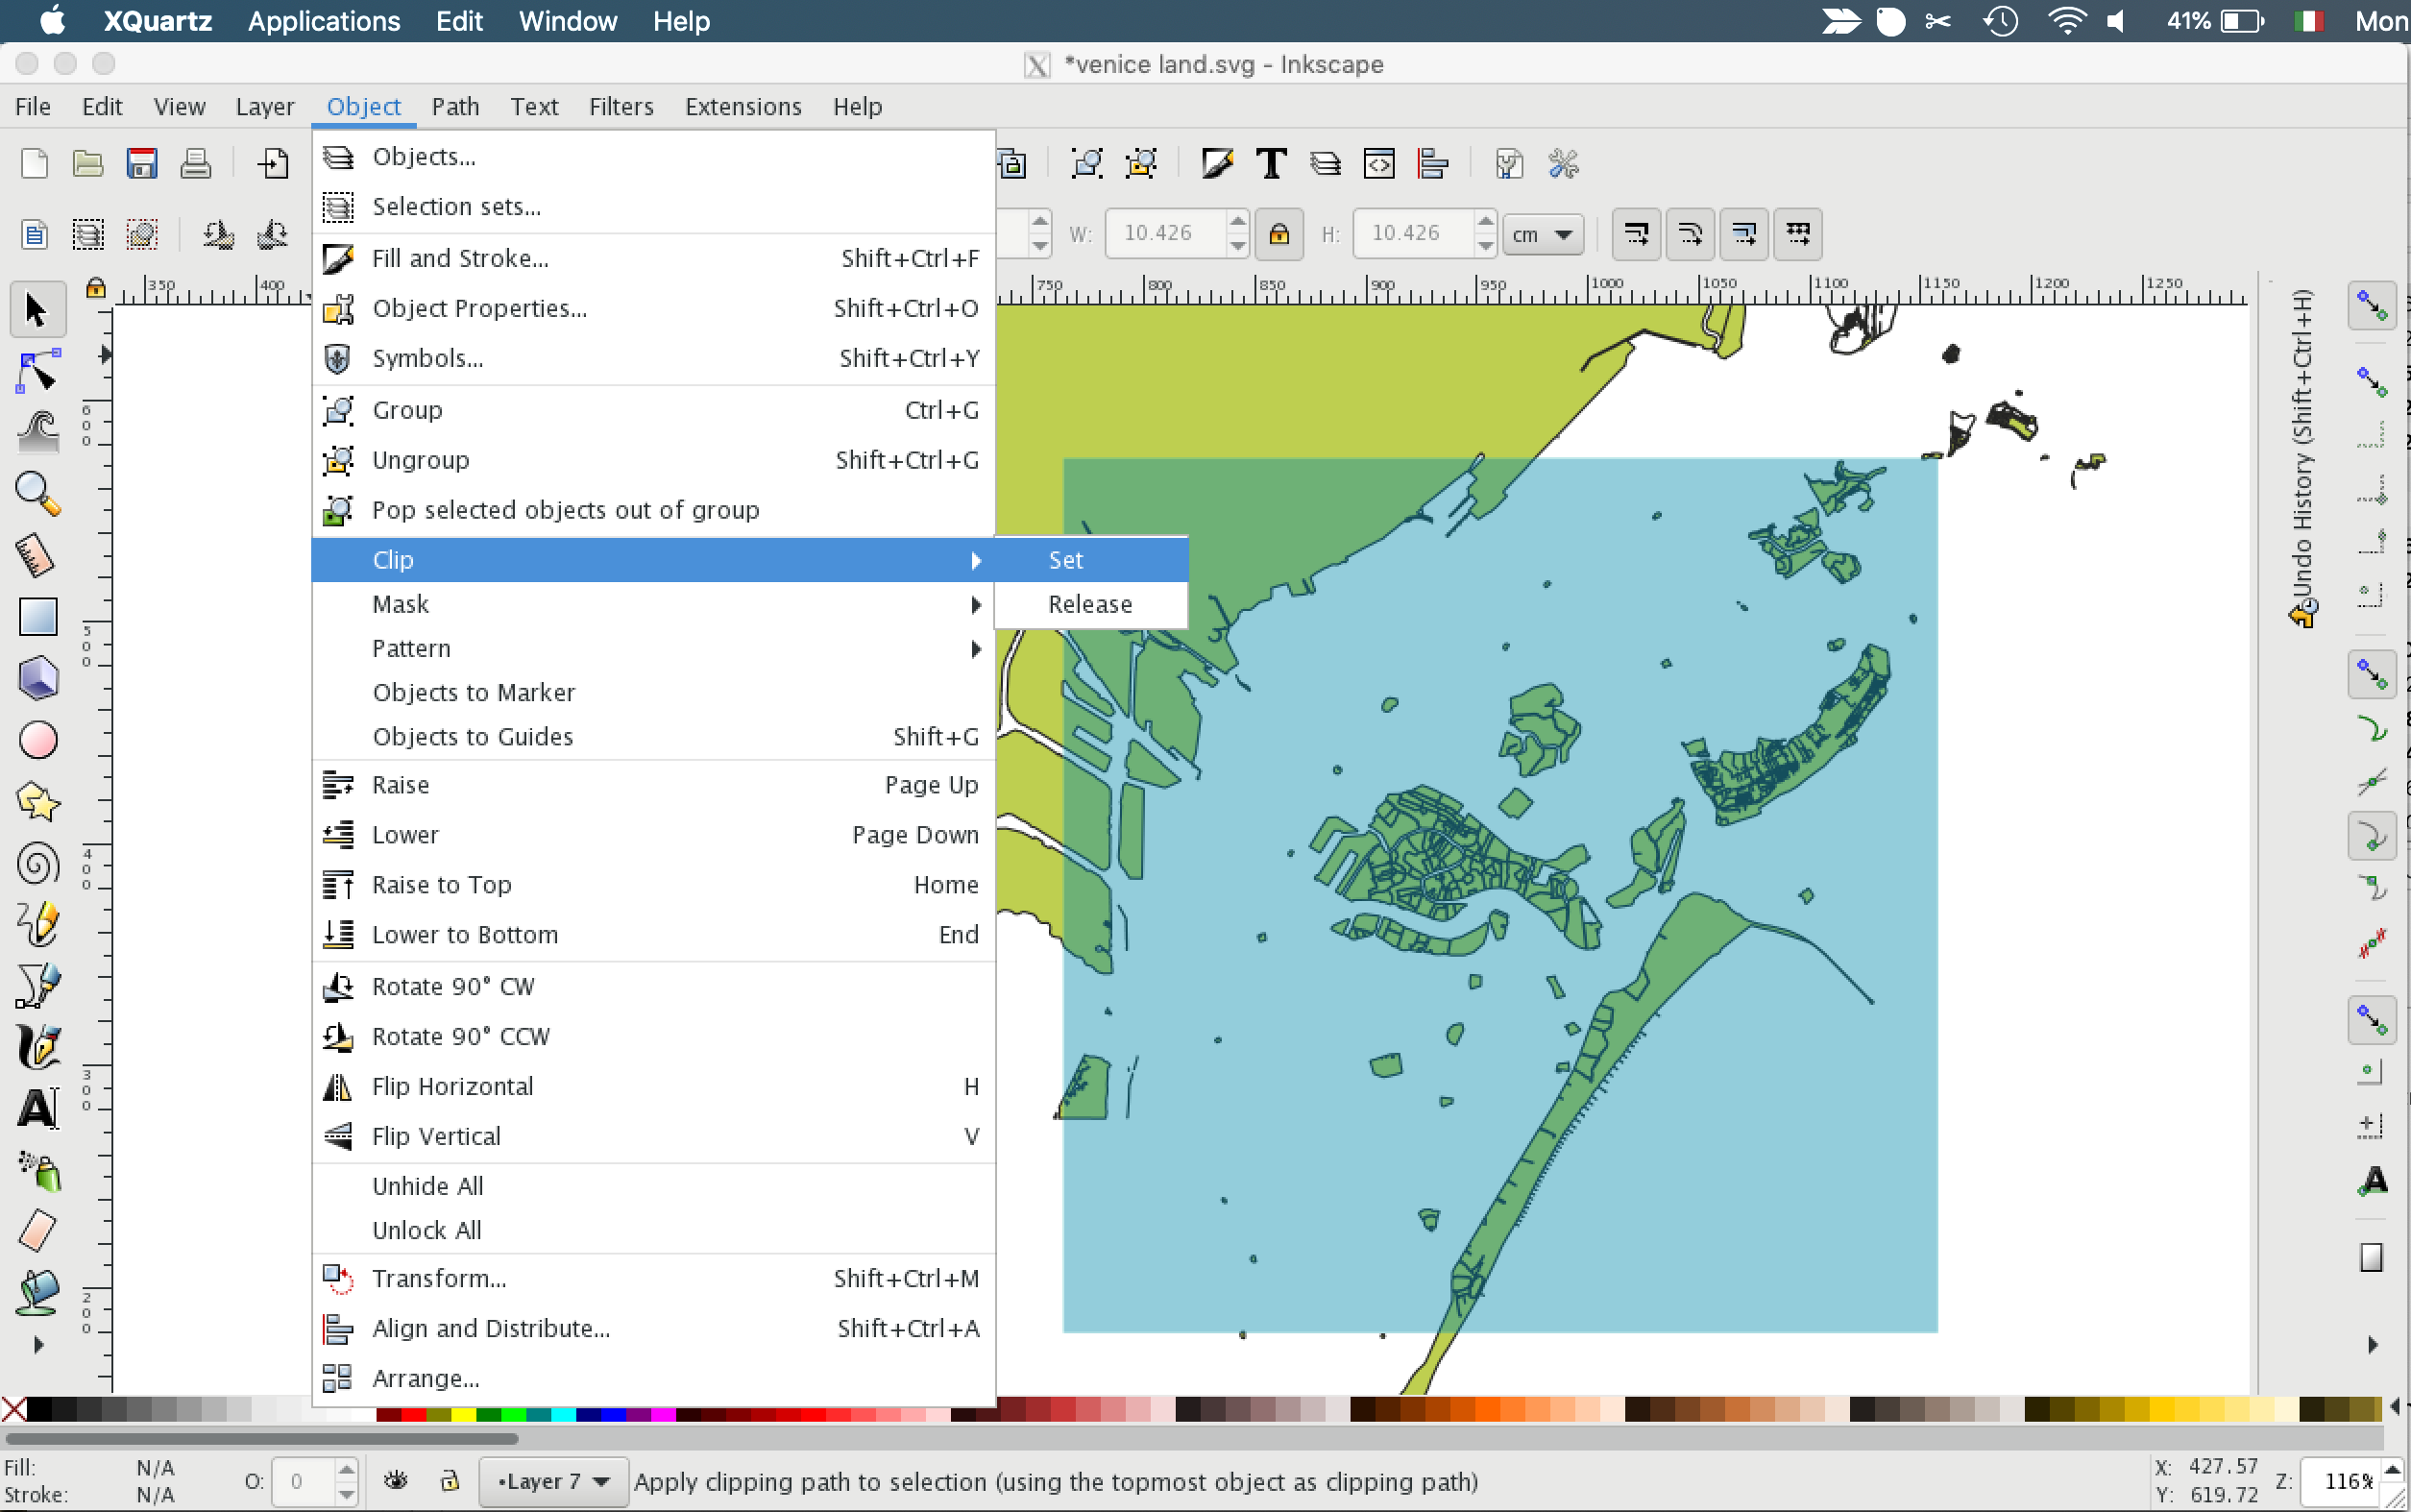
- One .SVG base map with the boundaries you wish to engrave in the plexiglas map. In this case, we used only land/water boundaries, but you can also have buildings, roads, administrative boundaries, etc. Make sure the layers are simplified as much as possible and that the geometries are all valid, otherwise, it will be hard for FreeCAD to handle the amount of vectors. In our case, we uploaded .SHP cartography files into QGIS and exported them as .SVG through the print composer. We then used Inkscape to select the square area we want to engrave on the 50x50 cm plexiglas surface.
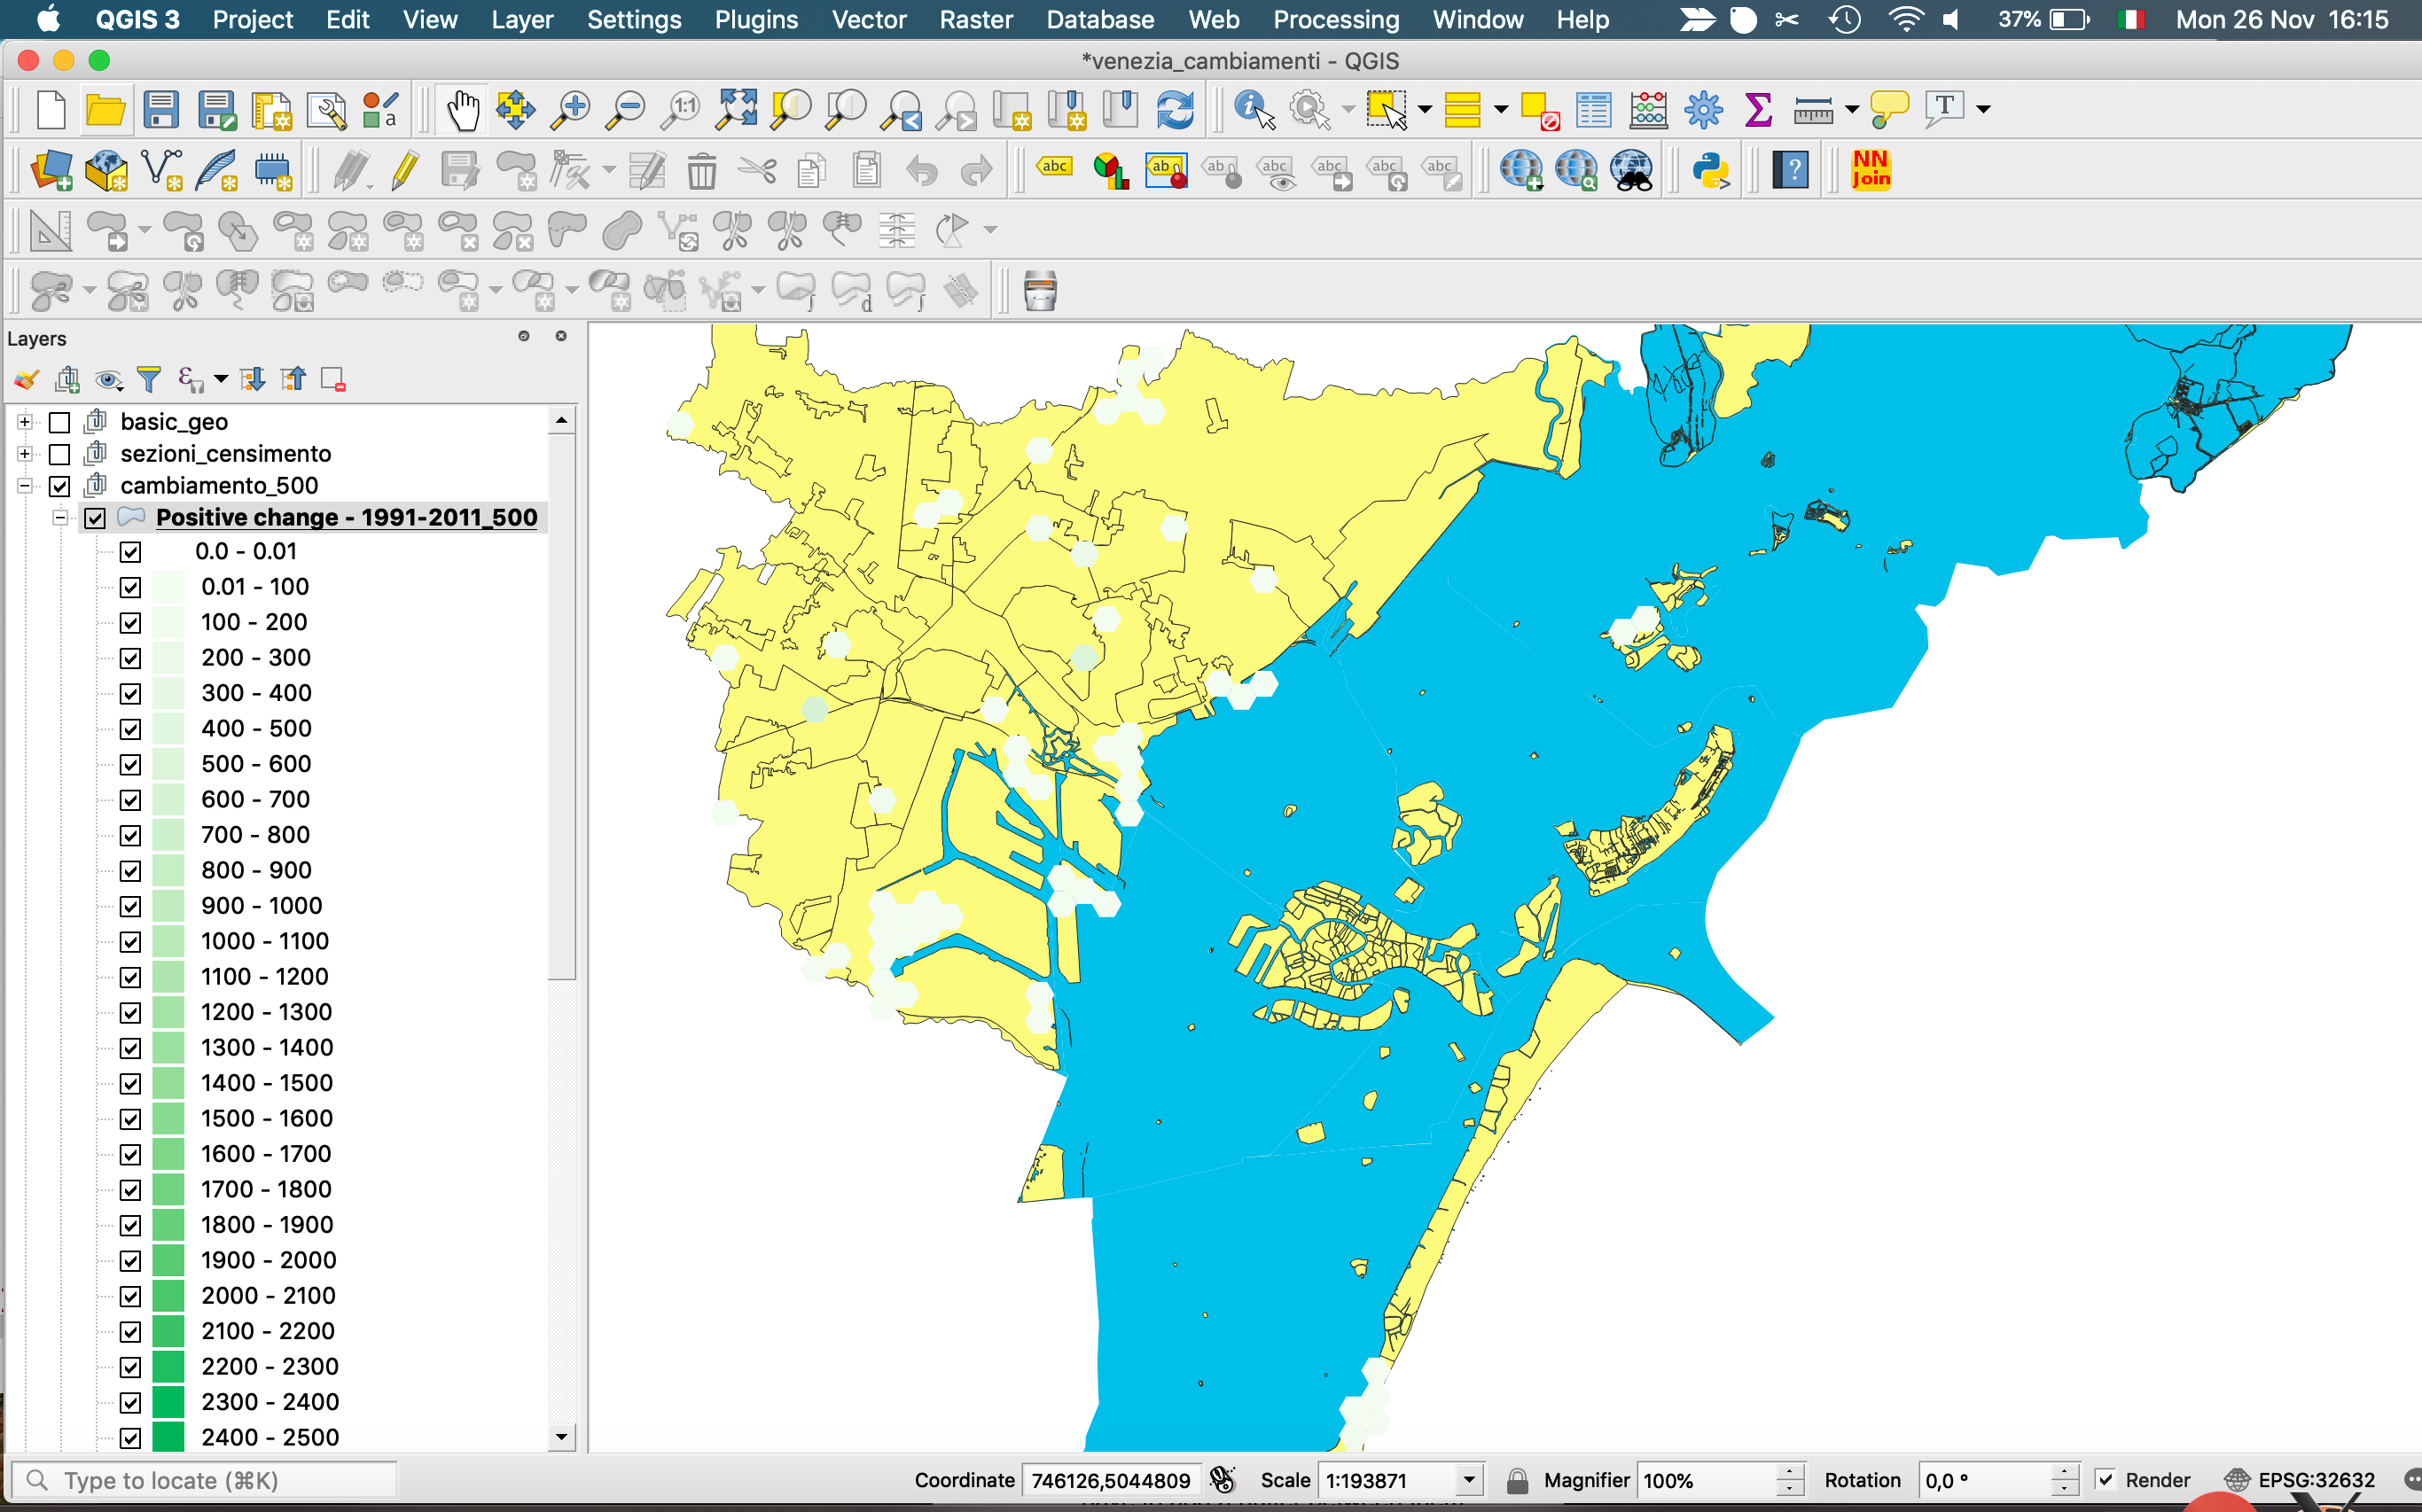
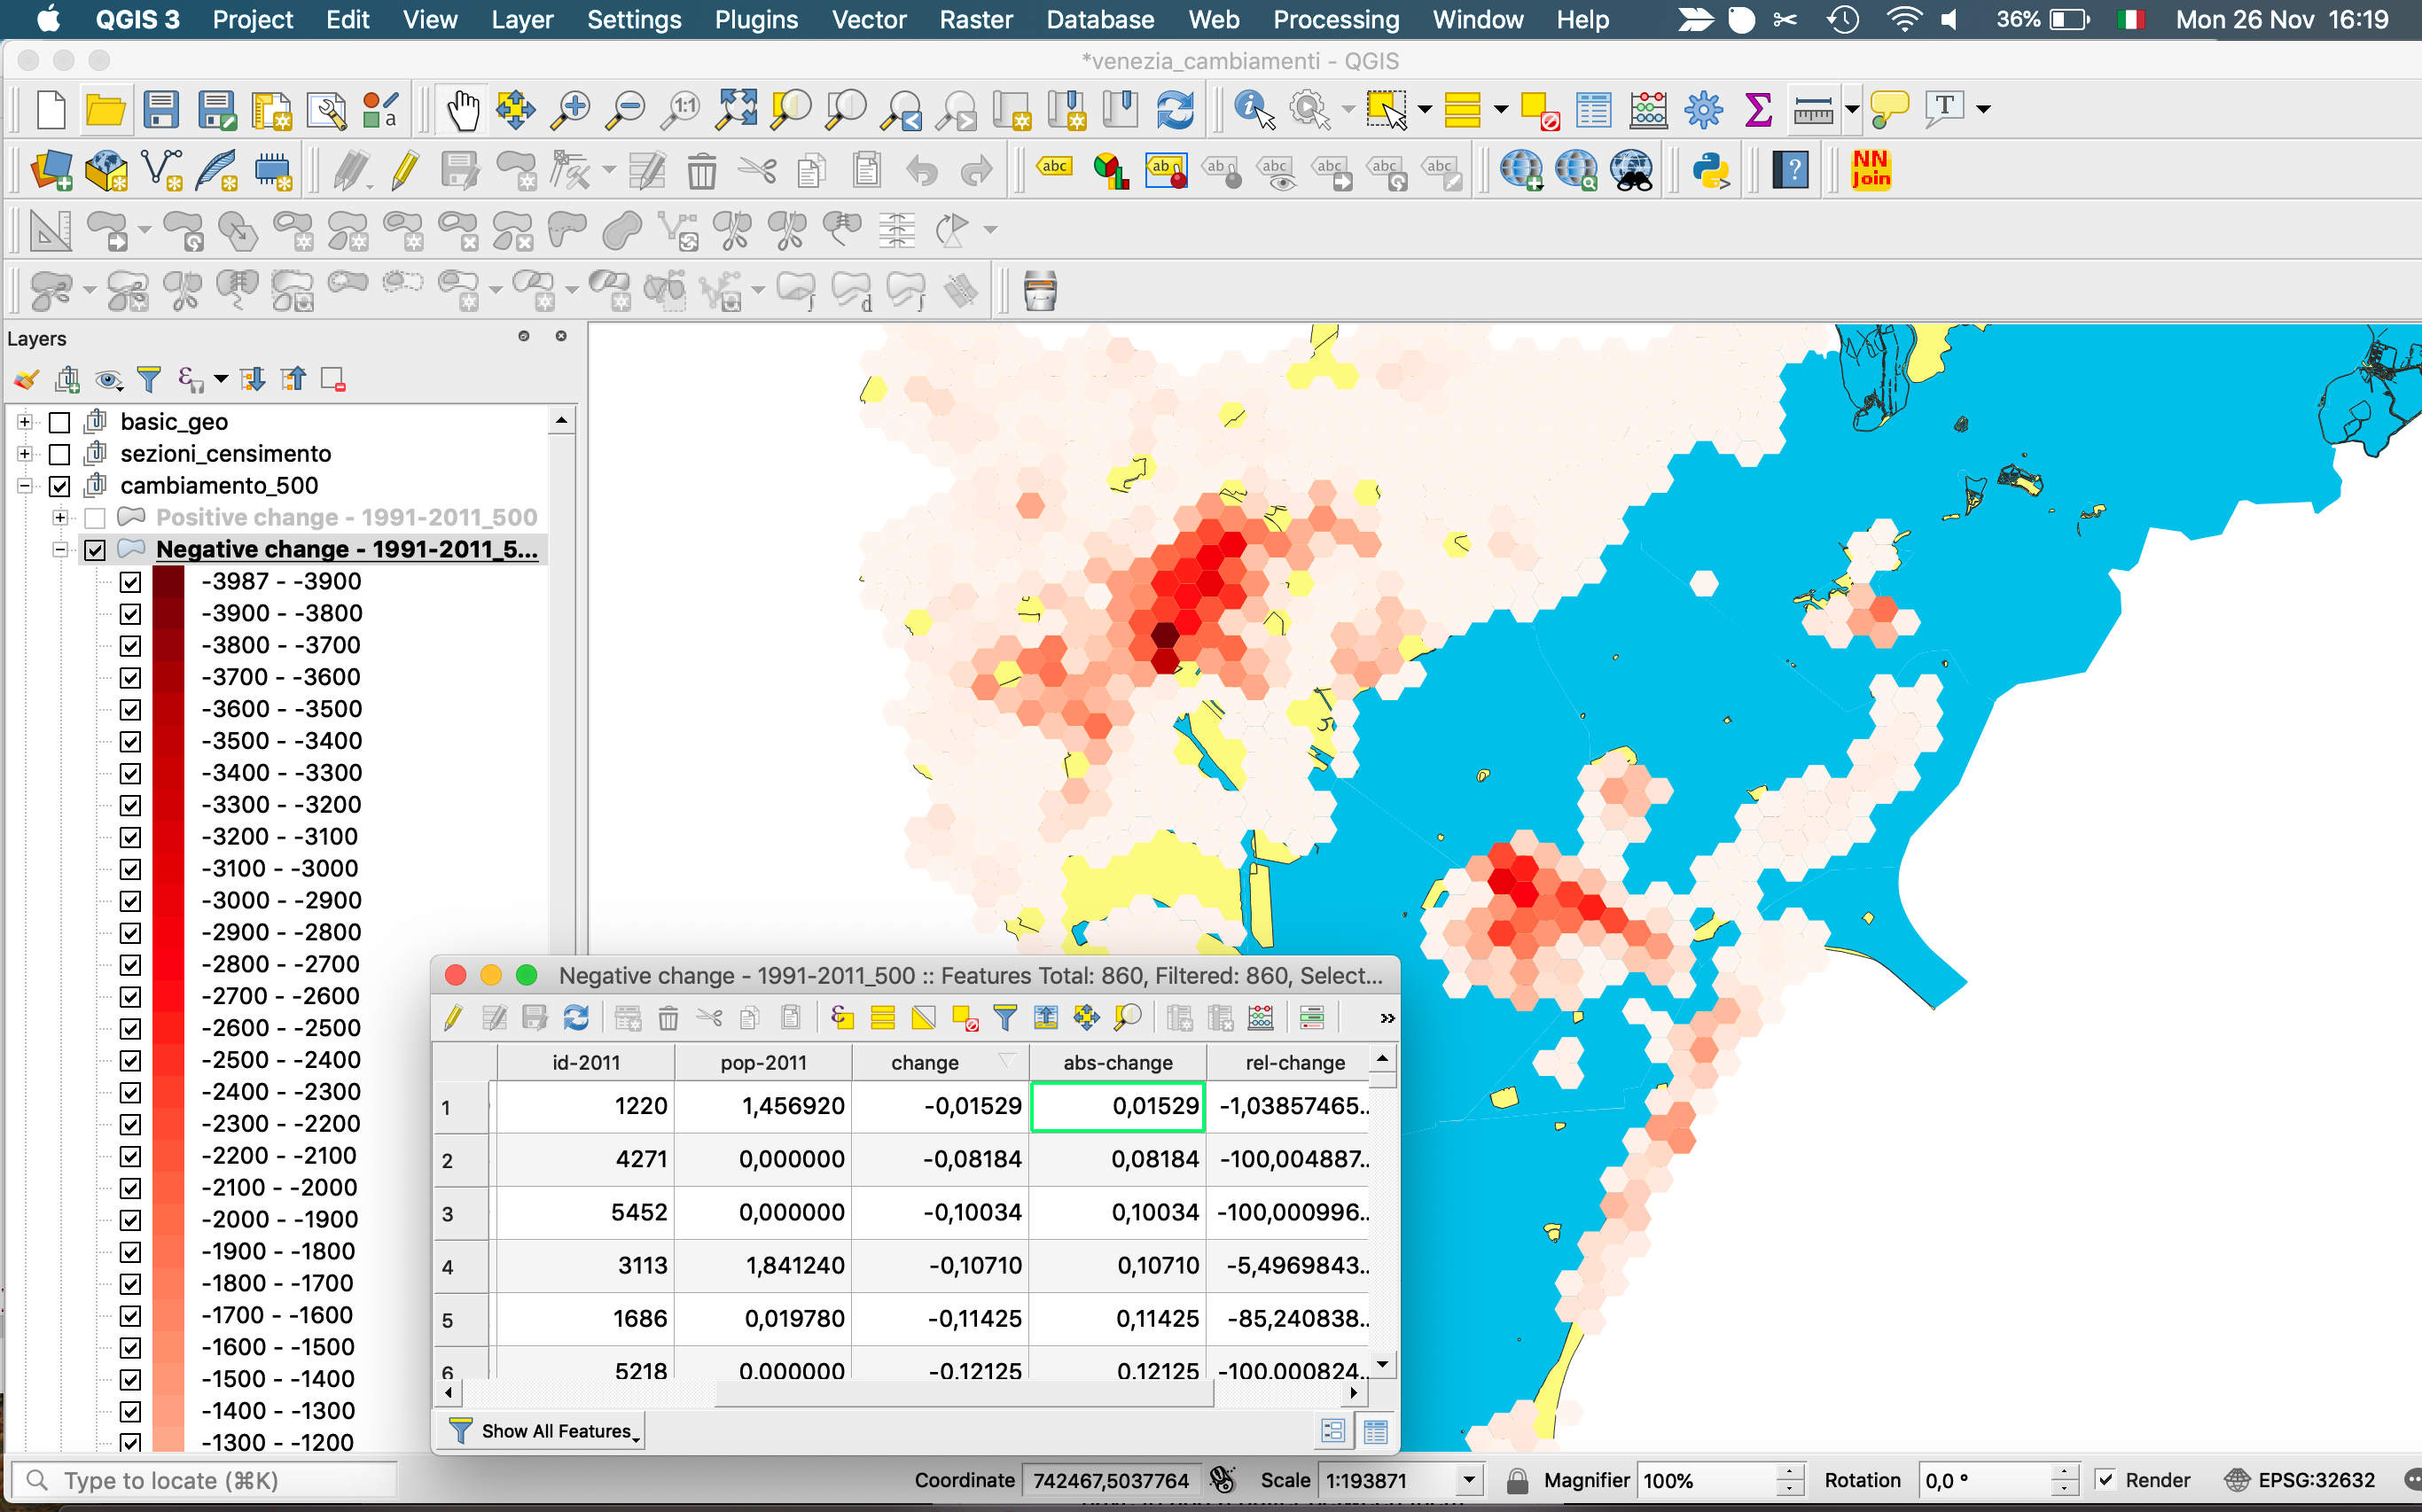
- Two .SHP files with a hexagon grid containing 1 attribute for each hexagonal polygon. In our case, we used QGIS to create such file. We started from census tract data for the 1991 and 2011 census in Venice and mapped the values to a 250x250 m hexagon grid. We then subtracted the 1991 value for each hexagonal polygon from the 2011 value, resulting in a hexagonal grid layer where each polygon contained population change between 1991 and 2011. We the split the layer so that one contained only hexagons with positive change and one only those with negative change. In the layer with negative values, we add a column containing the absolute values. We then exported both of these layers as separate .SHP and used them for the tutorial. It does not matter if these shapefiles stretch beyond the square area of your SVG map: you will refine them to match the dimensions of the SVG map during the tutorial. You are welcome to reproduce the tutorial with other types of shapefiles containing different polygons than hexagons, for example census tract, cities, contour lines, etc.
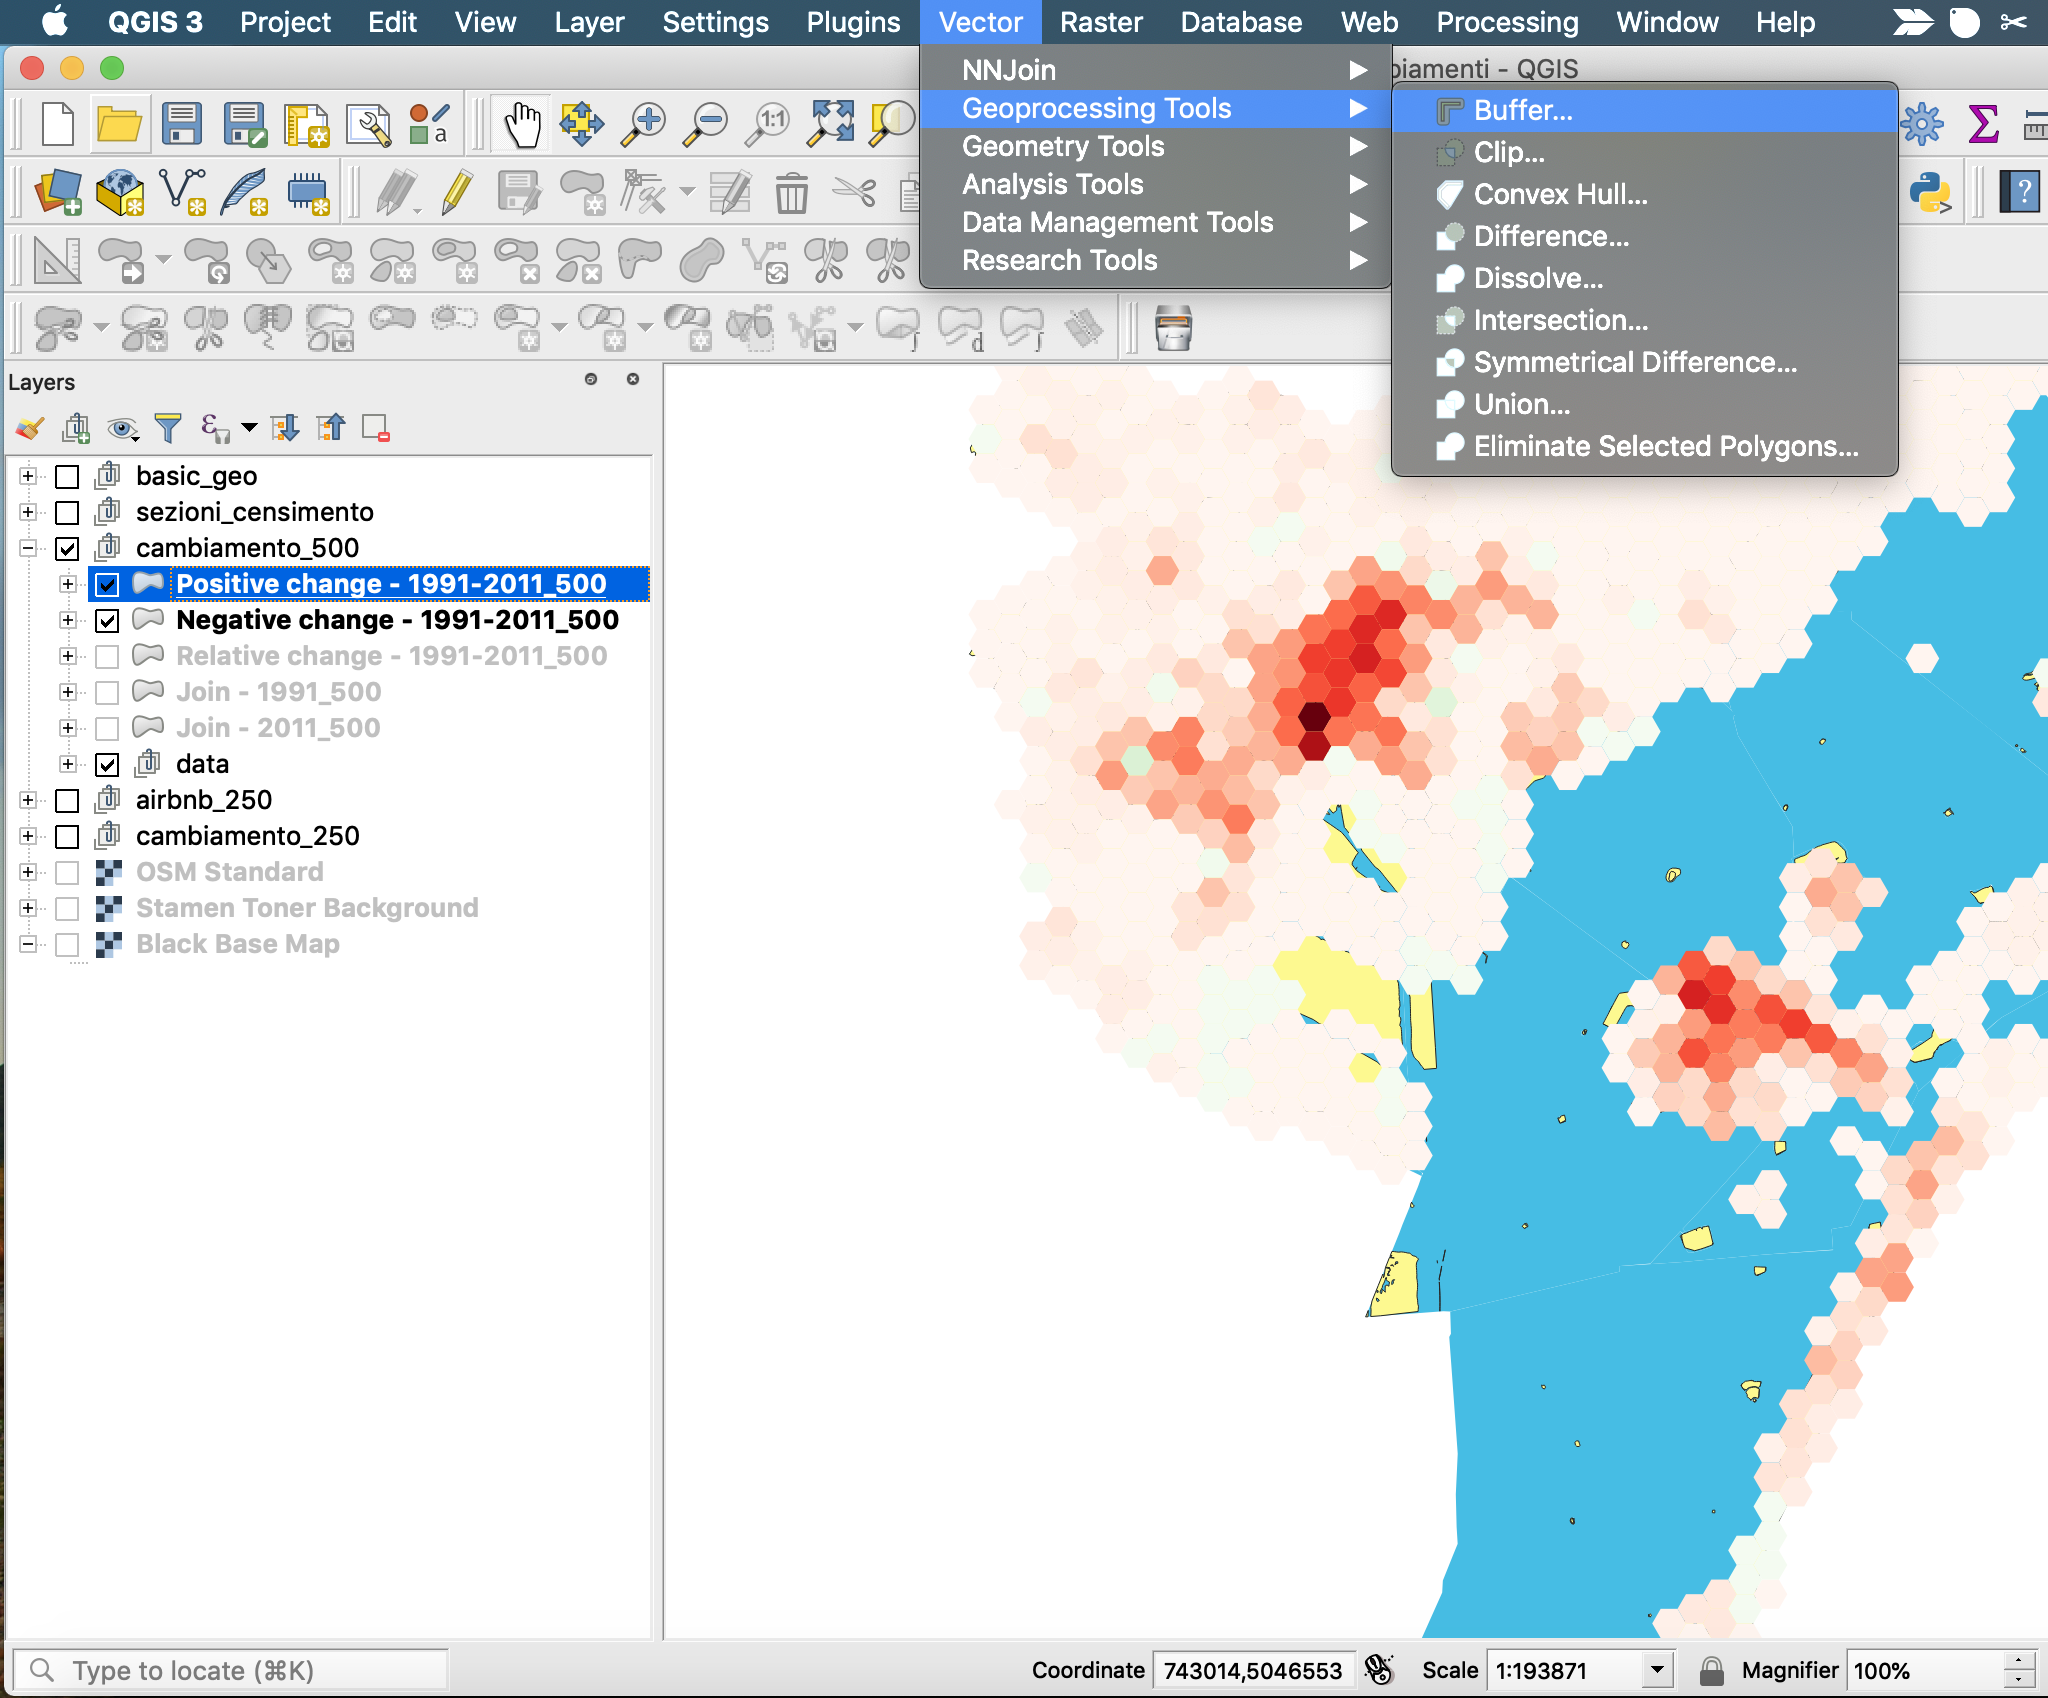
NOTE: the software used needs to work with distinct solids with no overlapping lines. In the default hexagonal grid created by mapping software, the polygons have in fact overlapping lines. To make sure that the hexagons are workable for the 3D modeling software, you have to add a buffer between them before exporting the .SHP file. Giving the buffer zone a very minimal number is enough, as this removes the overlapping while creating a gap that is essentially imperceptible to the eye.
