Fabrication · 3D Data Maps
Part 2b - The 3D data layers and the 3D legend reference (3D Printing)

Workflow explanations
For this part of the project, it is advised that you first contact the person who will operate the machines to produce the output. This because every machine has its own specs, capabilities, and possibly even software. The following paragraphs show the workflow that works for the specific machine used to produce our prototype, a Prusa i3 mk3. A desktop 3D printer is quite safe to use also for beginners to digital fabrication, unlike the CNC milling machine.
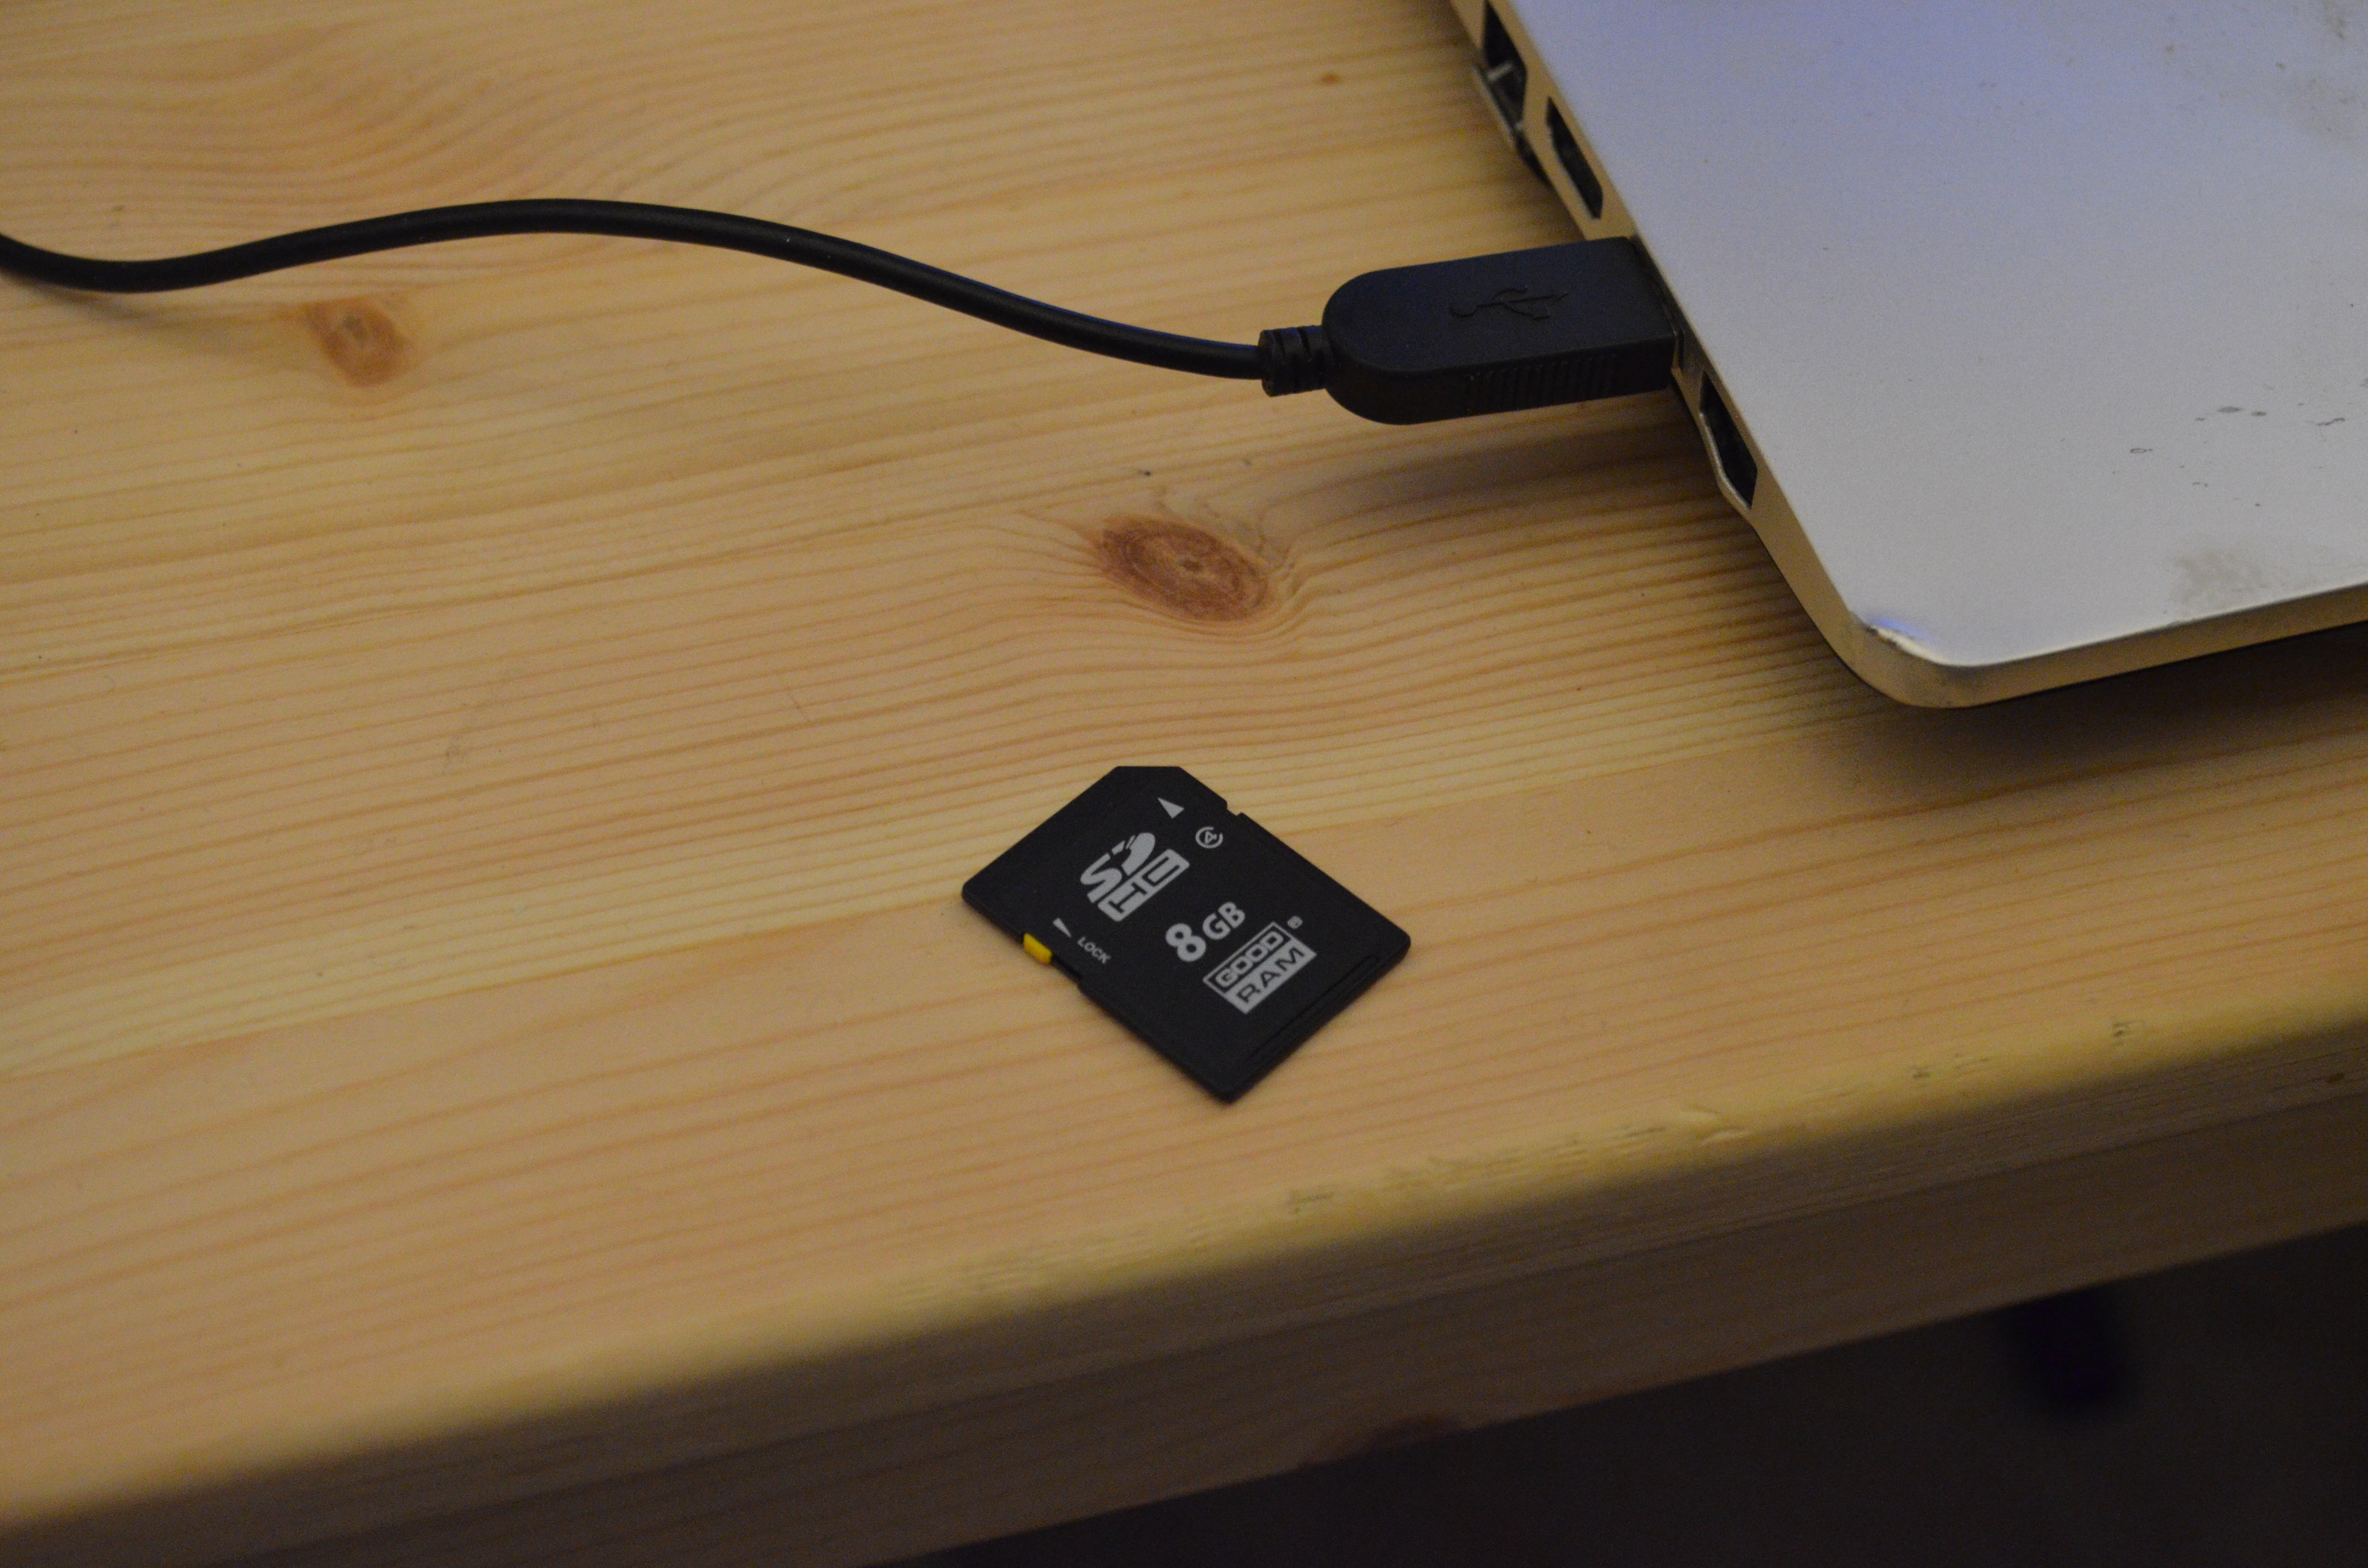
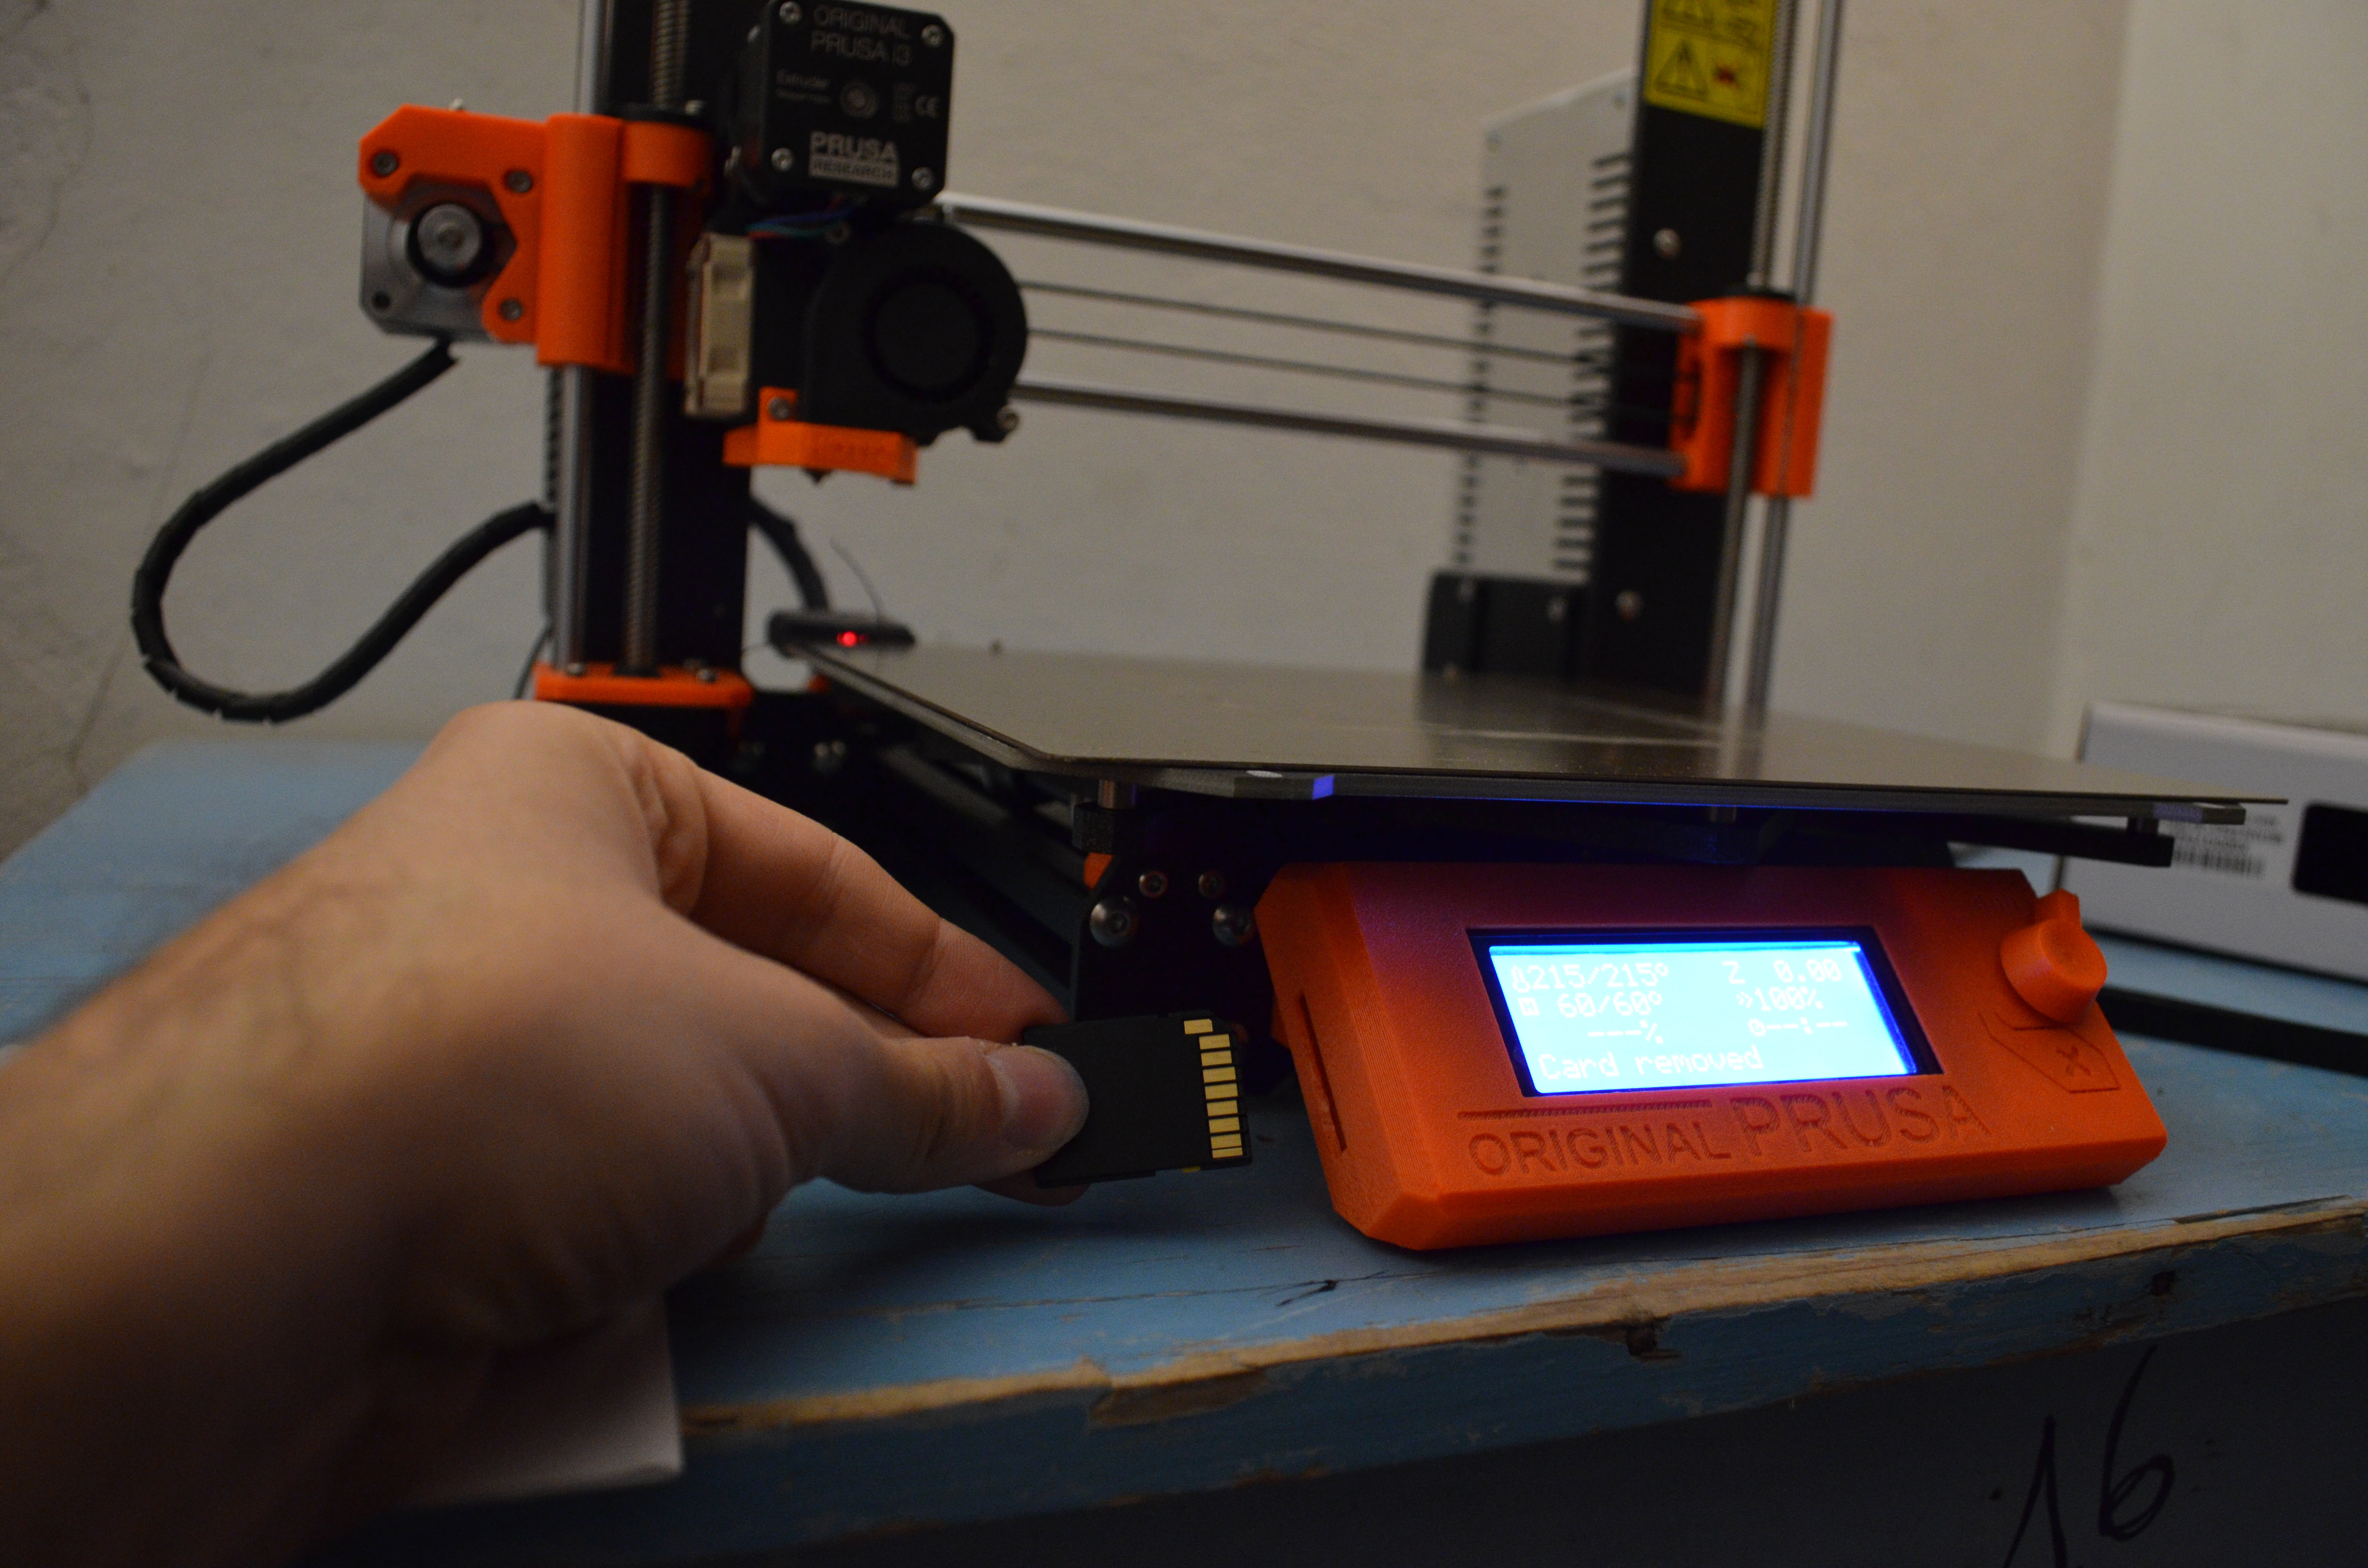
1. Copy the GCode files of all the objects you need to 3D print onto the SD card of your 3D printer. Then, insert the SD card into the machine.
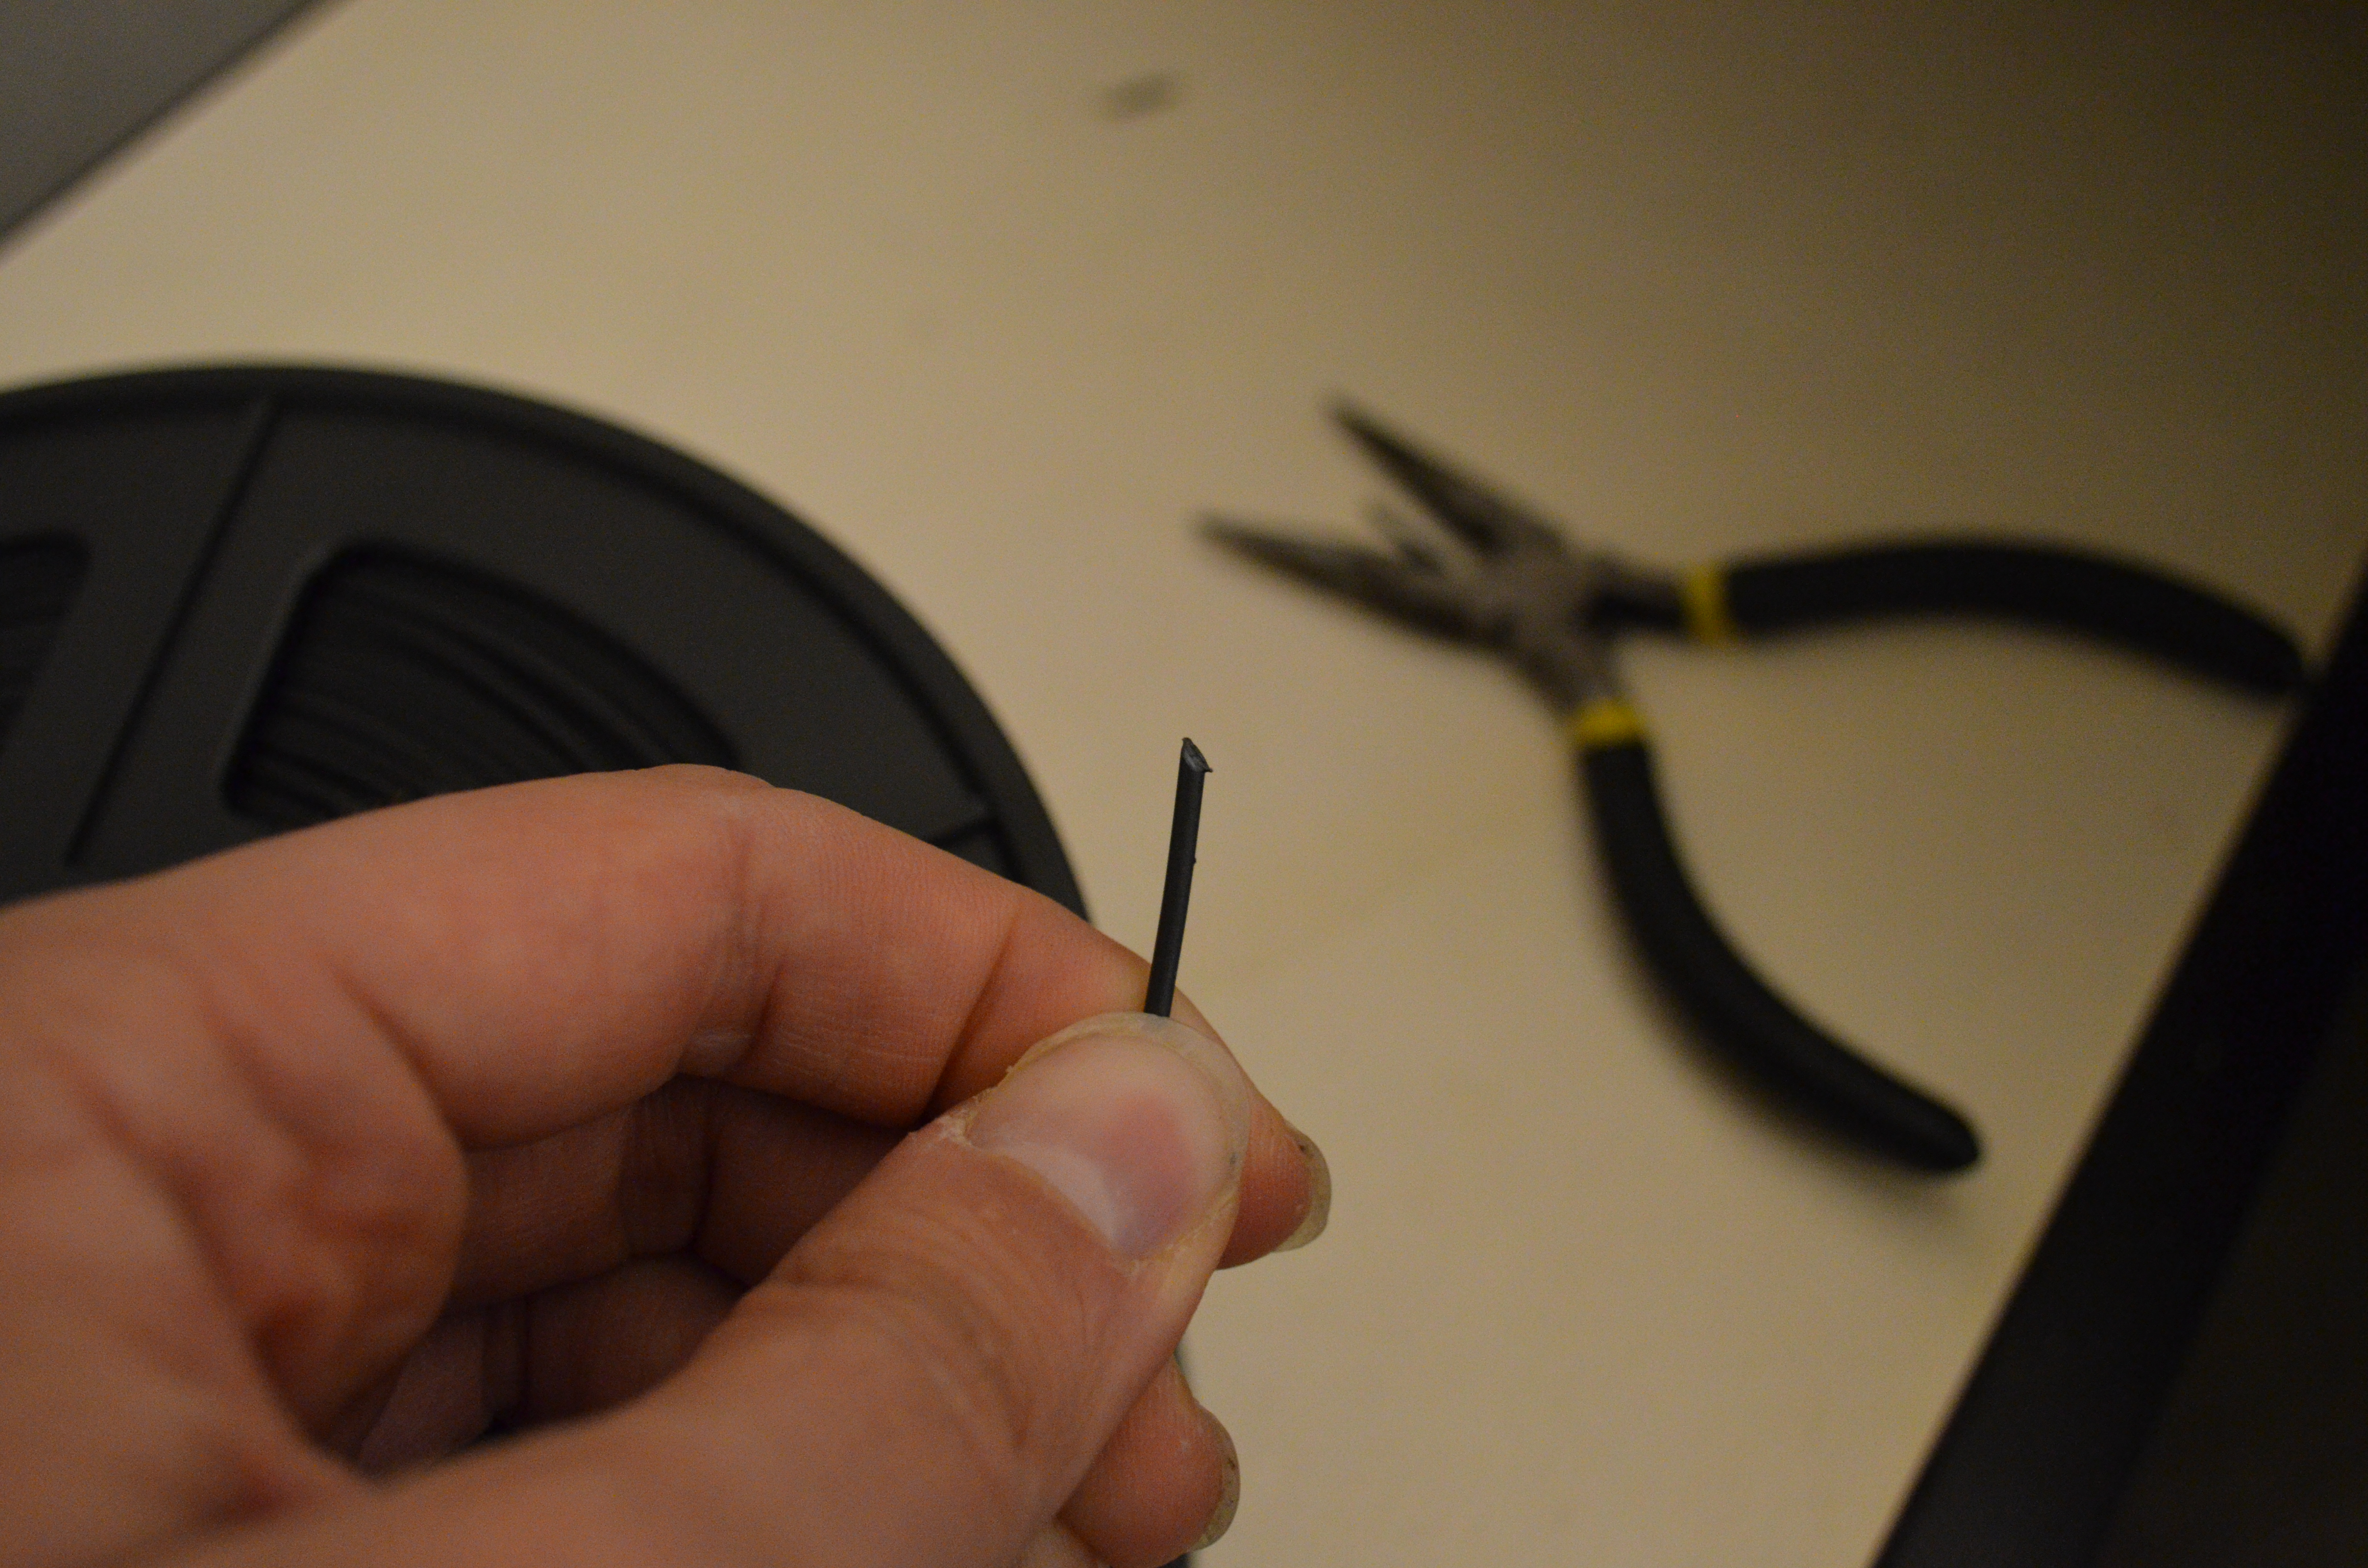
2. Prepare the PLA filament. Unpack it from its bag and cut the starting tip of the filament so that it is pointy.
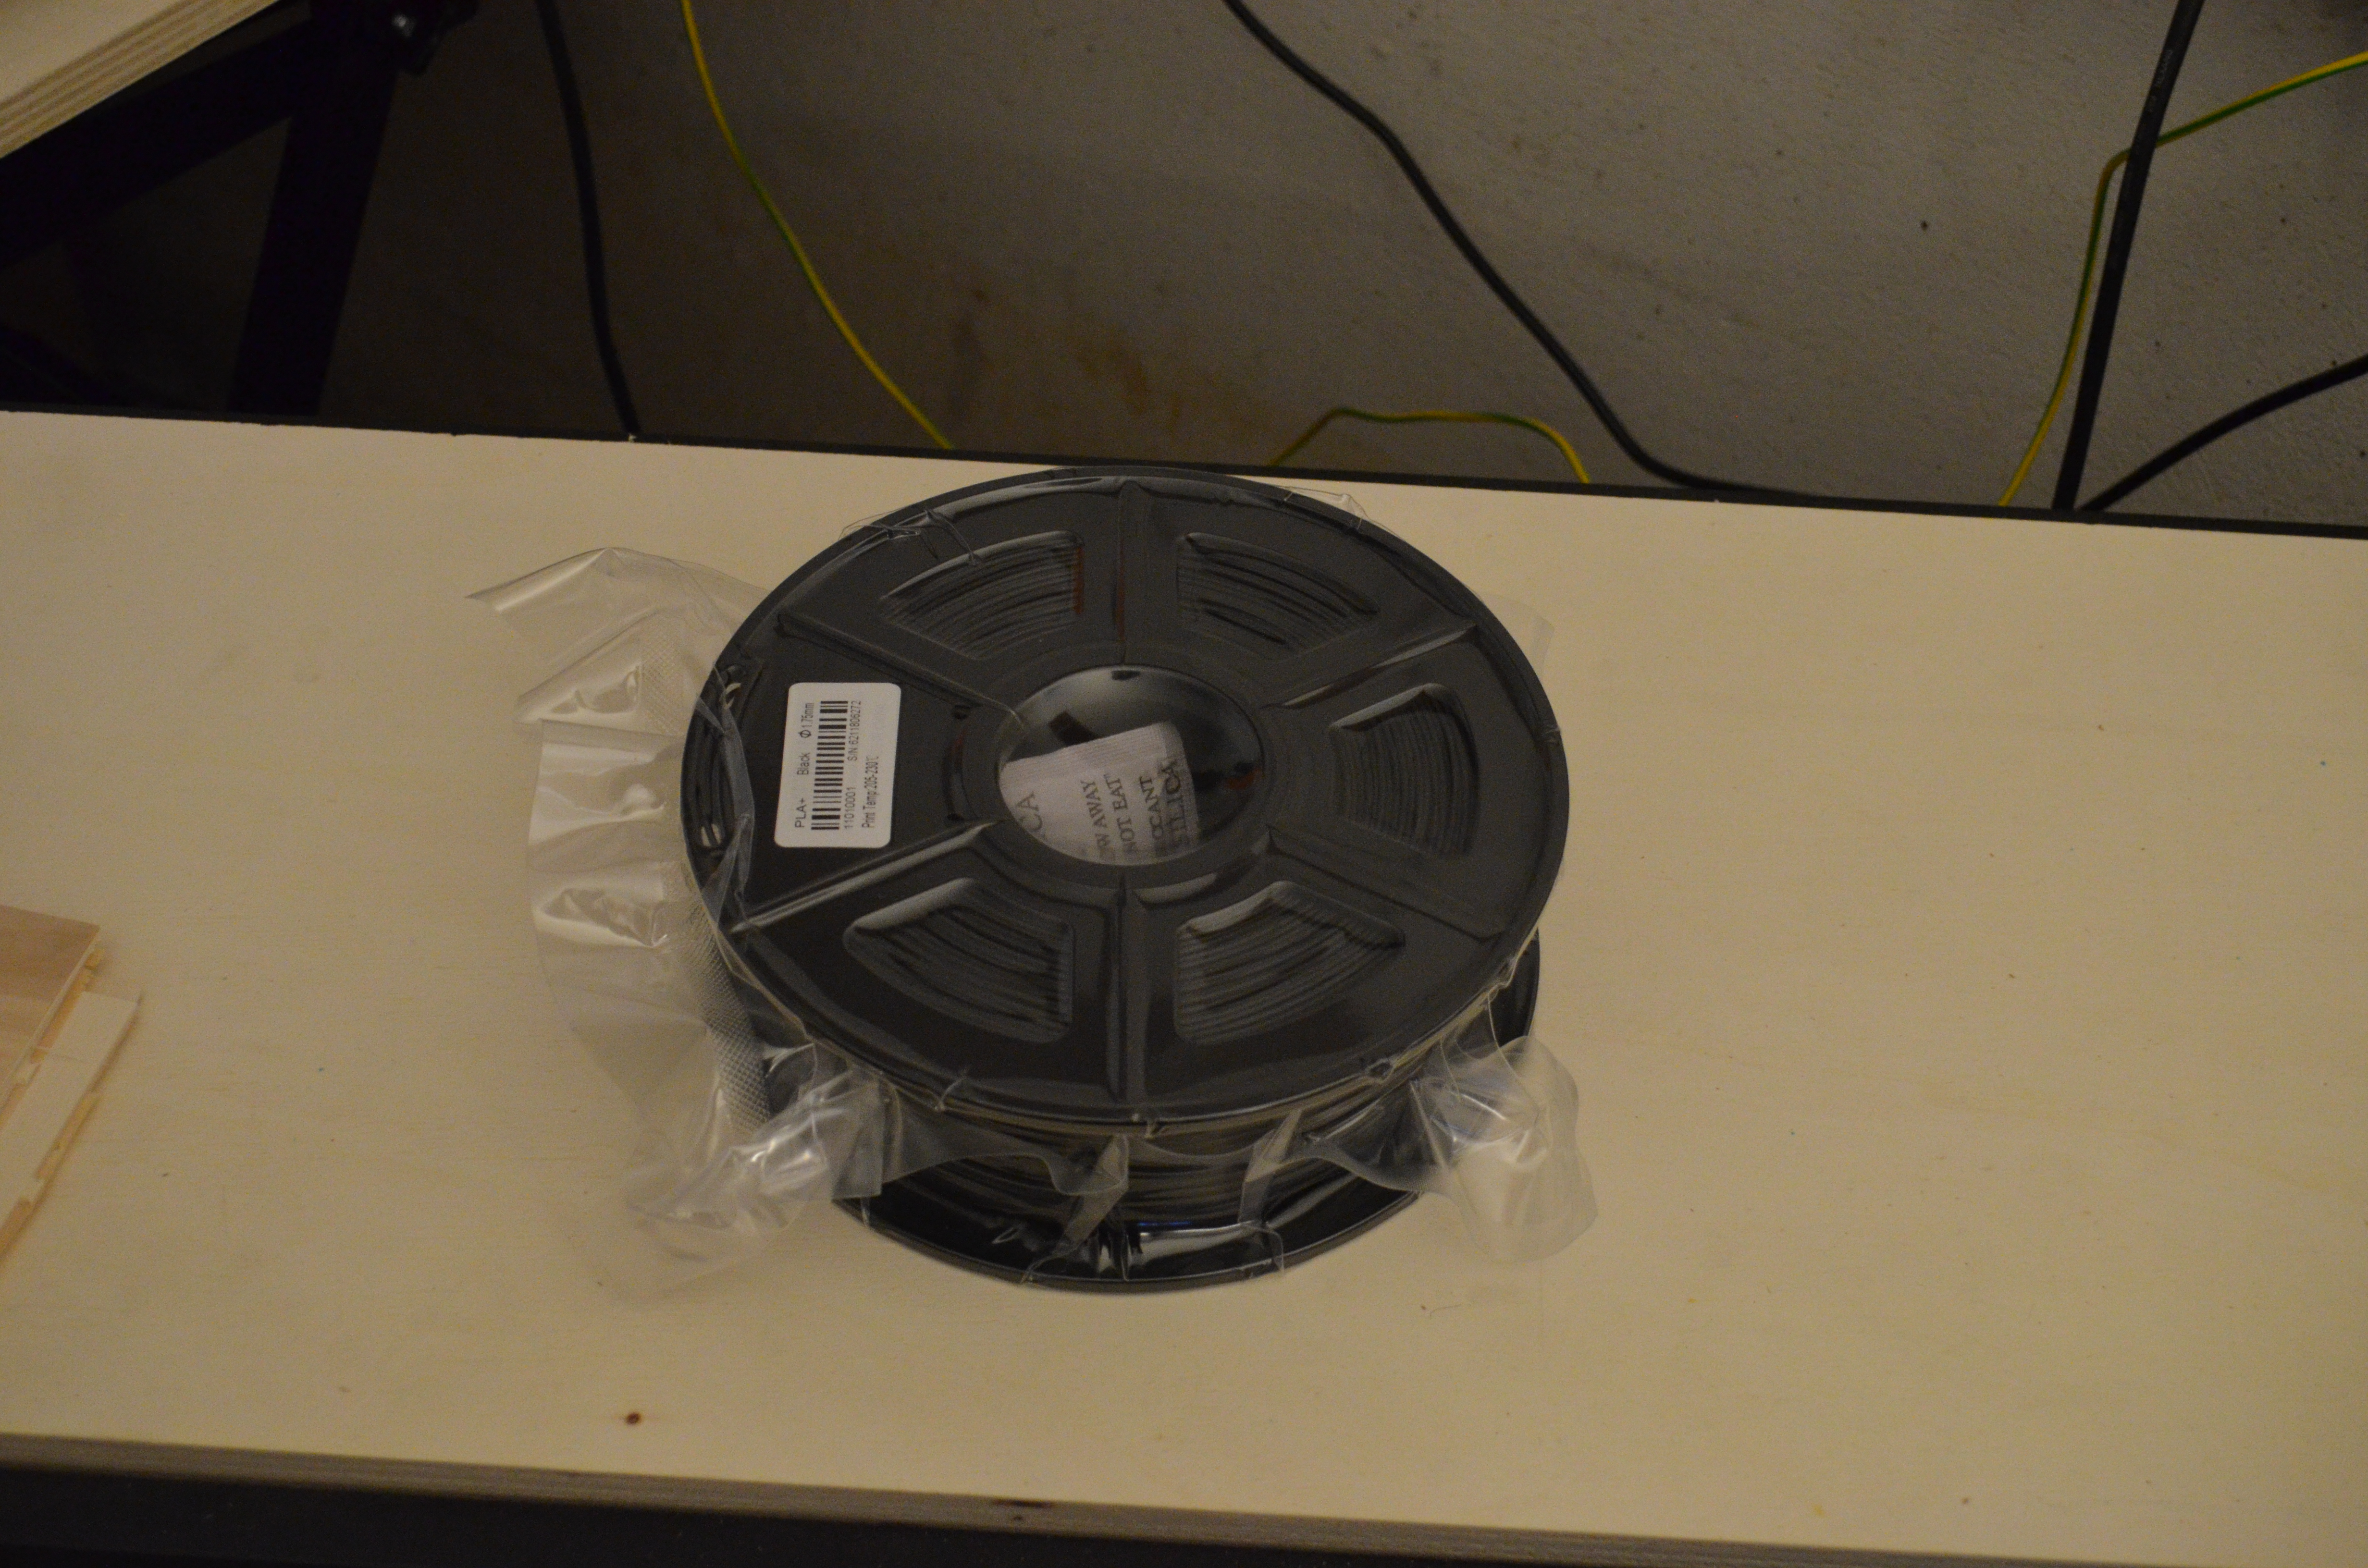
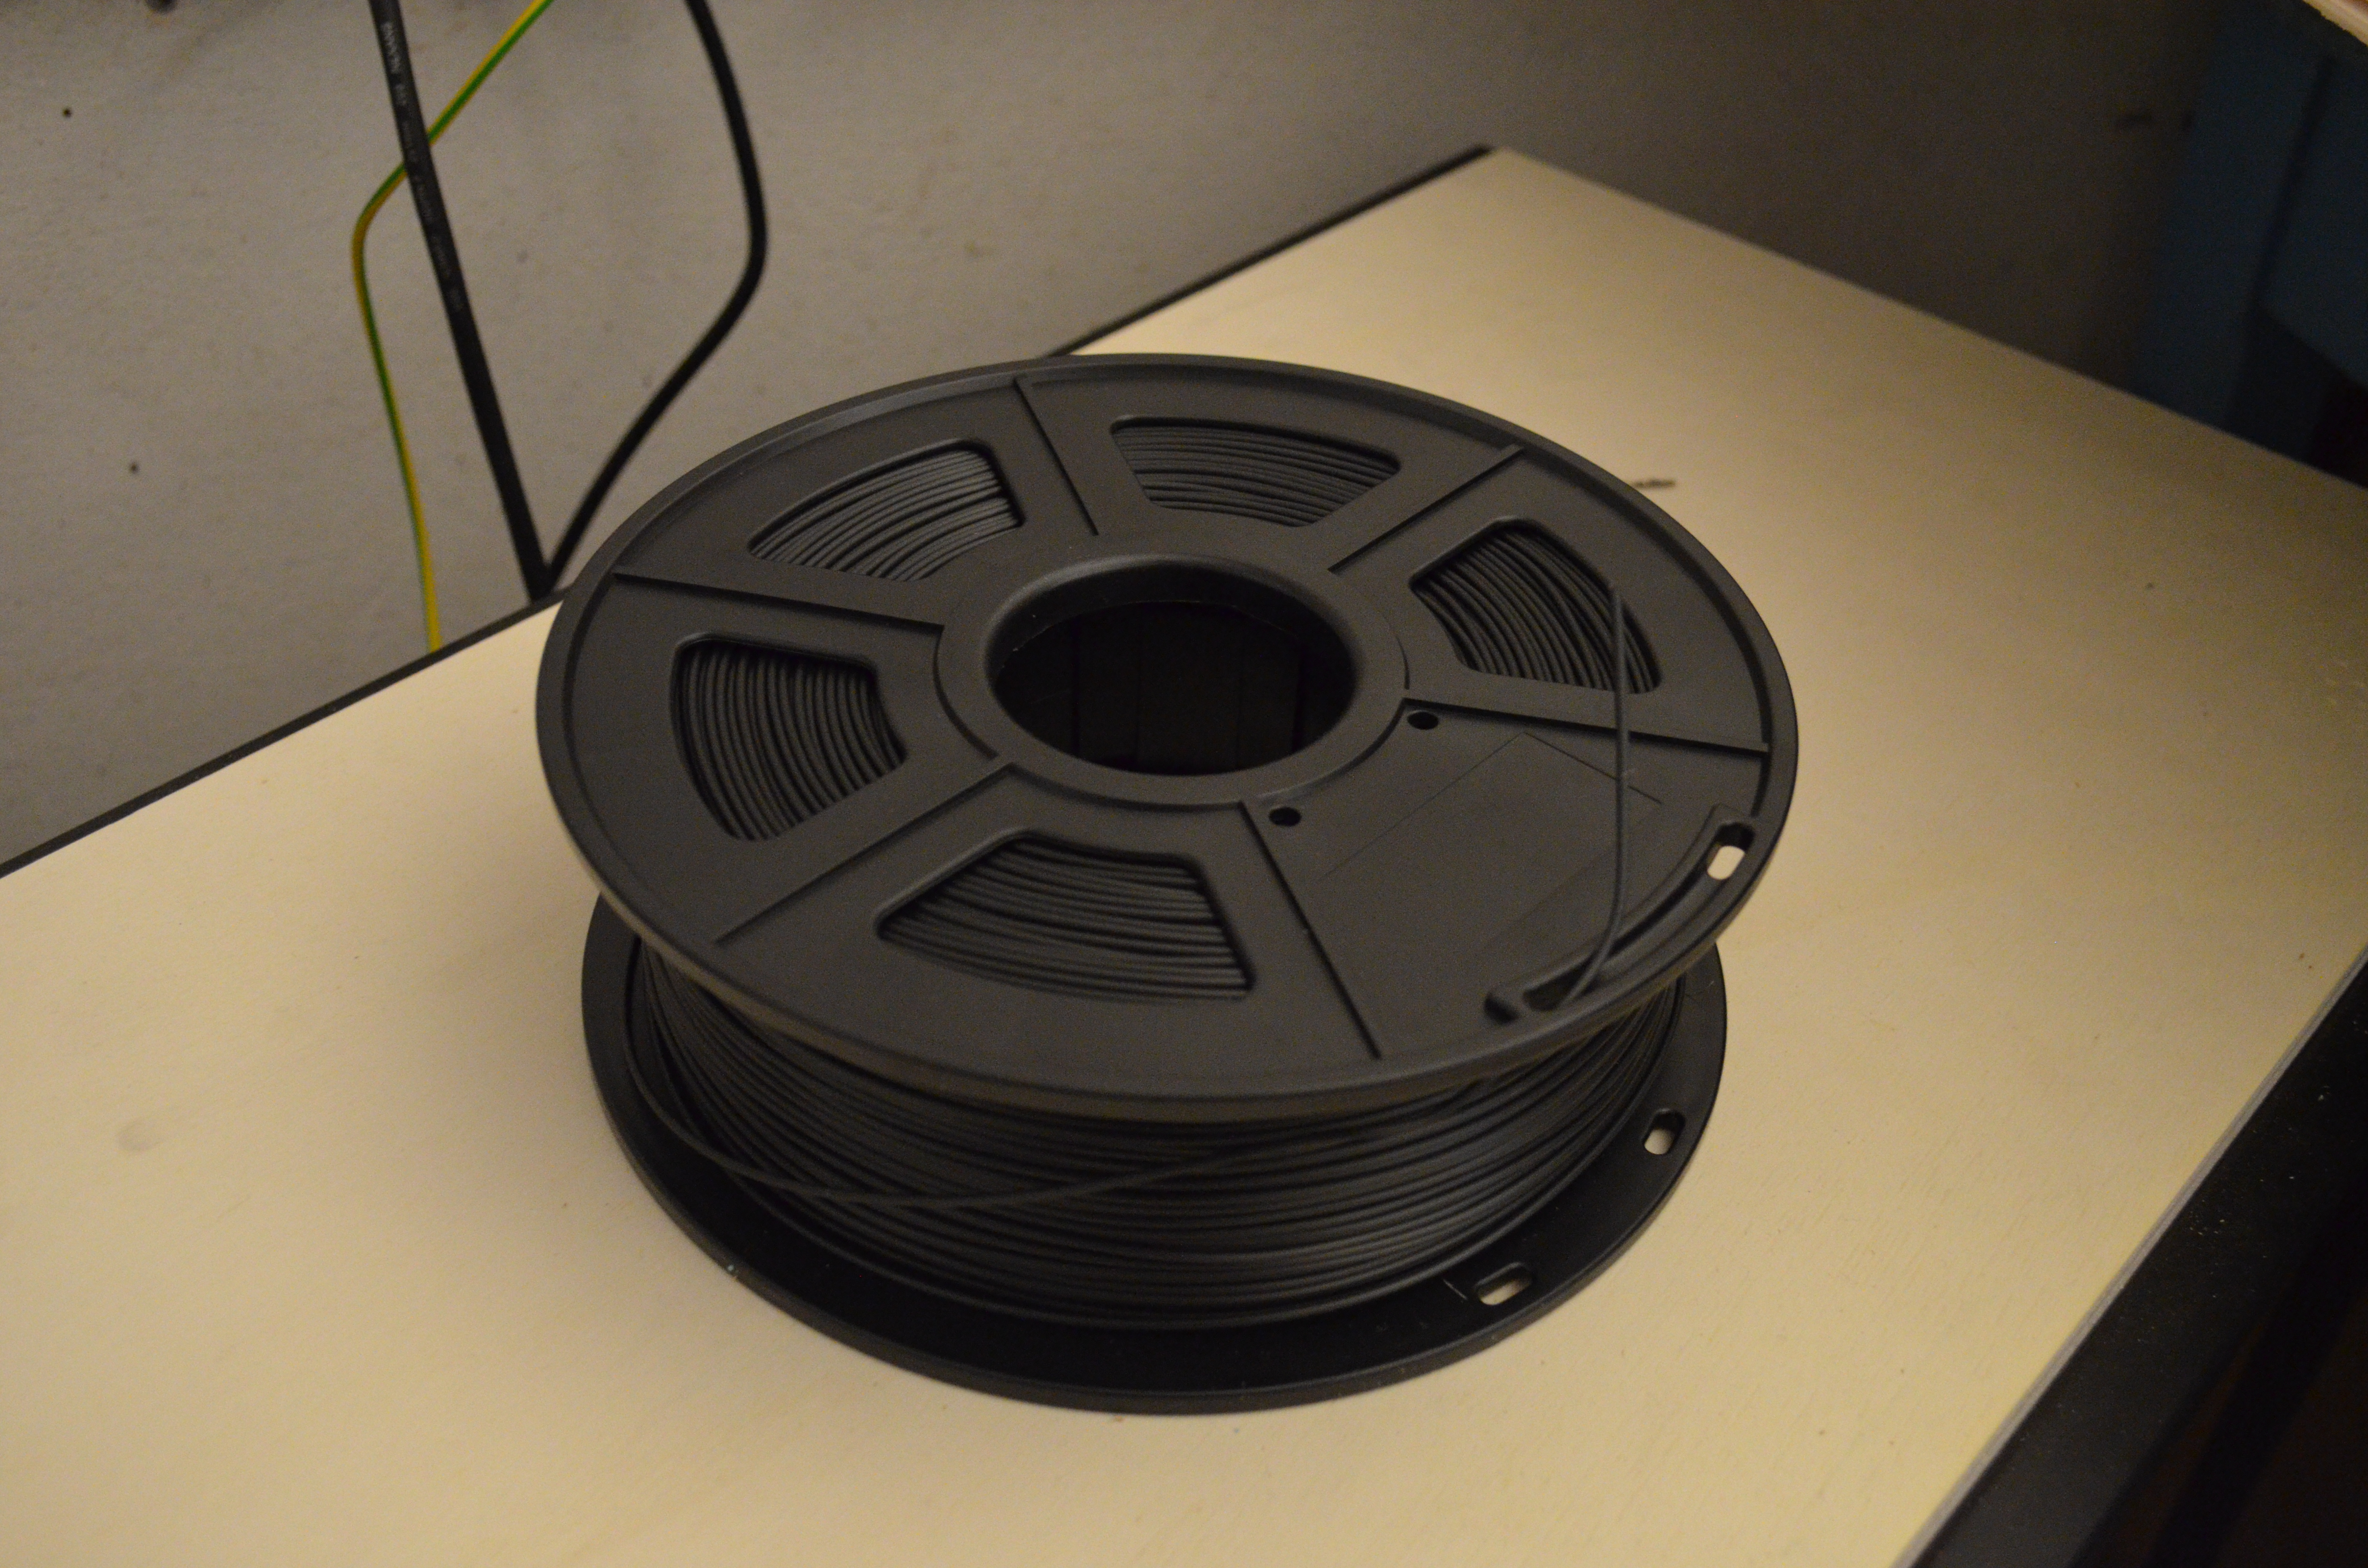
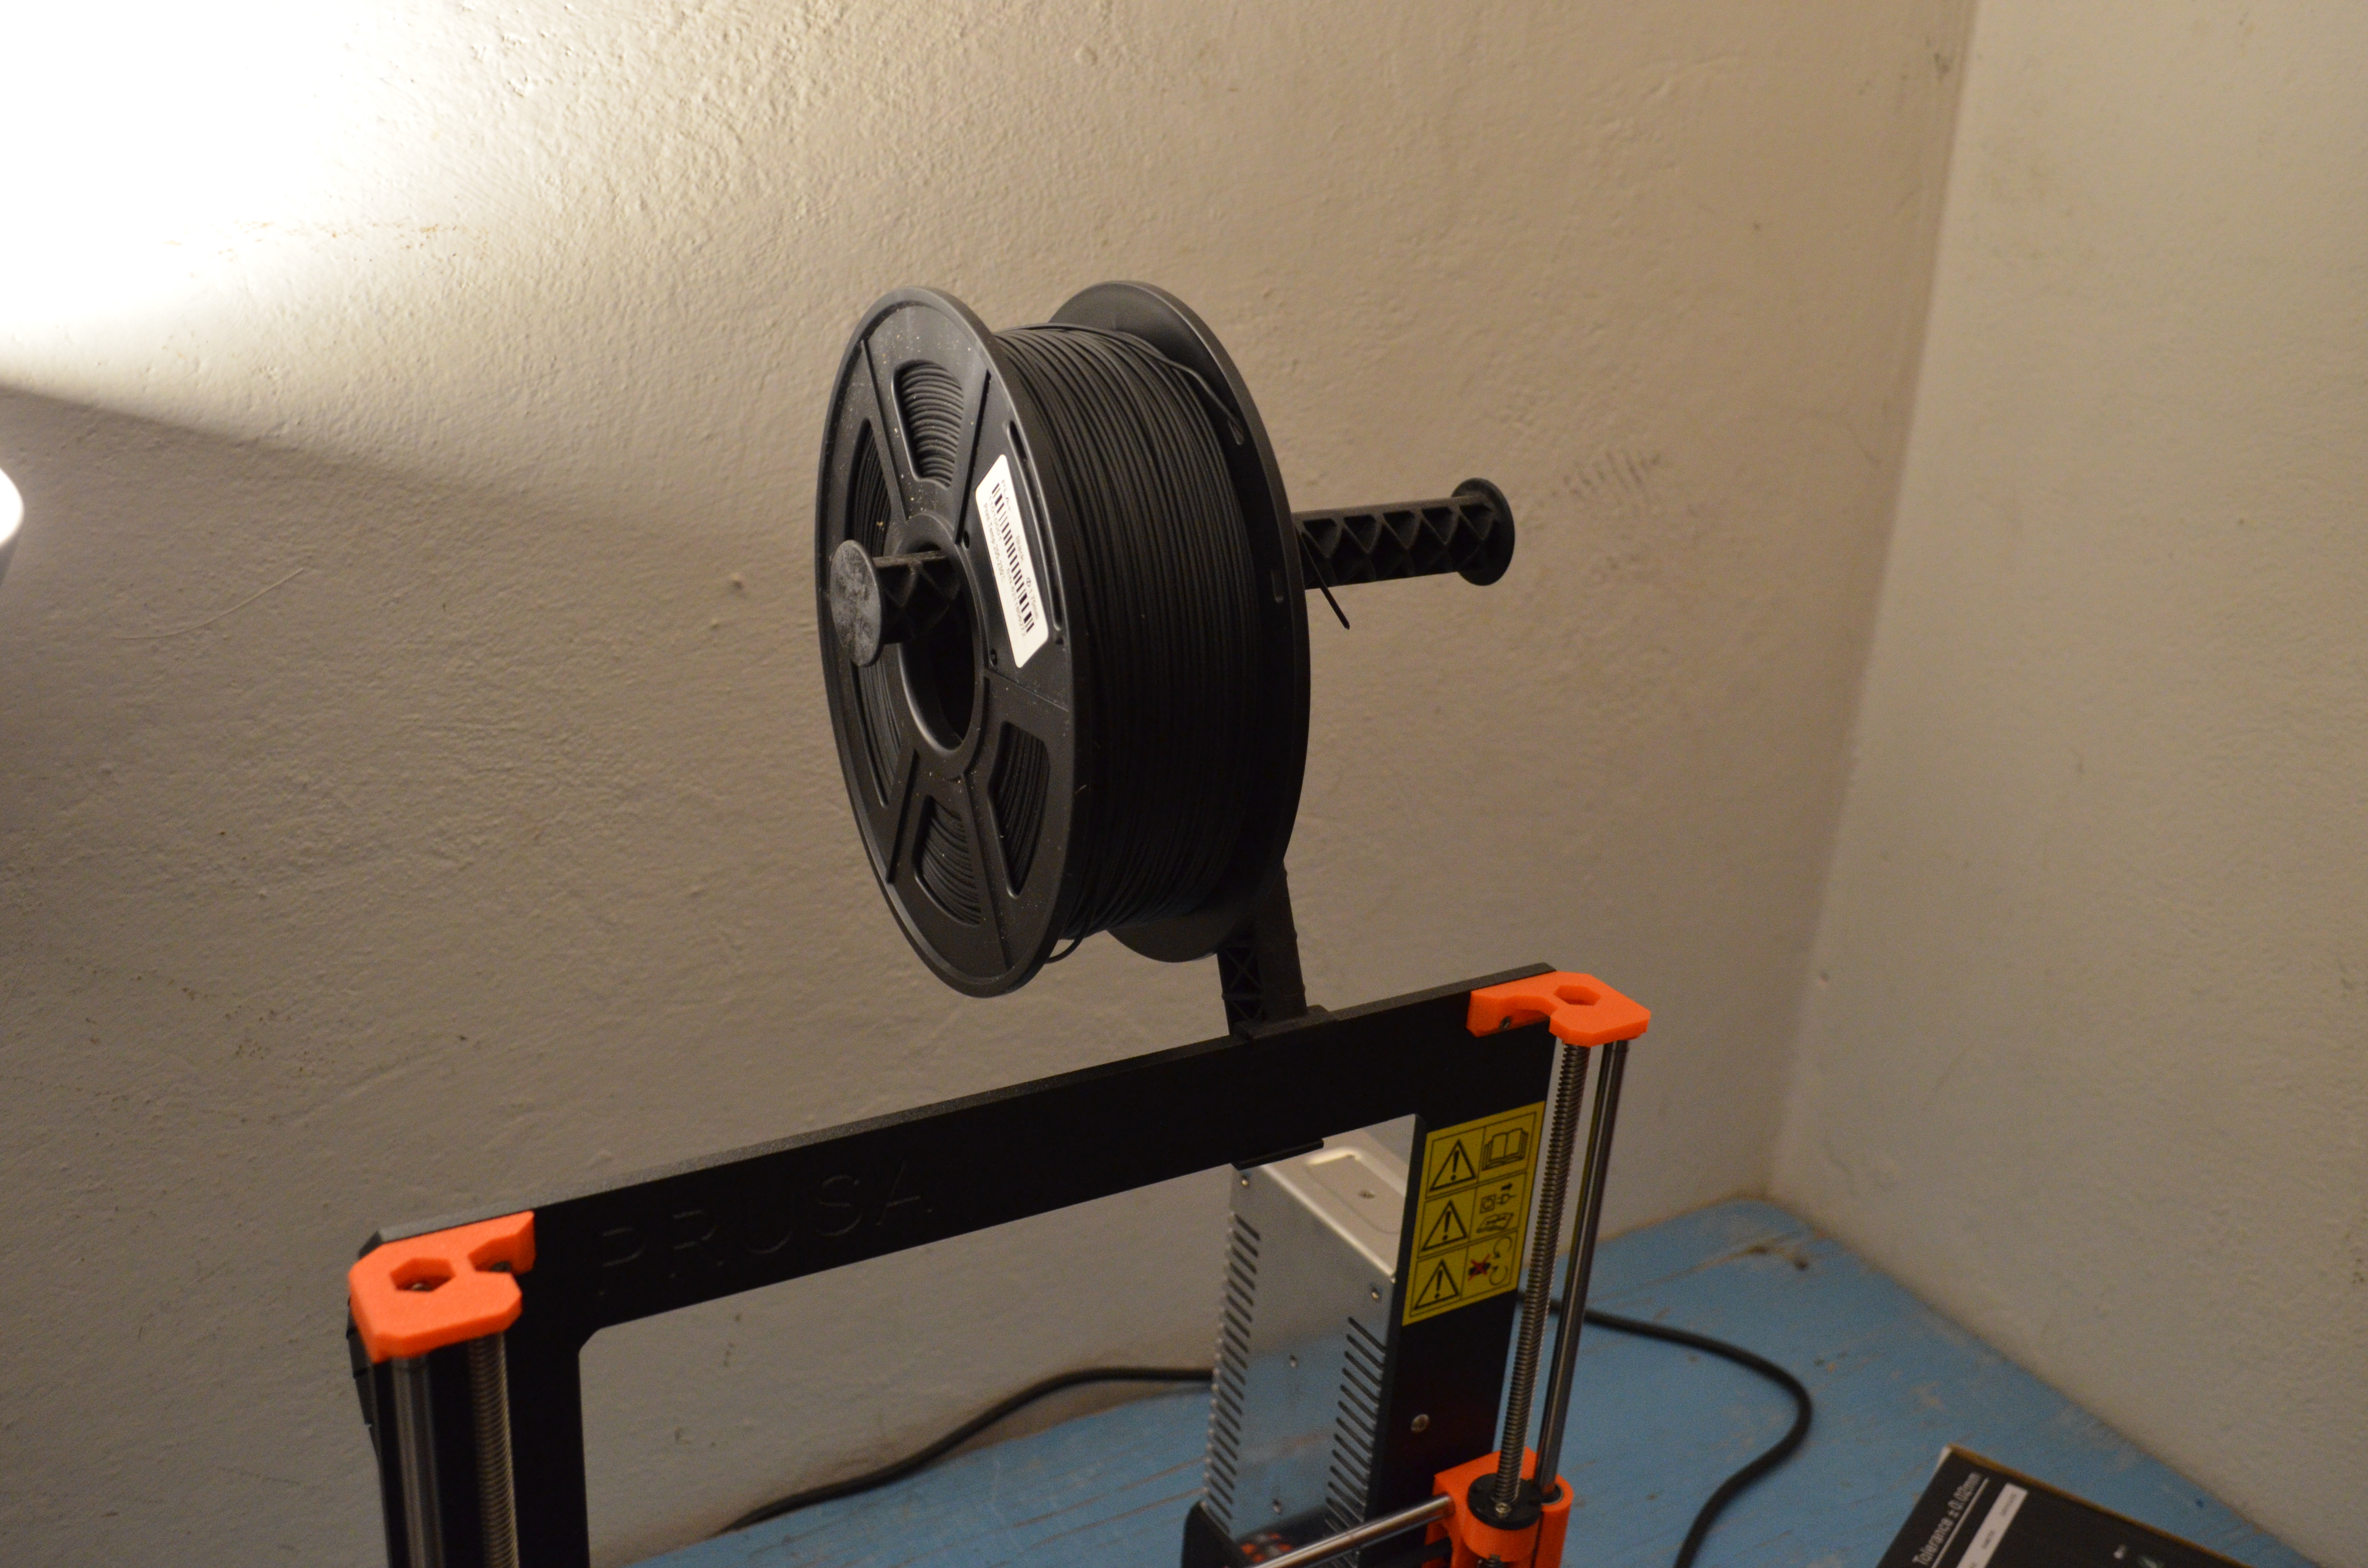
3. Load the PLA filament spool into its holder. Make sure that it does not tangle while you are handling it.
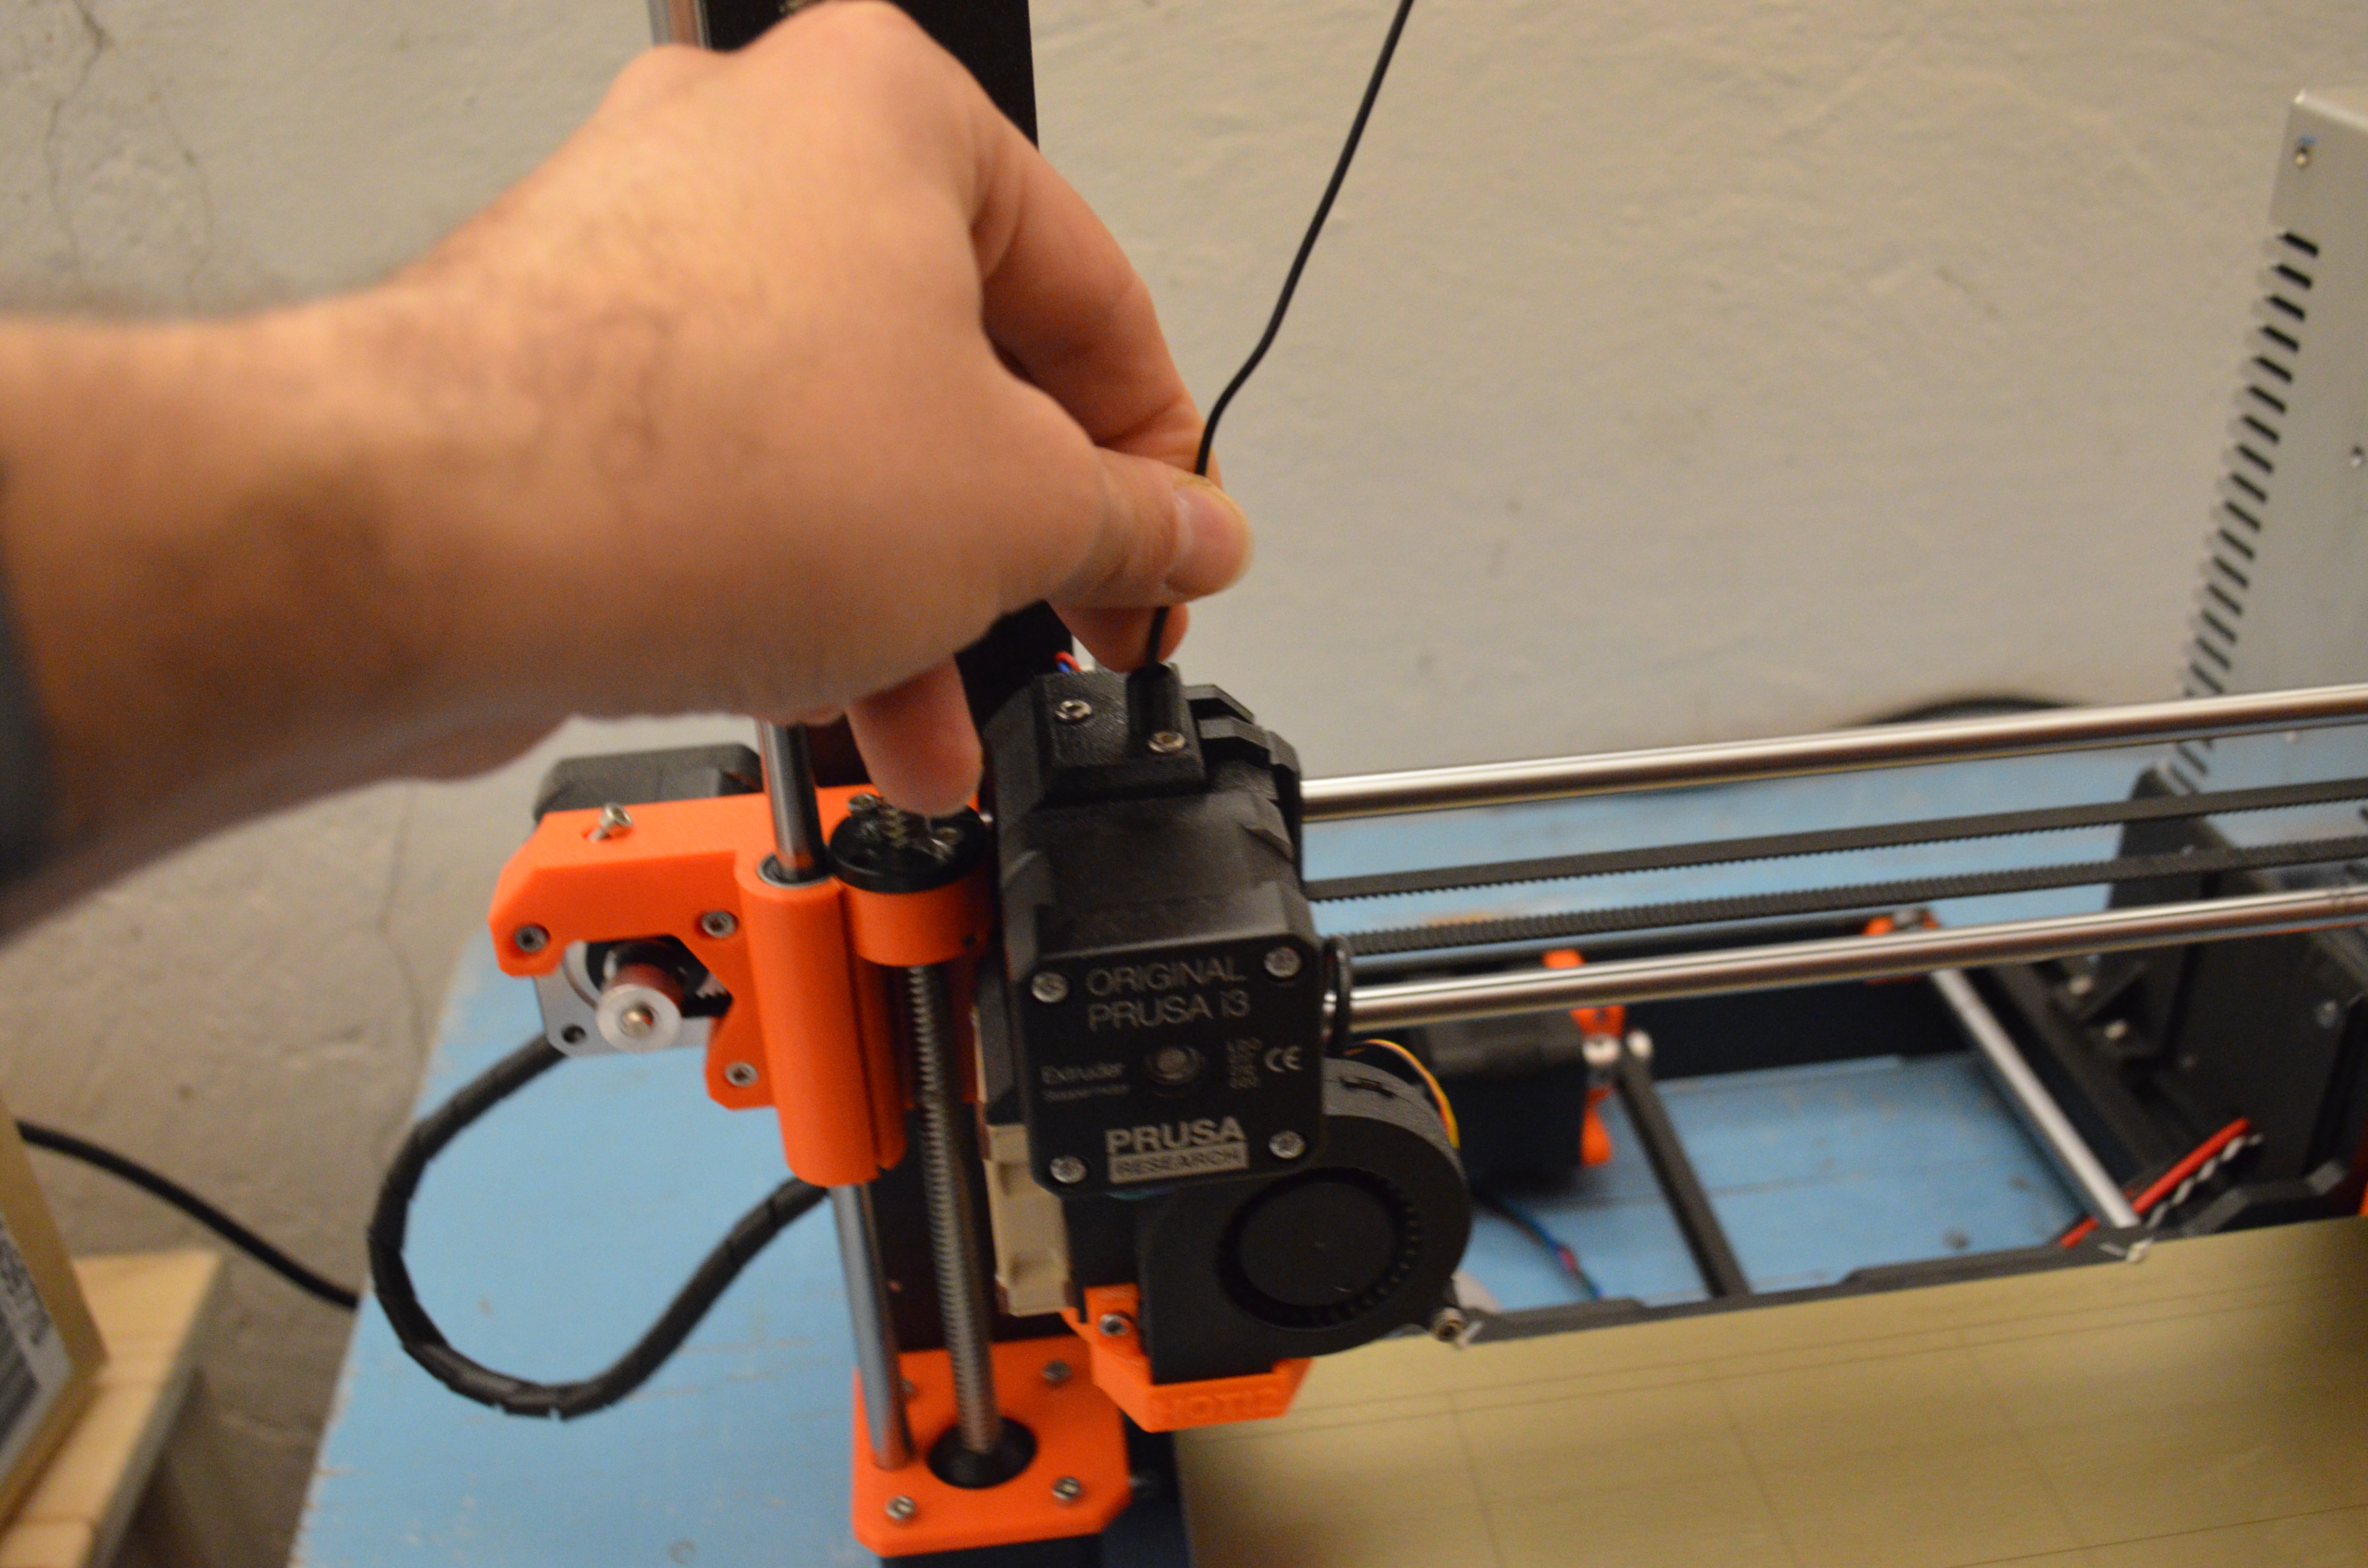
4. Insert the lead of the filament into the hole on top of the extruder.
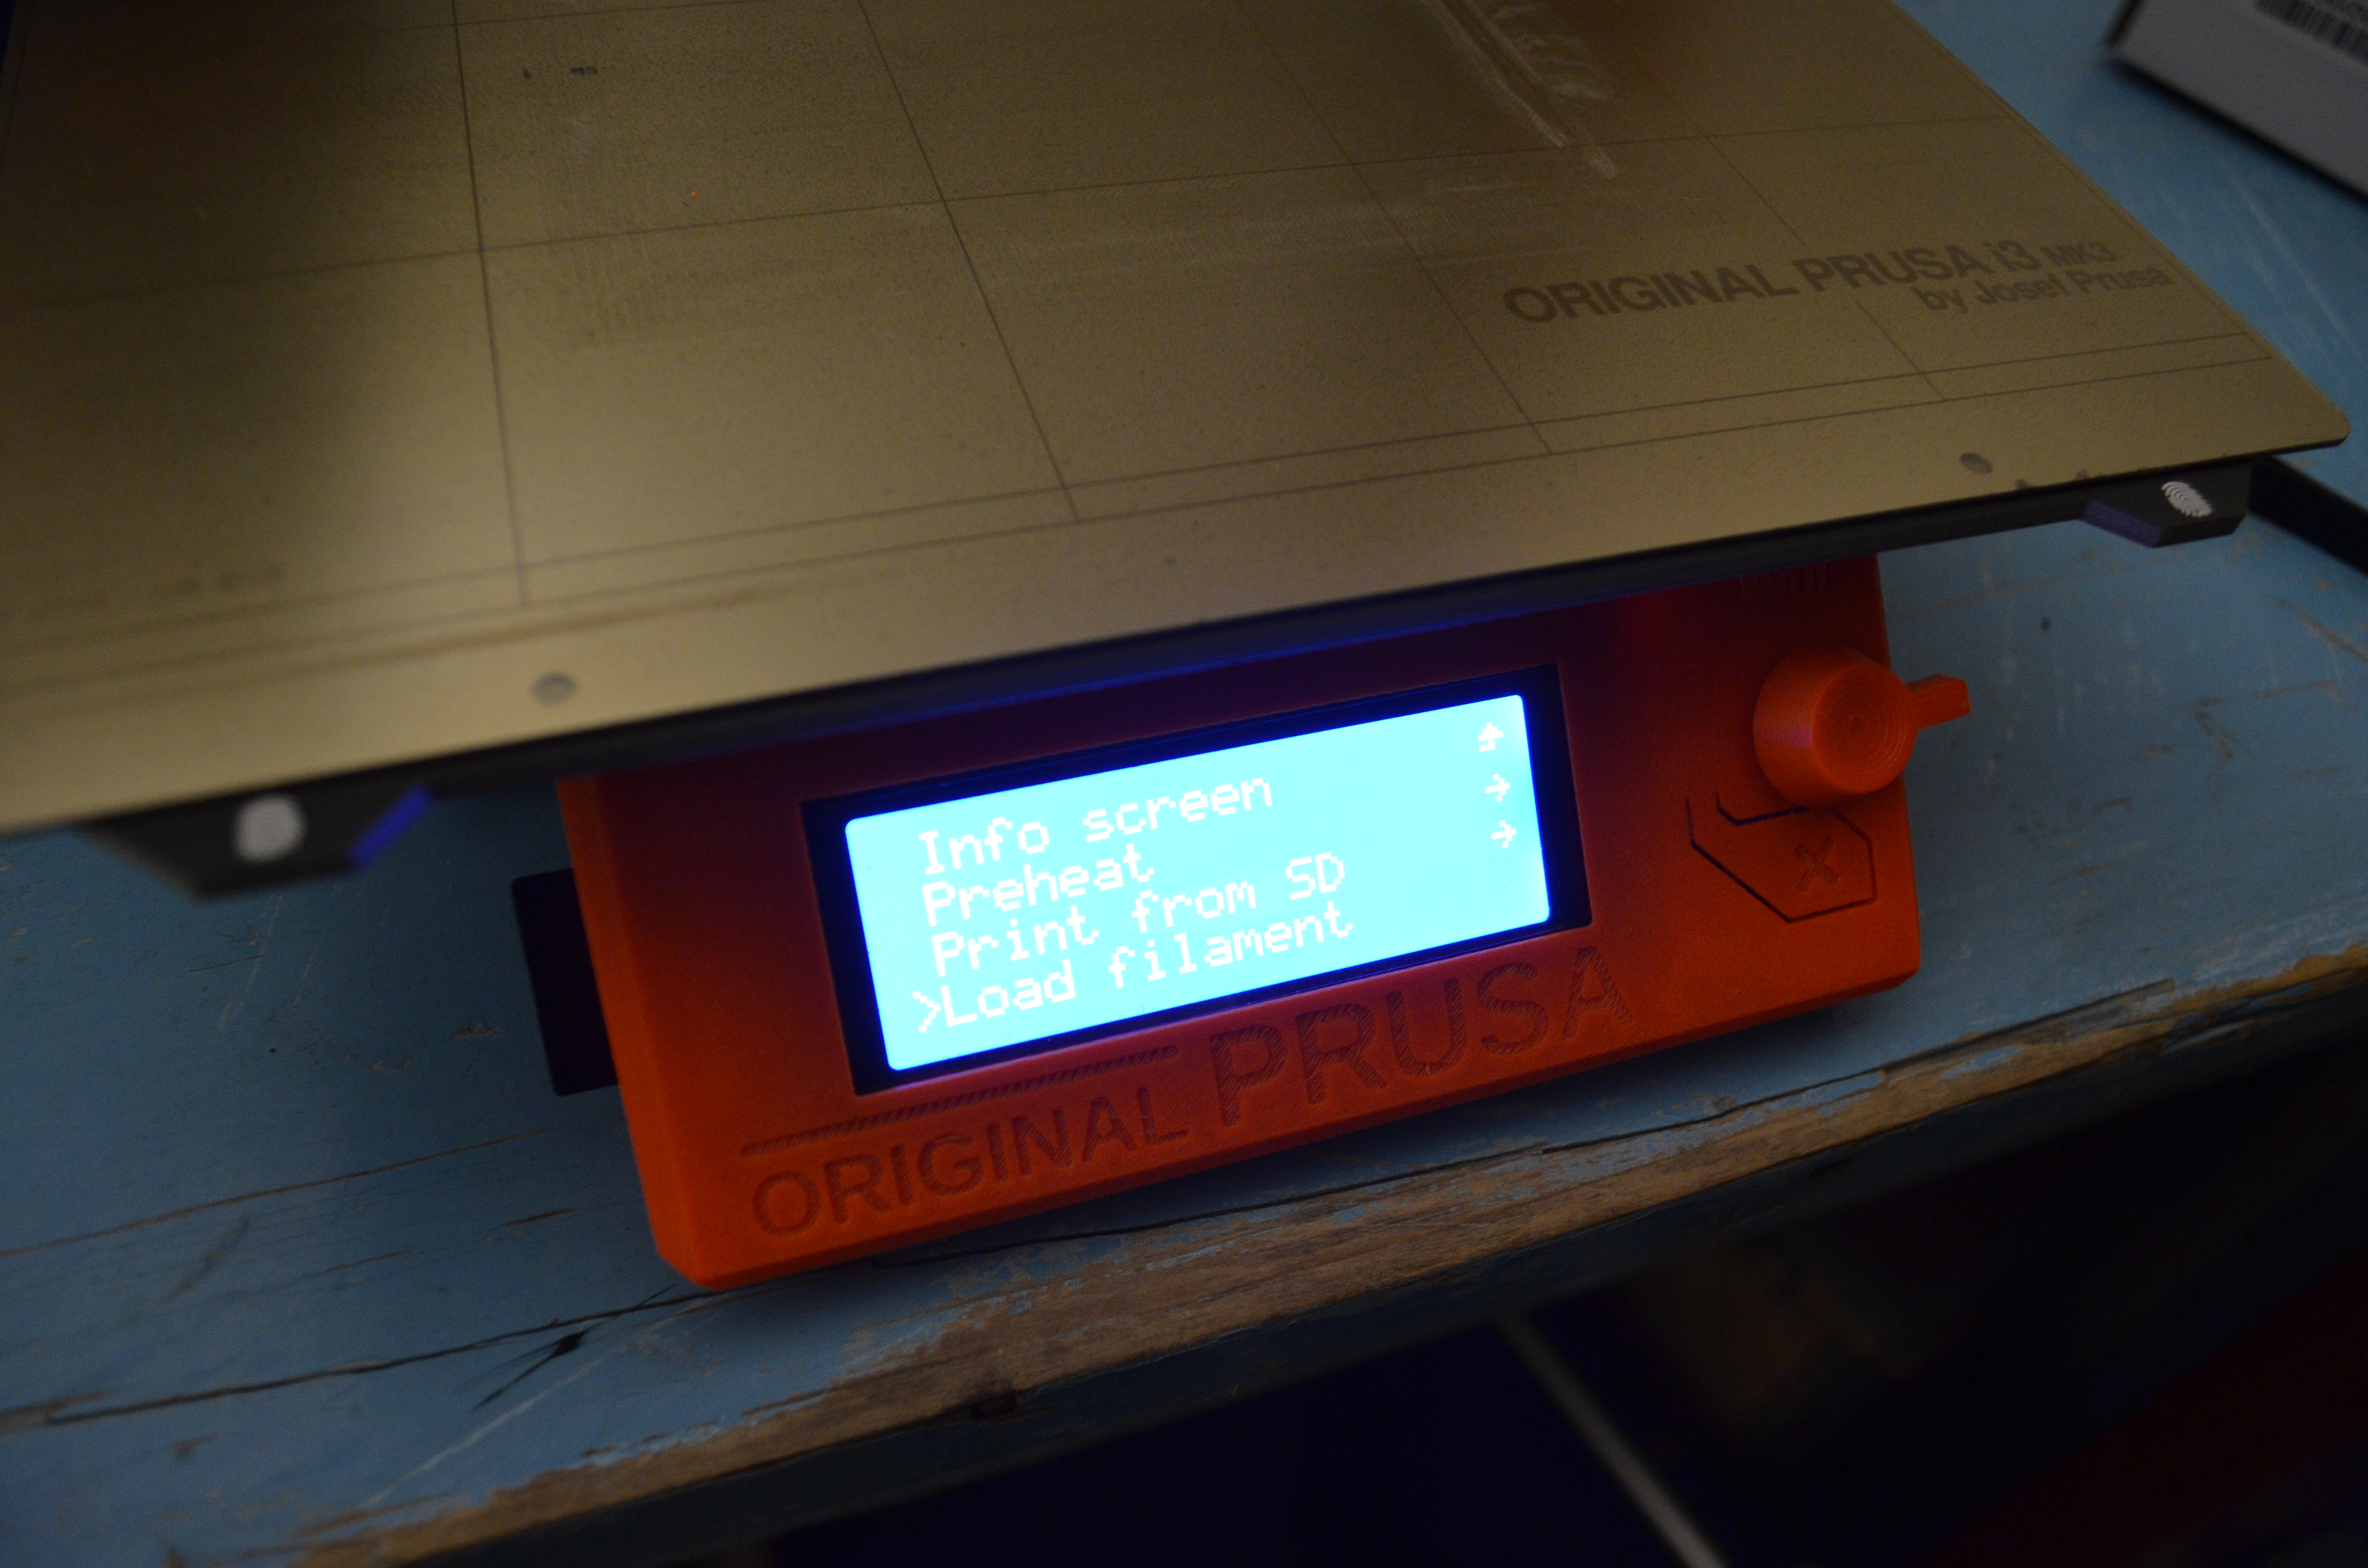
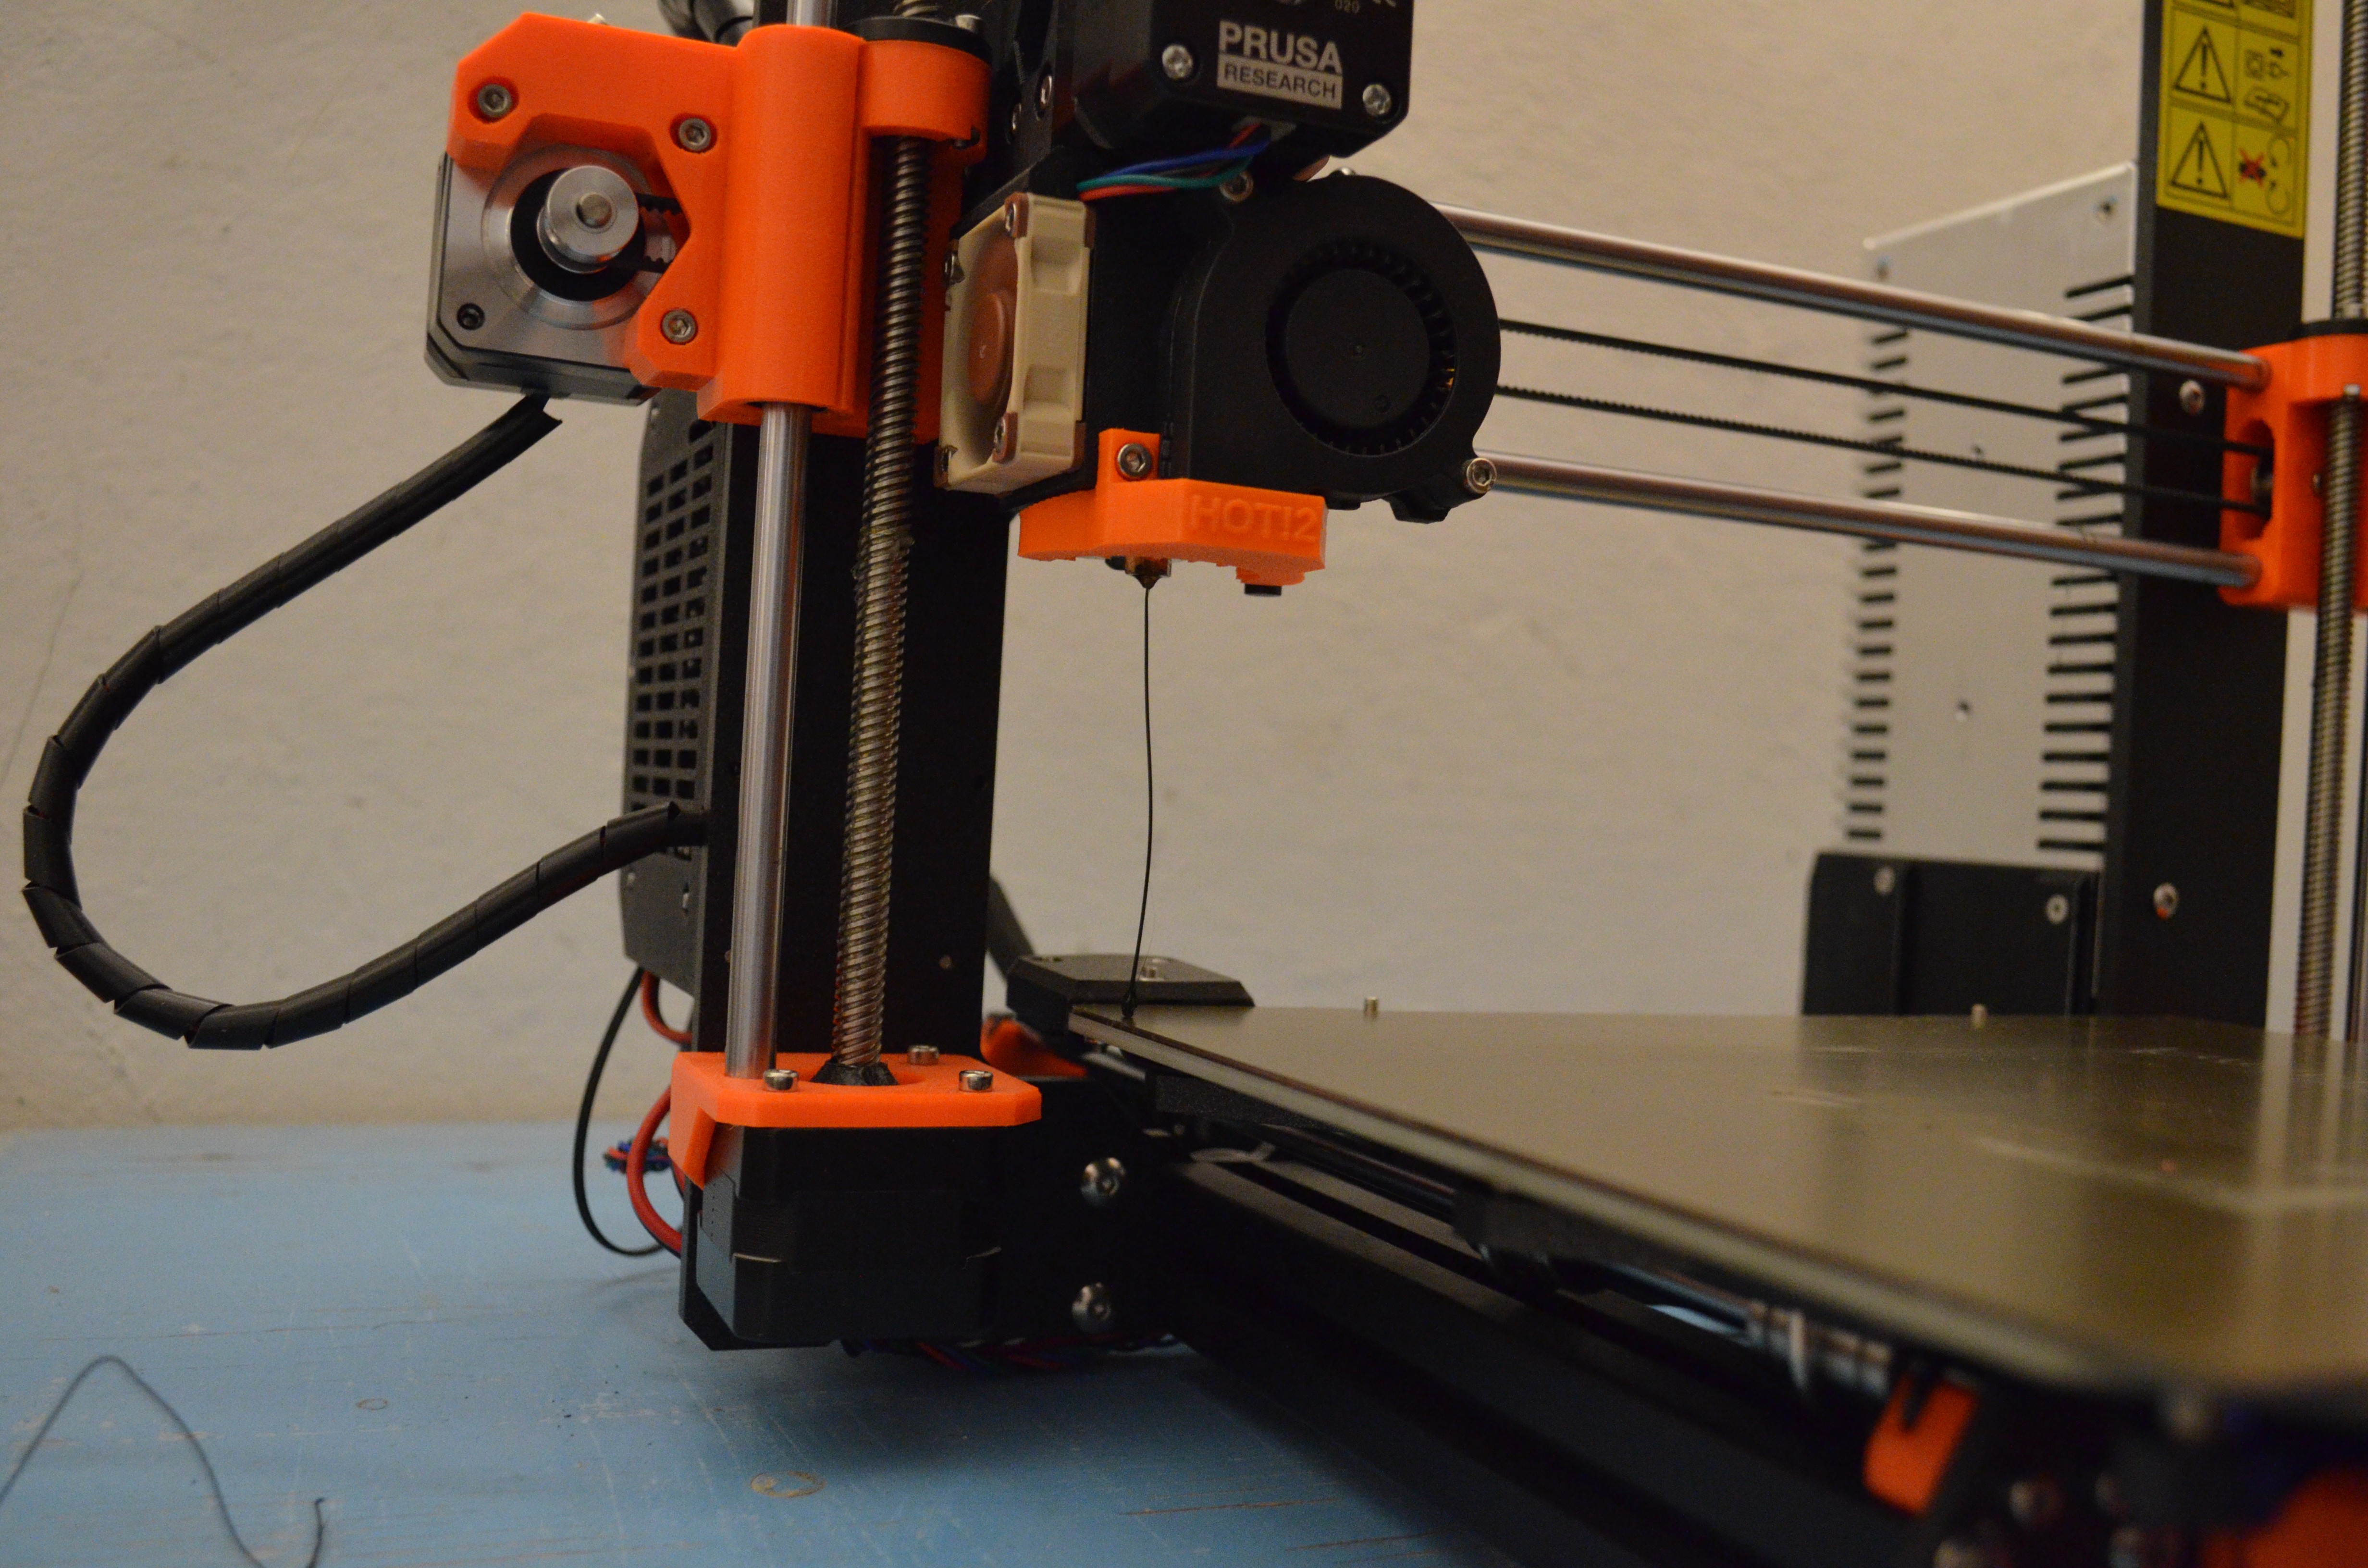
5. On the front display of the 3D printer, navigate the main menu and select Preheat. Once the extruder and the building place reach the needed temperature, navigate menu again and select Load Filament. The extruder will now start working and pull the filament inside its body. After a few seconds, you will see the PLA filament coming out of the nozzle. If you notice that it is flowing down smoothly, then the loading was successful, otherwise Preheat and Load Filament again.
6. From the main menu, navigate to Print from SD. Select the file you want to print and click OK to start printing. In all, you will print a total of 32 sections: 16 for the layer with negative values and 16 for the layer with the positive values. Within the same data grid, each of the 16 sections has a unique combination of border radiuses, each combination matching the combination of only one section of the 3D data layer. This way, you will only be able to fit the right data section into the right grid section. To save time, rather than putting the puzzle together at the end, it is convenient that you print the data layer sections in a logical order and position them on the corresponding section of the support grid as soon as they're printed. For extra safety, you could even add a piece of tape with the id of each piece that you’ll then remove once the pieces are glued on the support grid.
It will take about 2.25 hours to print each piece. When a piece is printing, you don’t need to actively do anything with the printer and can even leave the room. However, if you can, it is a good idea to work close by or at least check on it once in a while so that you can intervene and restart the printing if, for any reason, something has gone wrong.
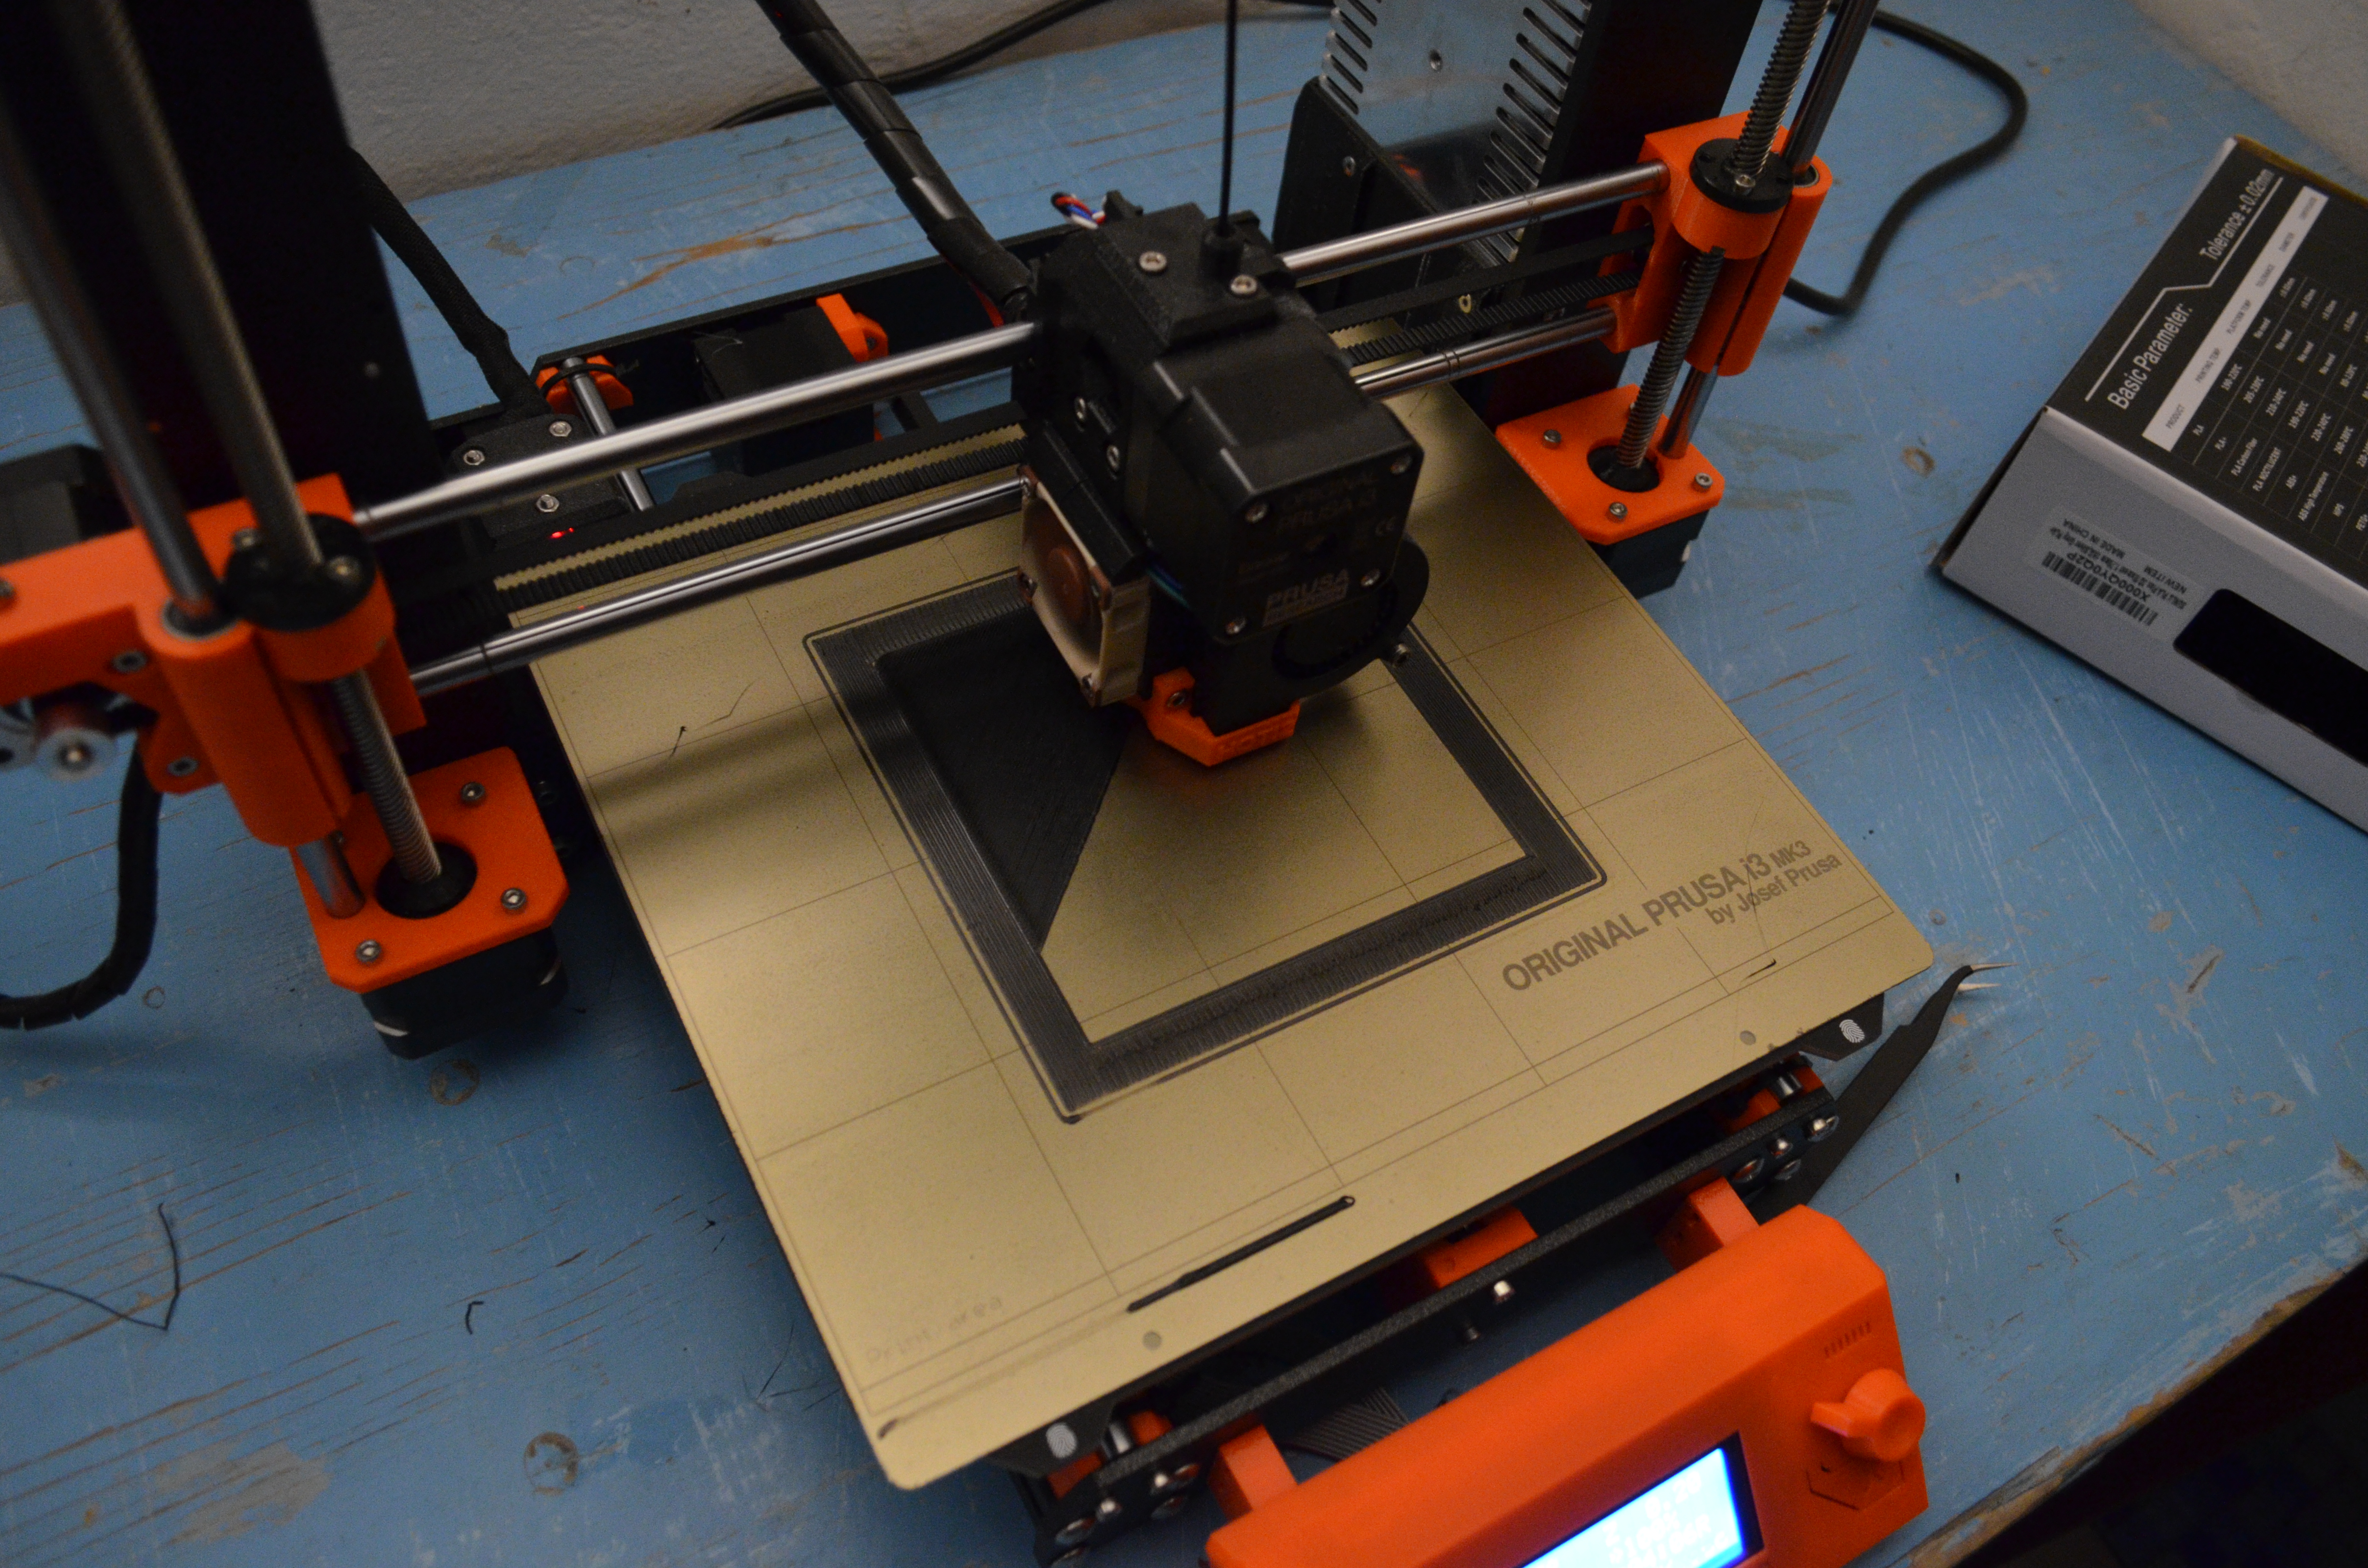
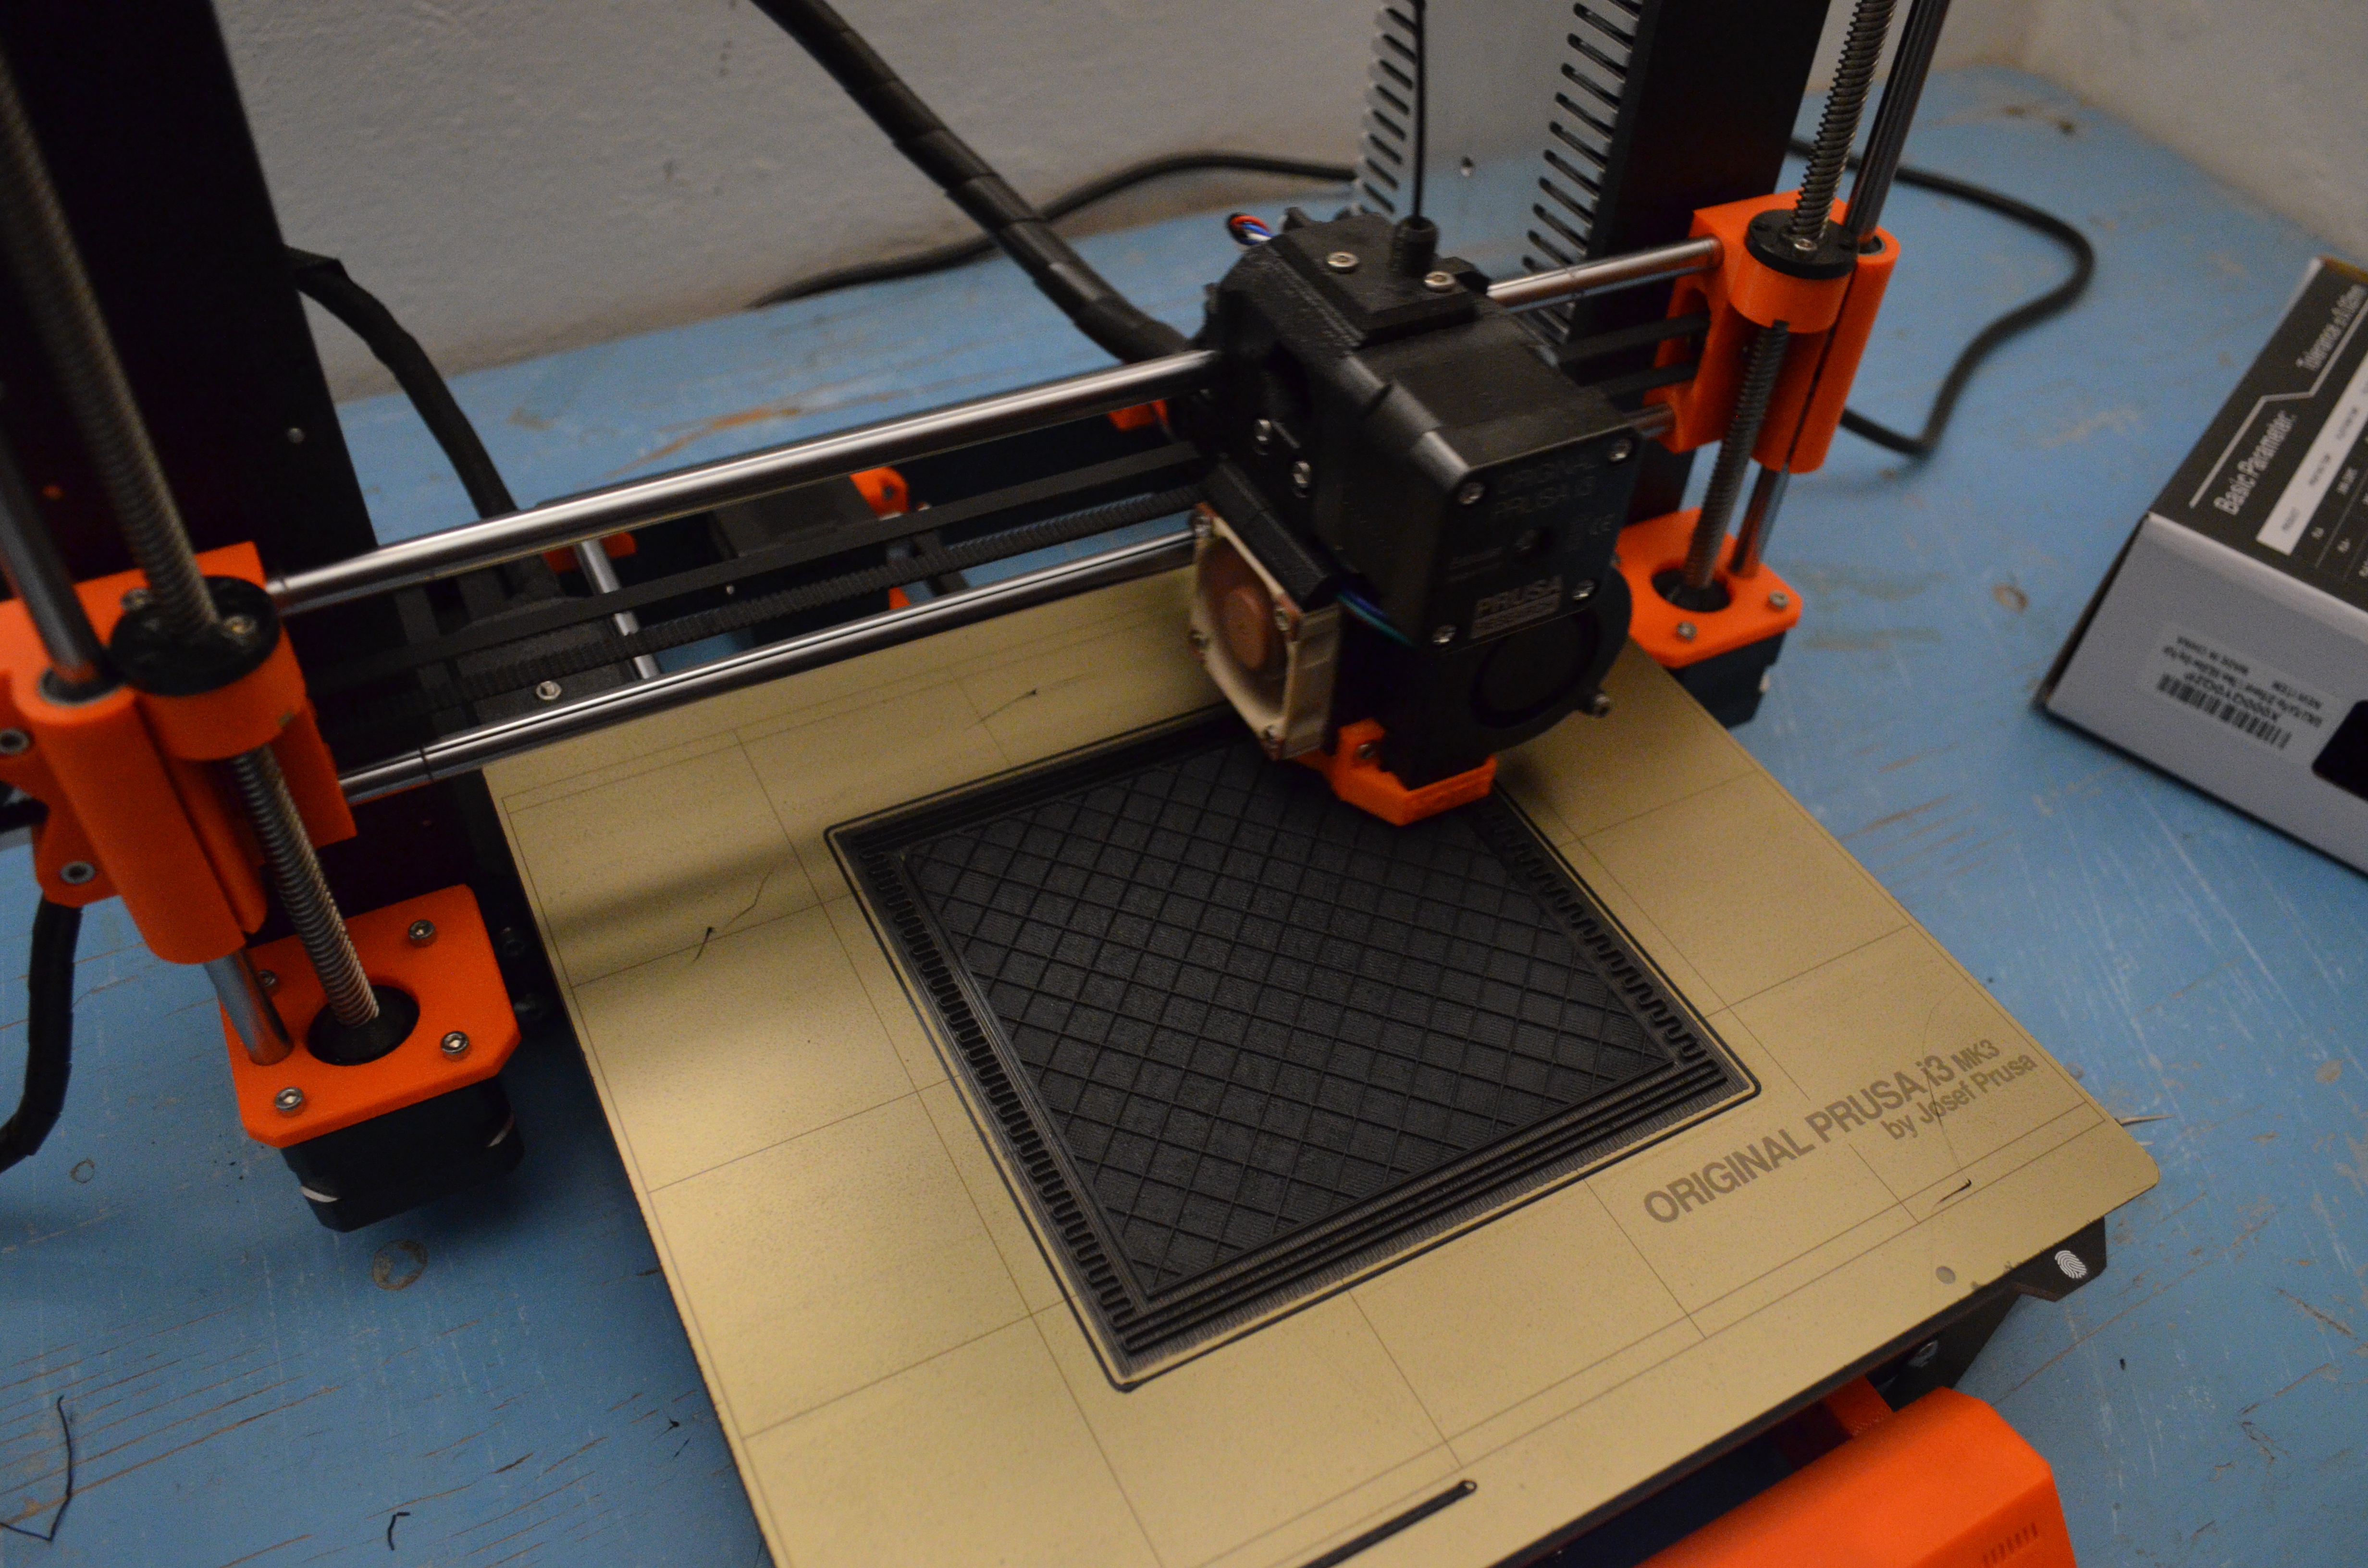
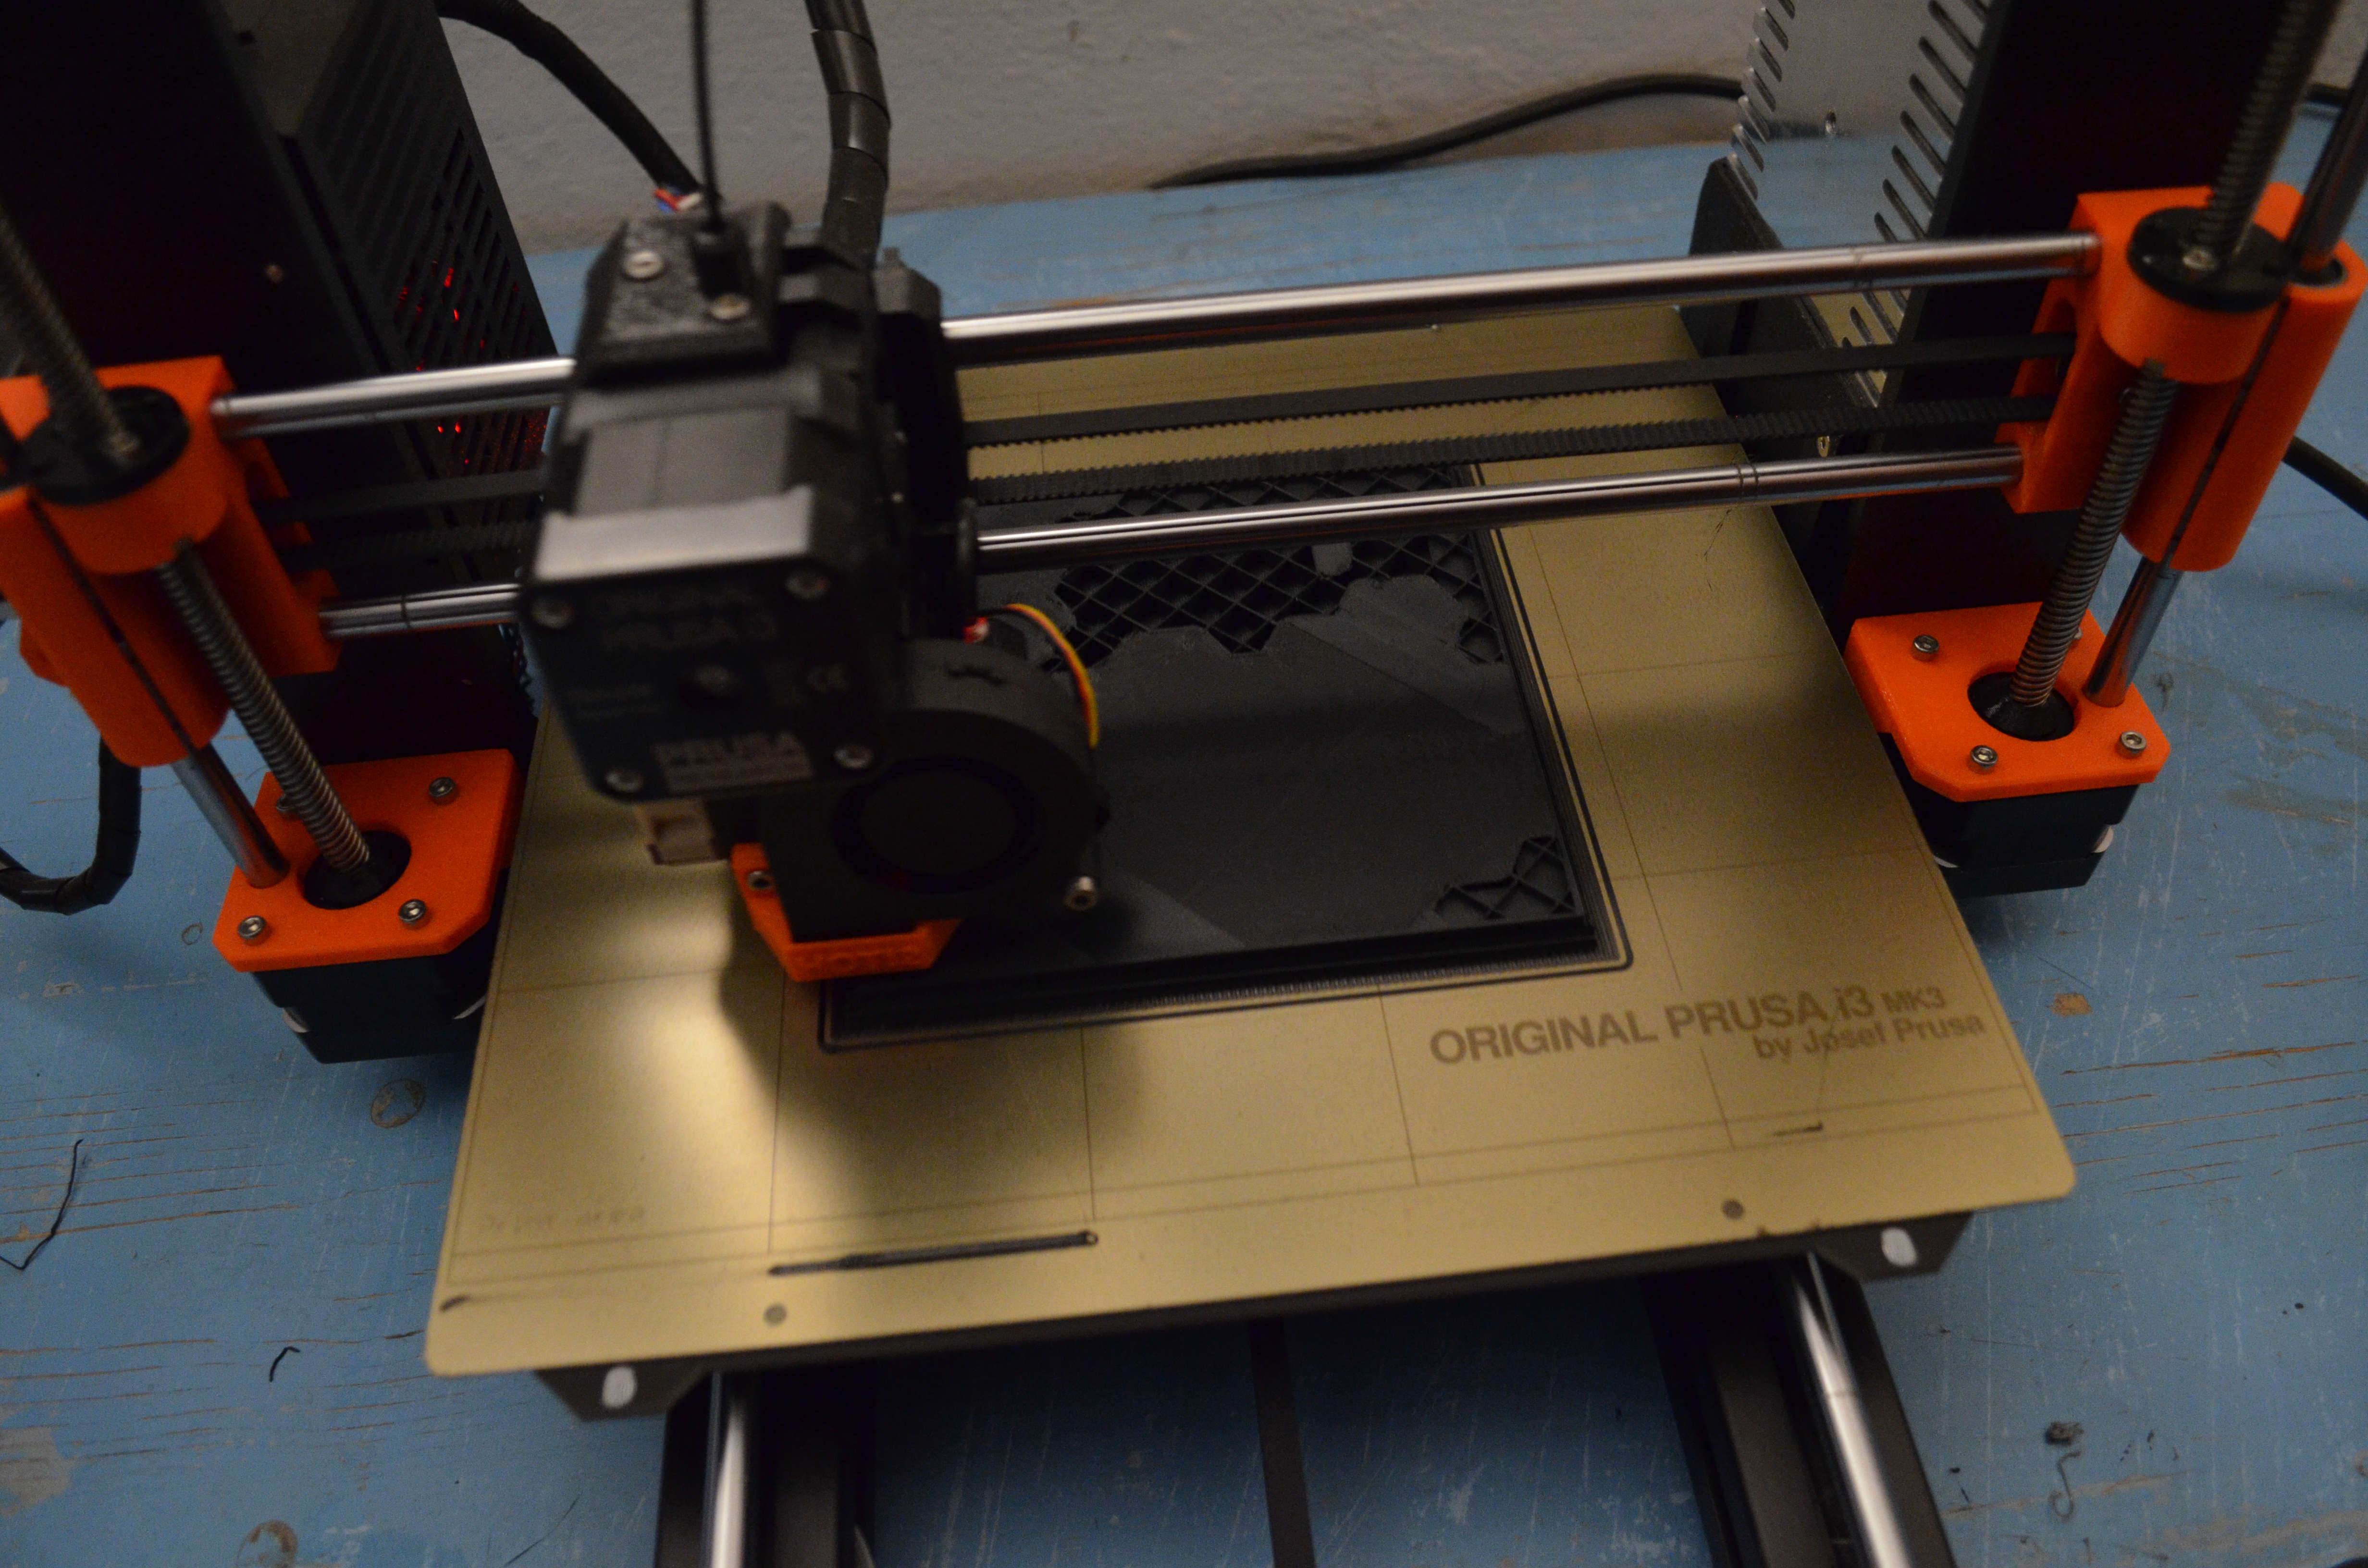
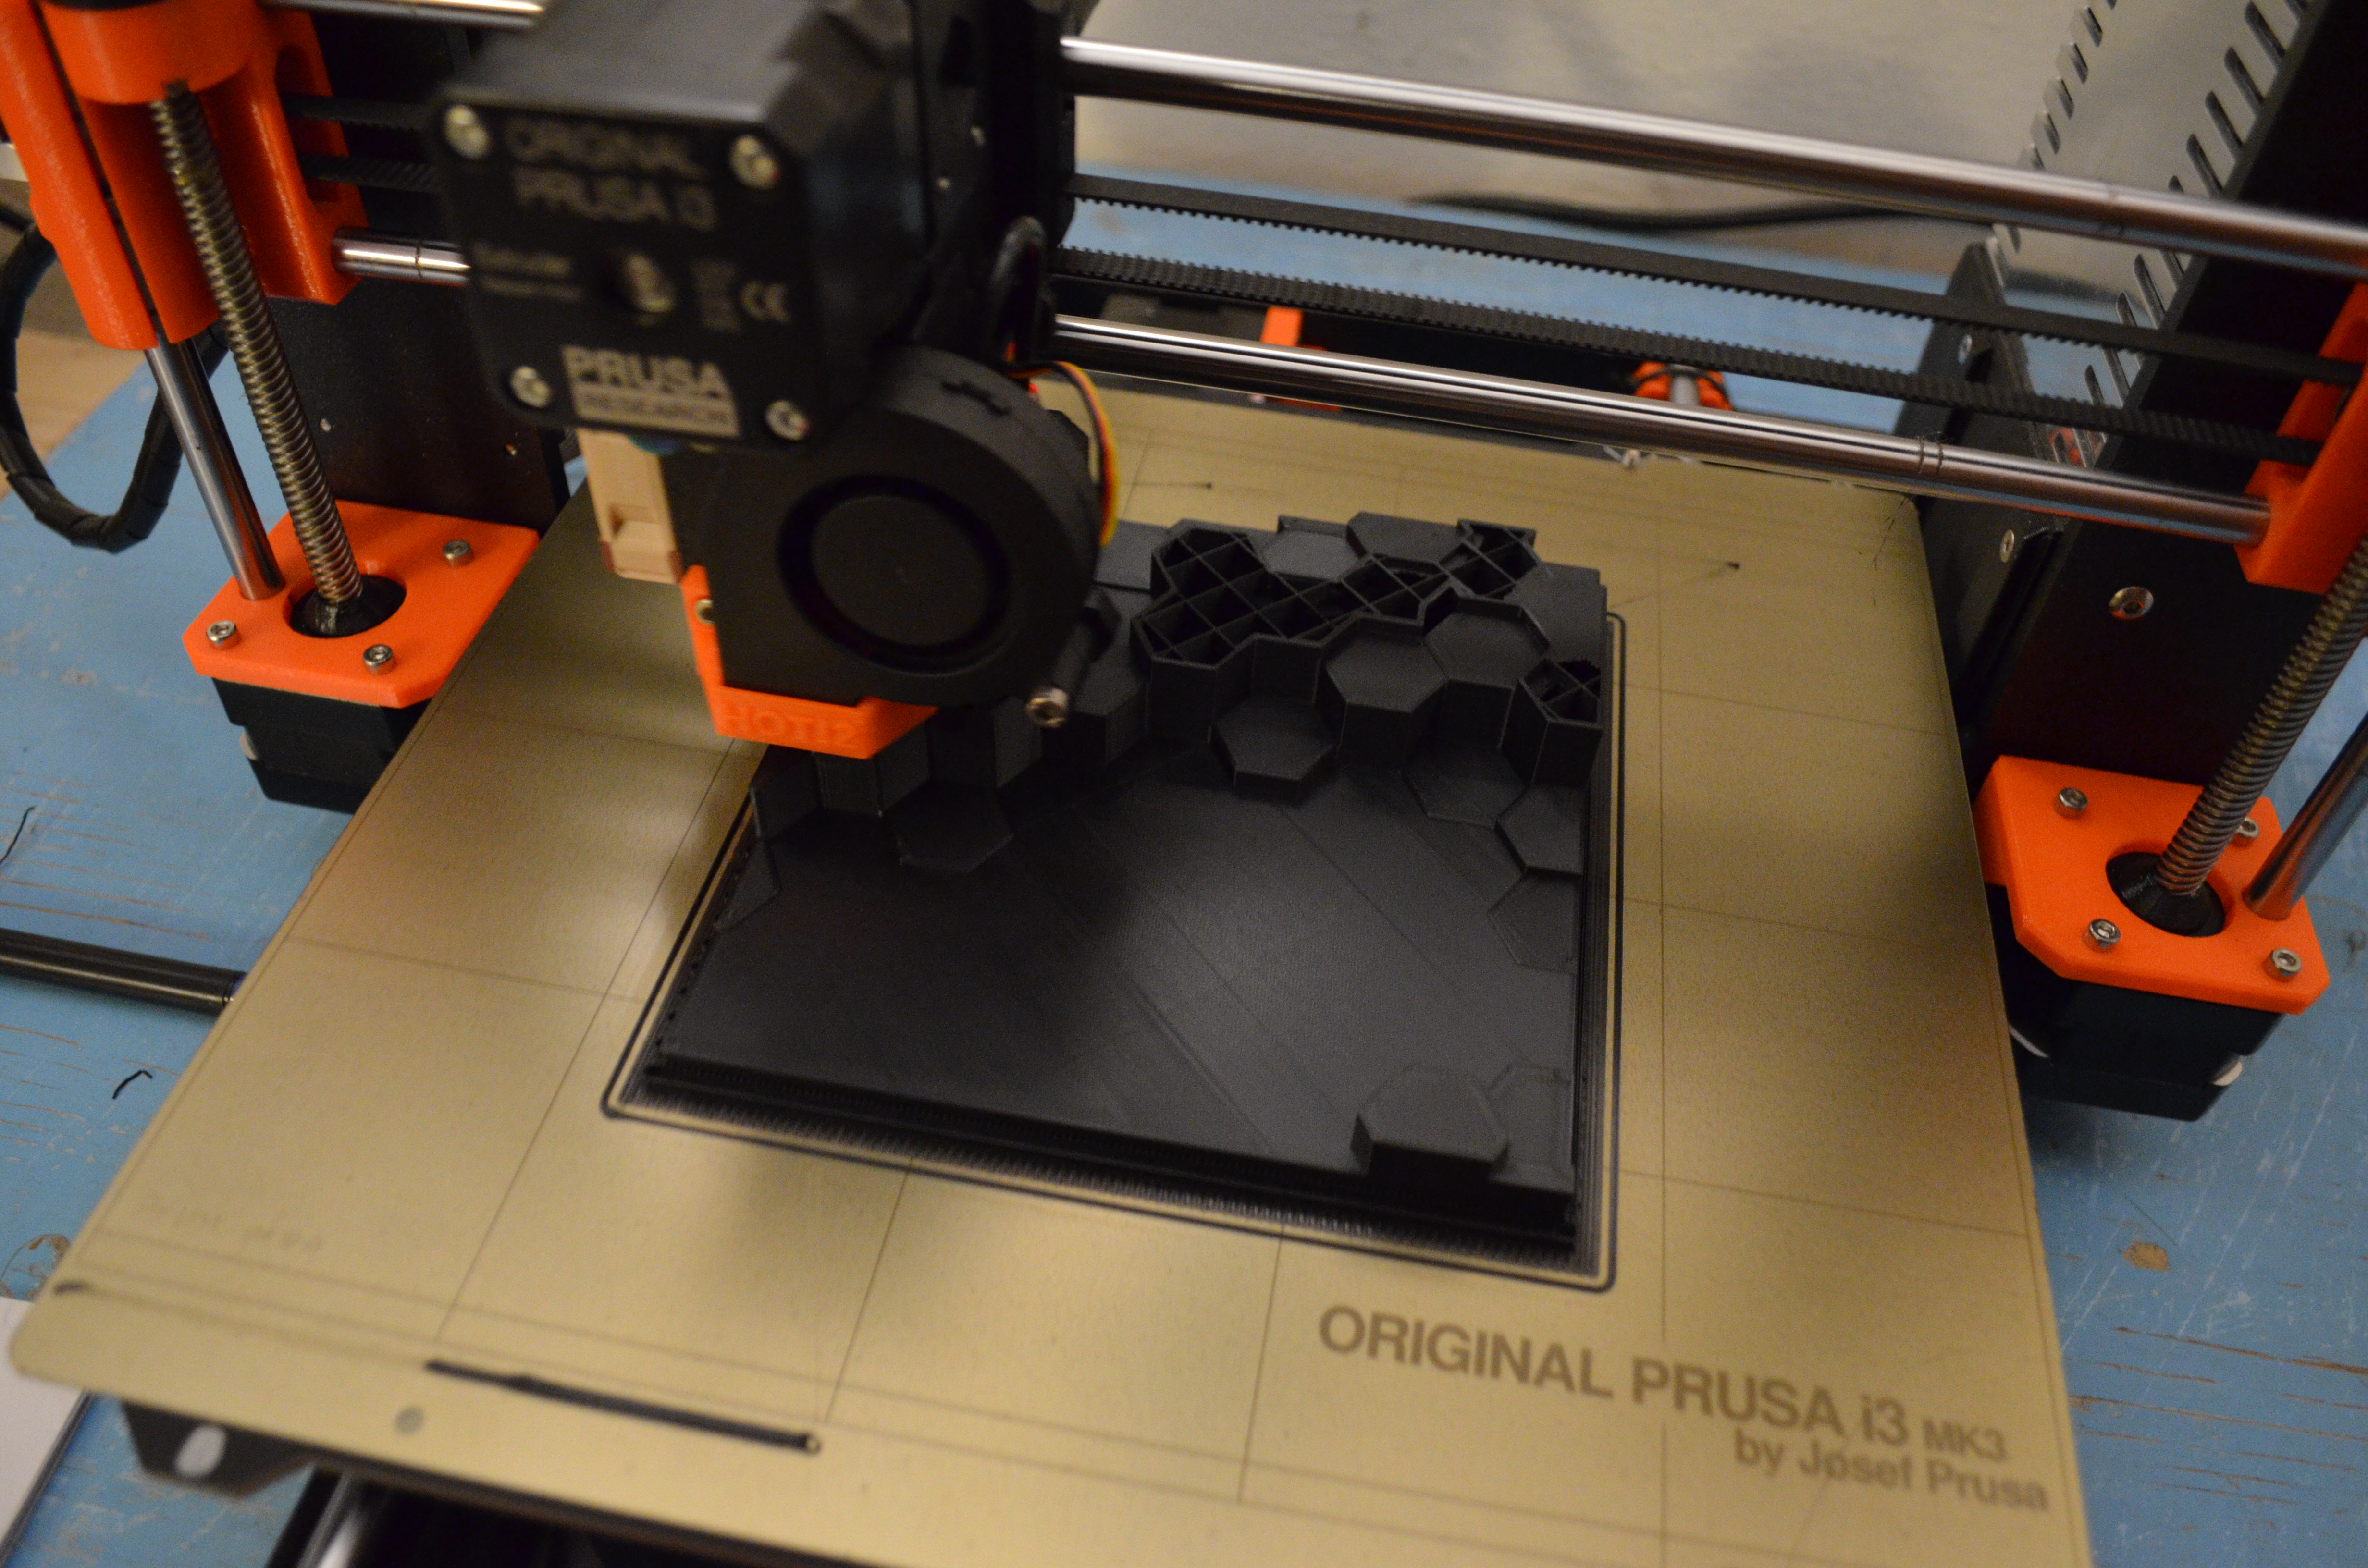
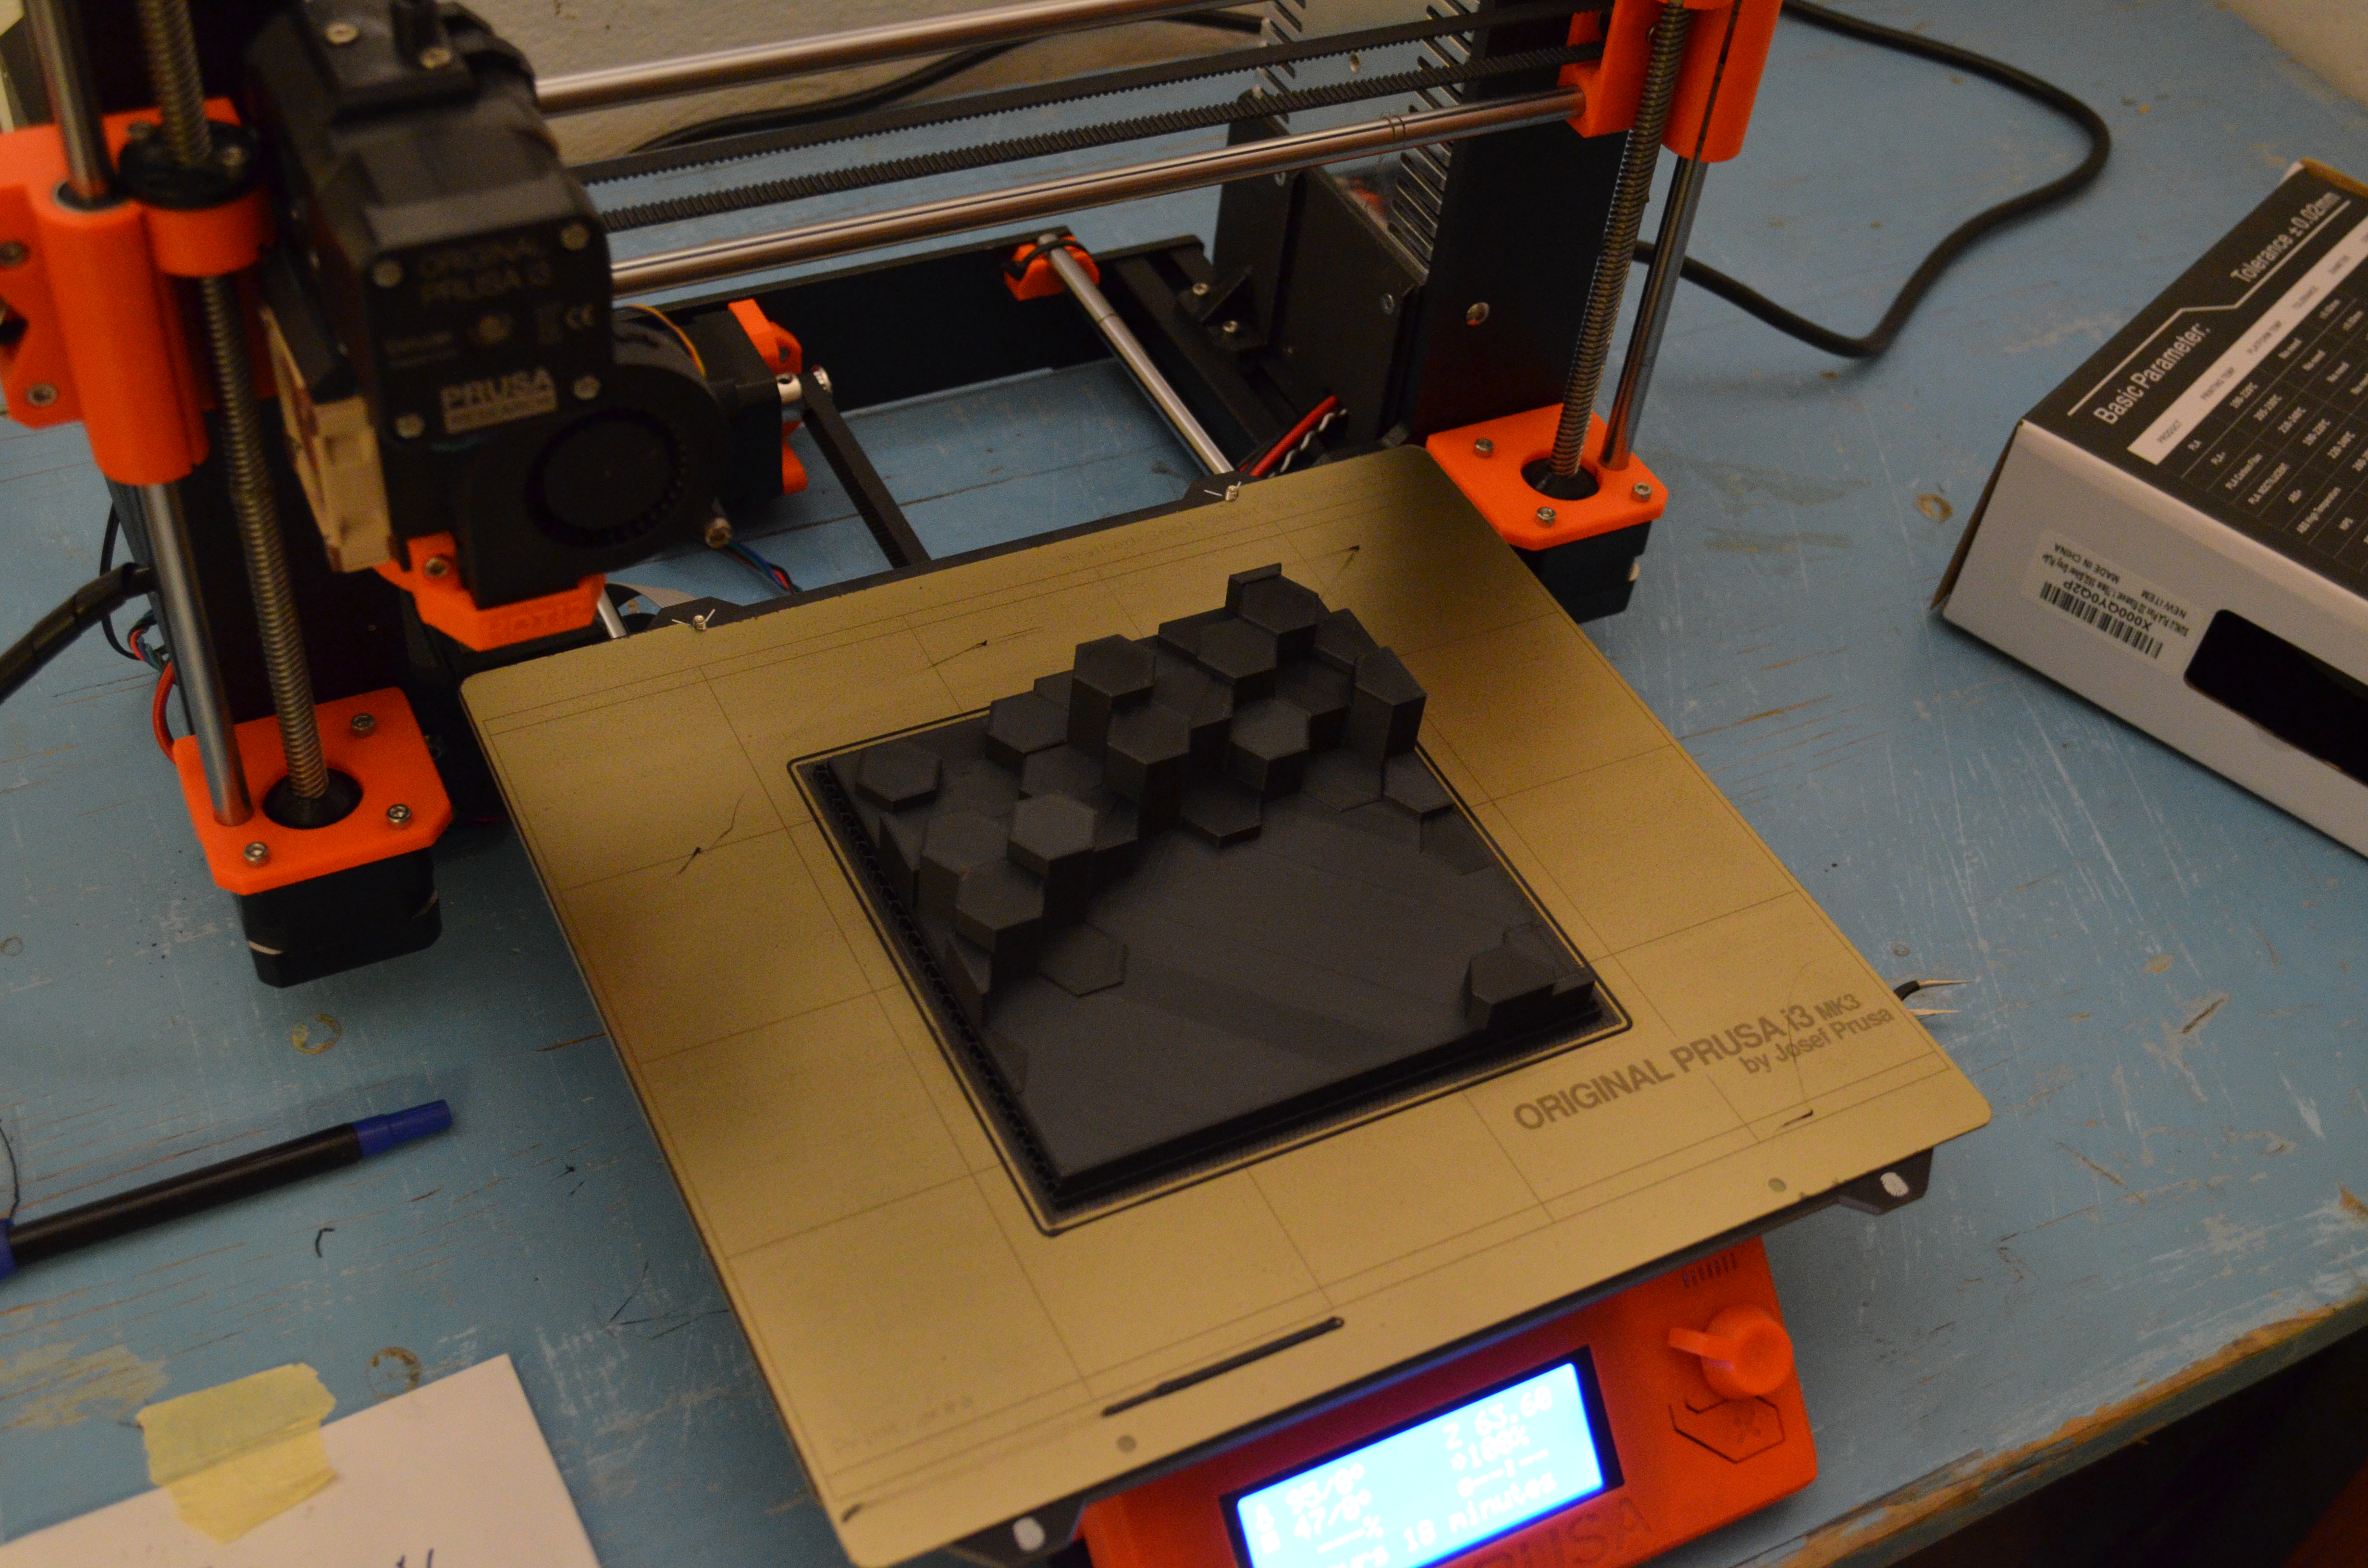
7. When the piece is completely printed, delicately remove it from the building plate. The piece might be attached quite firmly, so you might need a spatula to aid you in the operation. When you have detached the whole piece, use some pliers to remove the supports that connected the hanging parts of the piece to the building plate. PLA plastic is a very easy to recycle plastic: so make sure you discard the scraps and waste appropriately, for example by bringing it to PLA filament recycling facilities or at least by throwing it away in the plastic recycle bins.
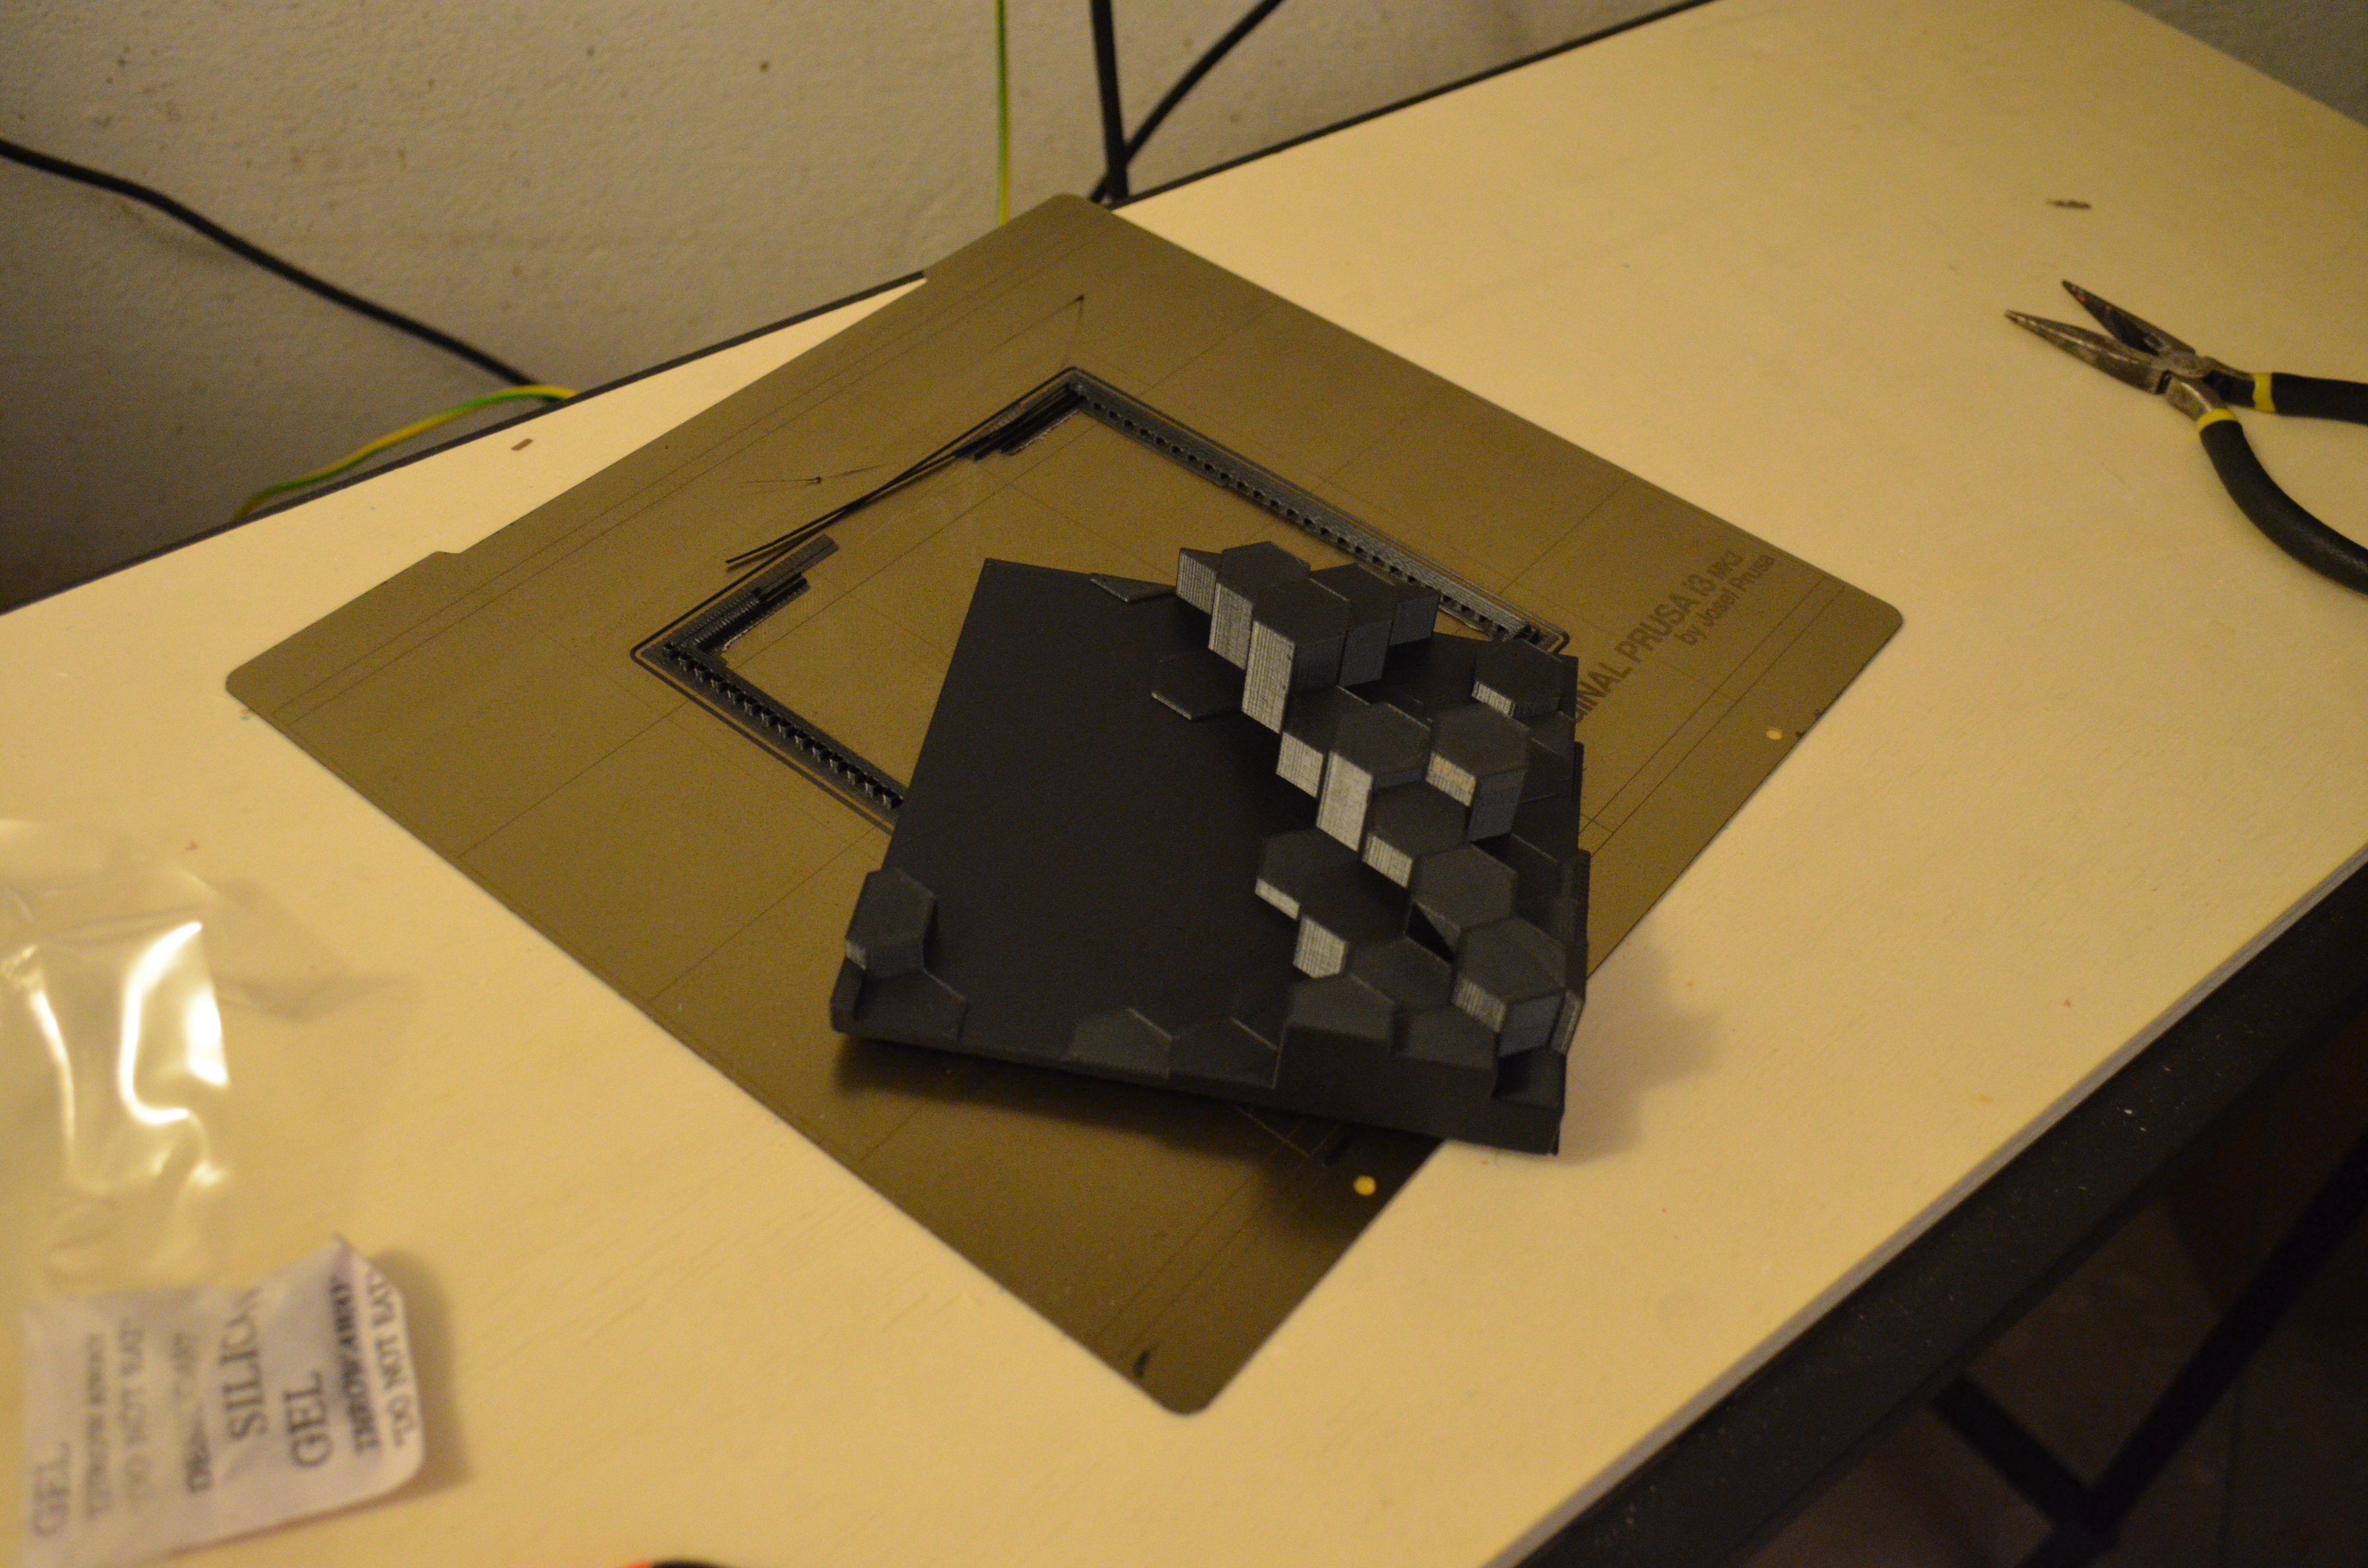
8. For convenience, position the 3D printed section into its place on the support grid, and keep track of which sections you have printed so far and which are still missing.
