Fabrication · Data Walk

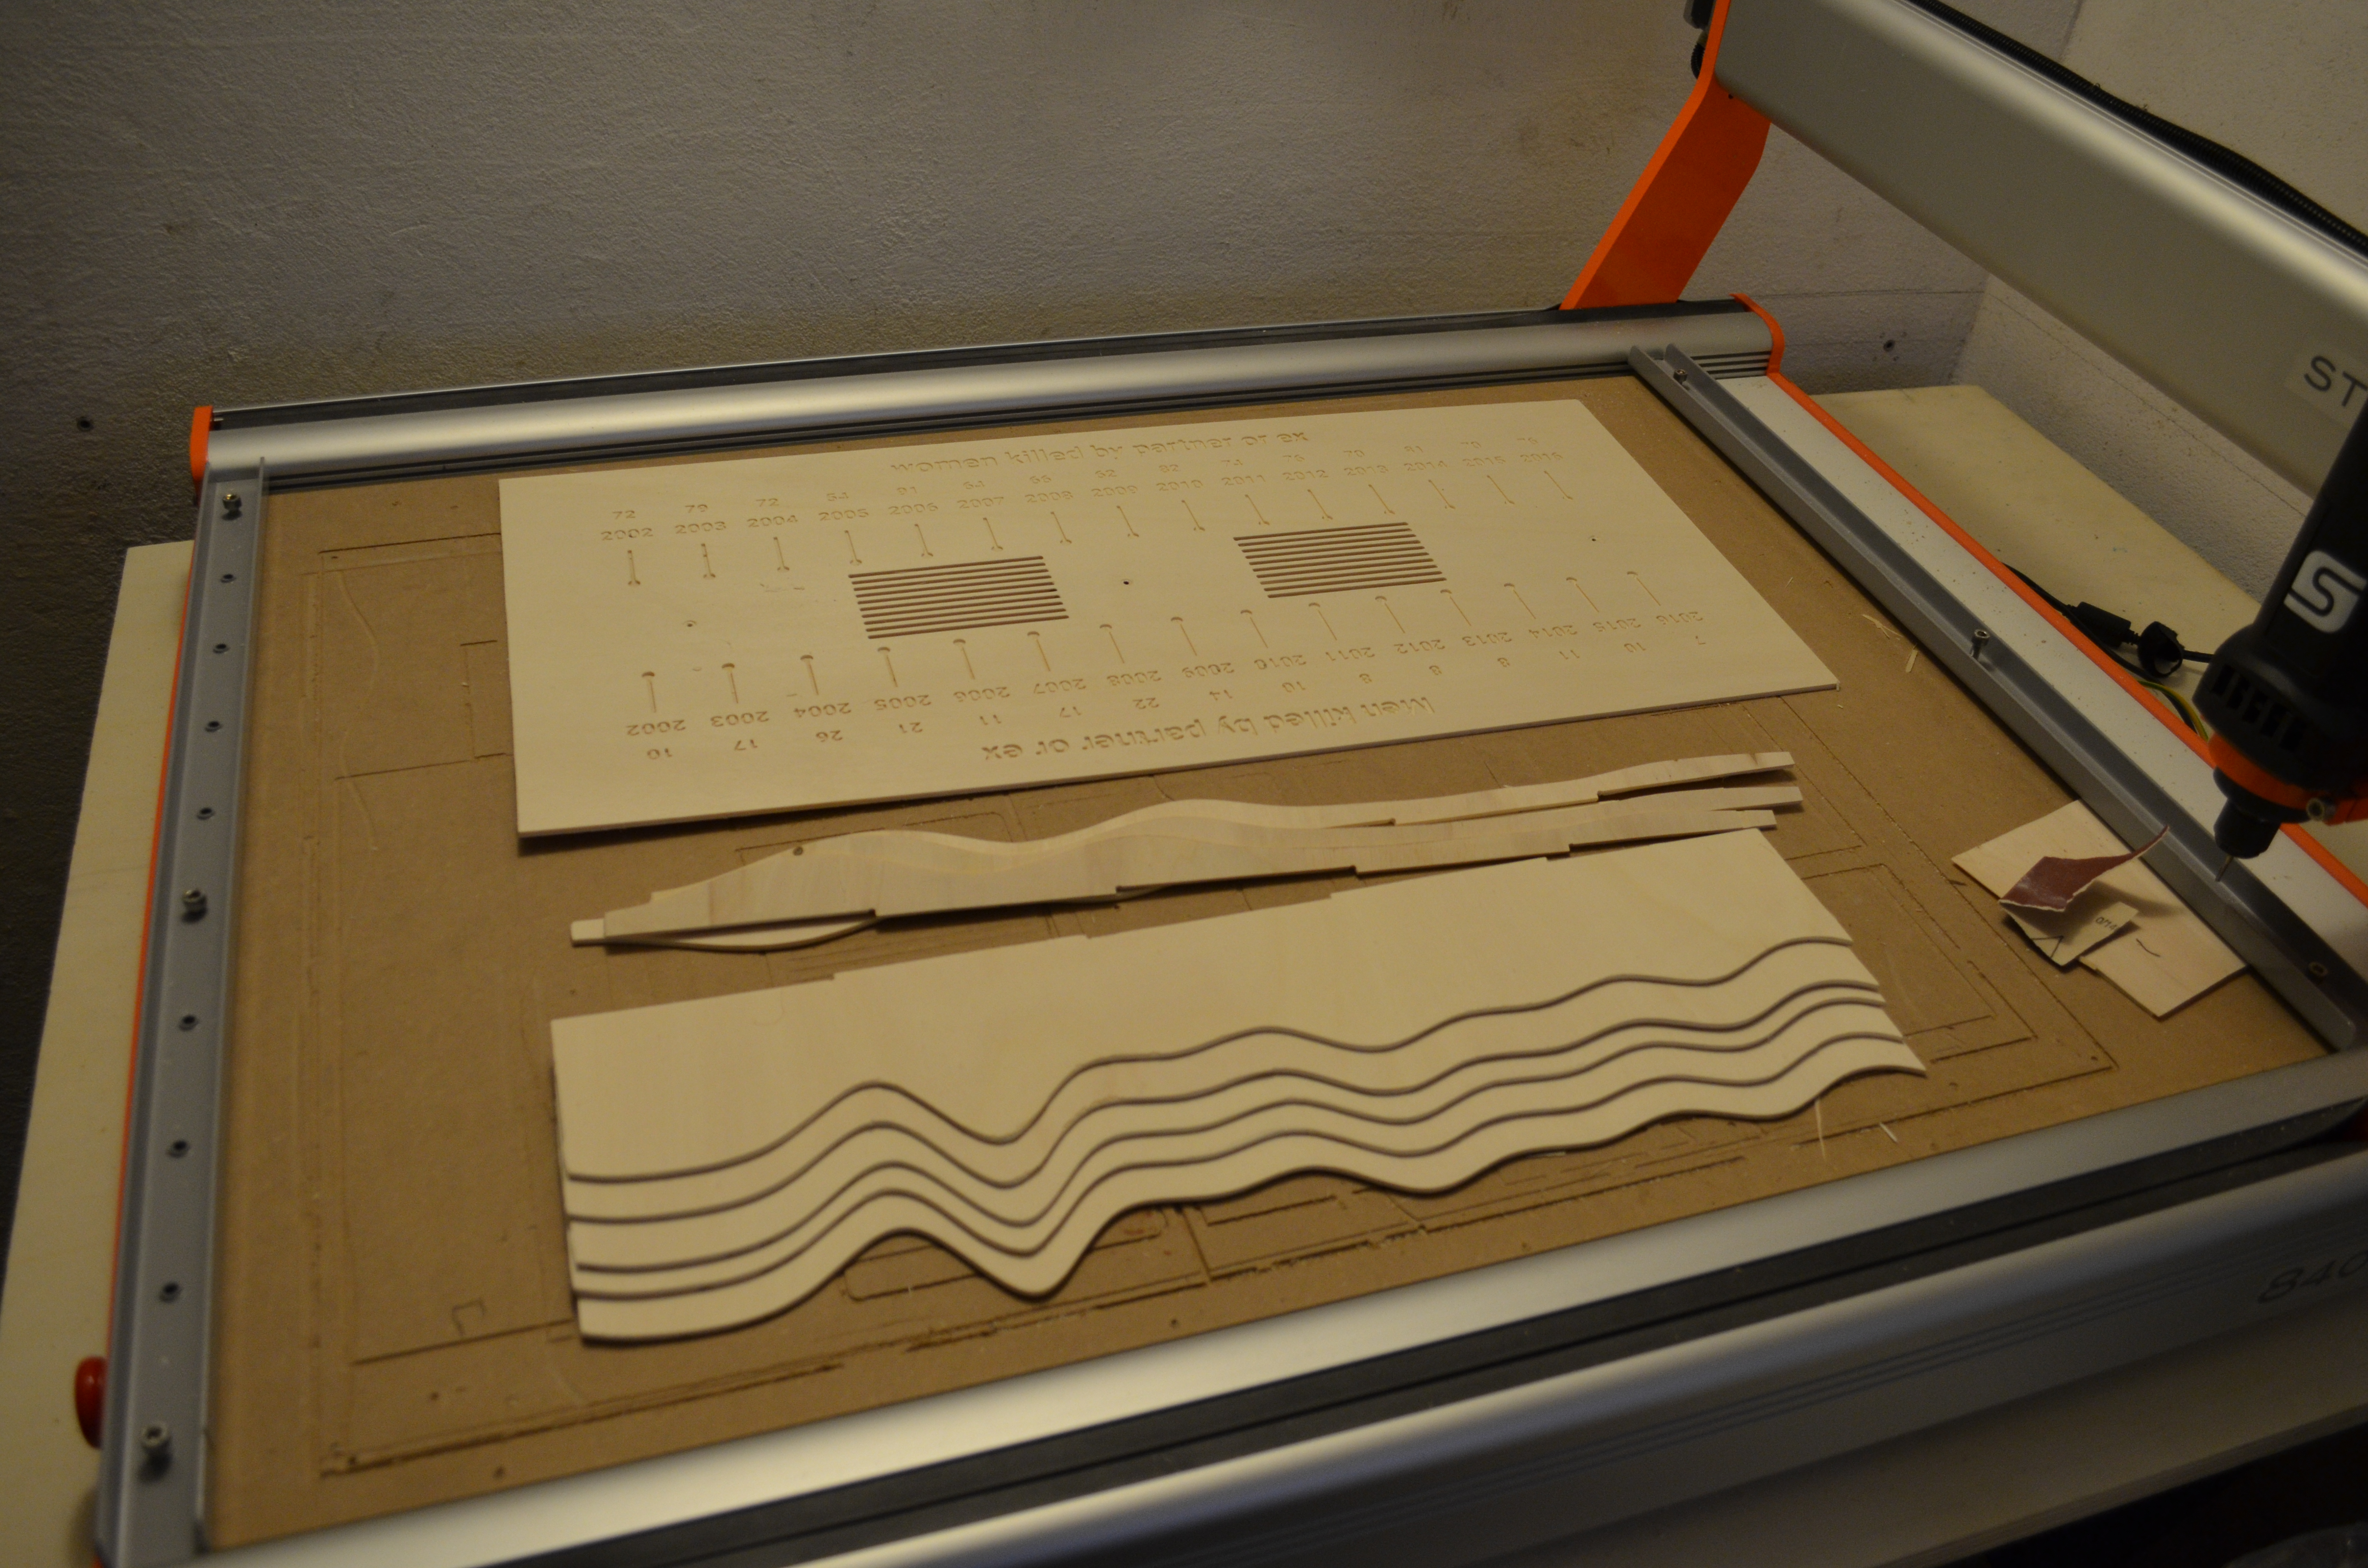
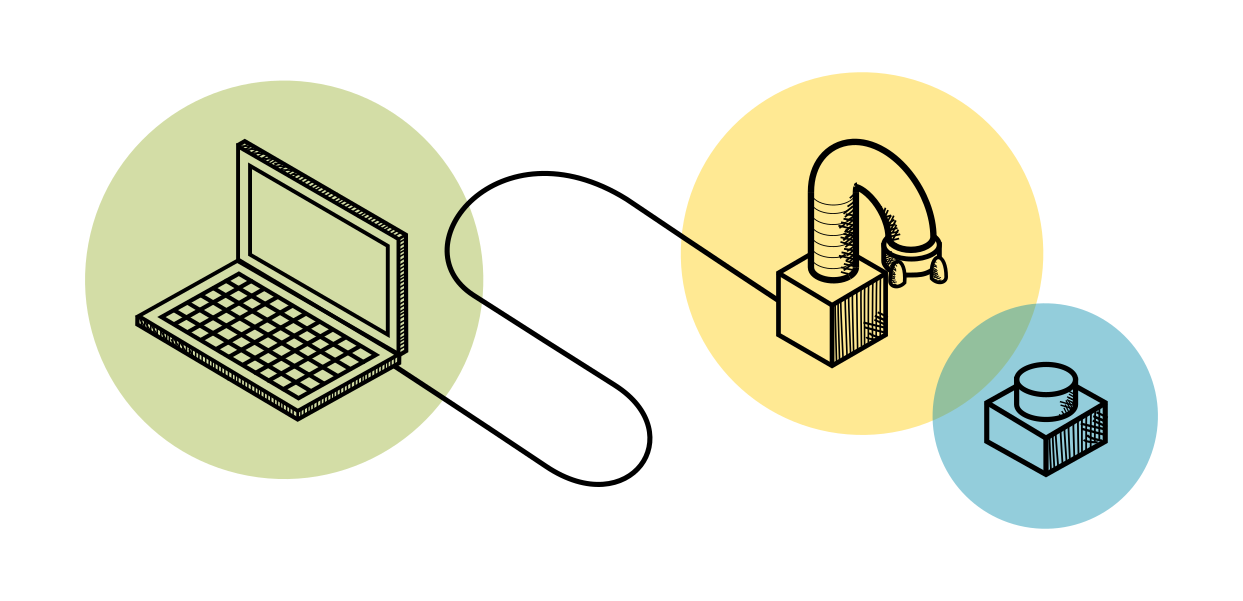
In this phase of your project you will transform your 3D digital model into a physical object. Generally speaking, this process consists of two main steps: one of pre-production, where you create a file (GCode) with the instructions the machine need to operate; and the second, where the actual building takes place.
In line with this, the tutorial for this part of the project is broken into two sections. The first part guides you into how to create the three GCode files needed: one for each of the two data curves, and one for the engraved base. The second part walks you through the steps needed to set up a CNC milling machine to carry out the task.
For the fabrication part of the project, it is advised that you first contact the person who will operate the machines to produce the output. This because every machine has its own specs, capabilities, and possibly even software, so you want to double check that you are proceeding in the right direction before you actually send the files to the machines. The tutorials of this paragraph show the workflow that works for the specific machine used to produce the prototype, a Stepcraft 2/800.
The second section that regards the actual fabrication with a CNC is included solely to educate on how such machines work. We absolutely don’t advise you to follow this part of the tutorial on your own, unless you have previous experience with operating a CNC milling machine, which comes with some safety concerns and necessary technical setup prior to each operation. Additionally, consider that, for practical and storage reasons, our prototype has been scaled down to a table-top size product, and so we could use a smaller CNC milling machine. If you are producing the large, walkable installation, then you either have to make sure you have access to a CNC milling machine that can deal with such large sheets of wood, or ask the operator for assistance in breaking the 3D model into smaller sections depending on what their machine can handle.

